
Clean up, aisle 7!
That’s a joke, obviously. It’s been, like, a bazillion years since anyone has been inside a store, but it’s a joke with a point — when it comes to the cleanest way to apply concealer, all it takes are these simple steps.
1. Prep your canvas
Cleaning and moisturizing are non-negotiables for any makeup look, but especially if you want to apply concealer flawlessly.
Start with a gentle, oil-free cleanser.
Work it into your skin for at least 30 seconds and then dab — don’t rub — your face with a clean, dry towel so you won’t leave your skin dry or irritated.
Apply moisturizer to hydrate any dry, flaky skin.
We recommend moisturizing at least twice a day — once before putting on your makeup and once before you go to bed after cleansing. Be sure your morning moisturizer includes SPF.
Prime your palette.
Primer should be applied after your skincare routine and before makeup. For us, the Selfie Shield Dry Oil Primer is a no-brainer because its SPF 38 shields skin from UVA rays and blue light. It also includes vitamin C and E, which neutralize pollutants and brighten skin. Pro tip: Wait one full minute to let the primer dry before applying your makeup.
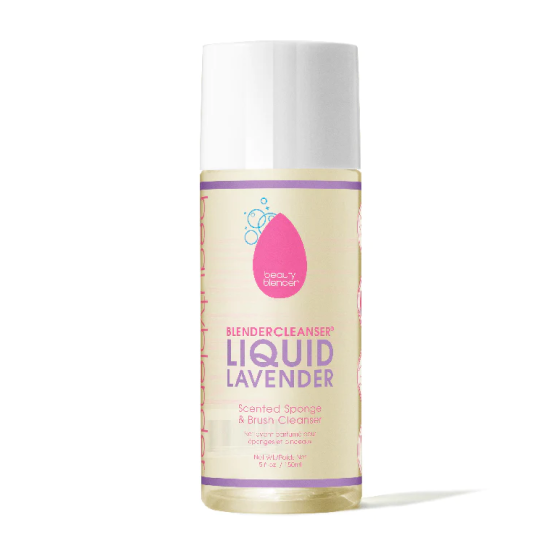
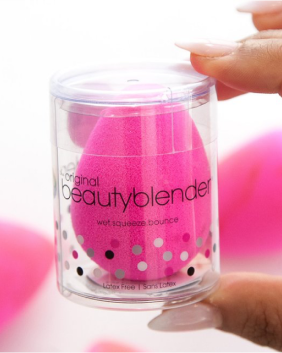
2. Clean your blender.
When your goal is to apply concealer as cleanly as possible, you have to start with clean tools. And what better way to spend that whole minute your primer is drying than to clean your Beautyblender?!
If it’s been a while since you read our totes Official Guide on the matter, here’s a quick refresher:
1. Wet your blender
2. Swirl on blendercleanser
3. Lather up
4. Rinse (and dry in an open space if you’re not using it right away)
3. Get wet.
Surprised to learn your Beautyblender is meant to be used wet? It’s totally true. Since you just washed your blender, it should prepped and ready to use. If you washed up prior, just run it under the faucet until it’s soaked. If it doubles in size, you’re doing it right. The aqua-activated™ foam material in the blender will absorb water instead of absorbing your product. That means nothing icky can get trapped inside, which will help you apply concealer as hygienically as possible.
4. Foundation first!
The great debate is over: foundation goes on before concealer! Why? We’re glad you asked. As you’re putting on foundation, you’re making progress toward your concealer goals. You’re softening and minimizing spots, giving yourself a base to create a clean look, and reducing how much concealer you need to use. Less product = fresher face. That’s just math.
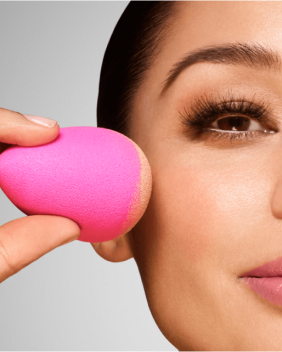
5. Don’t use your fingers.
When attempting to apply concealer like a pro, avoid using your fingers. That can transfer the oil on your hands to your complexion, which can be especially problematic for people with oily skin. Fingers are also less precise when it comes to dabbing concealer on small spots like blemishes or on delicate skin under your eyes, so give your digits a rest and let your blender do its job.
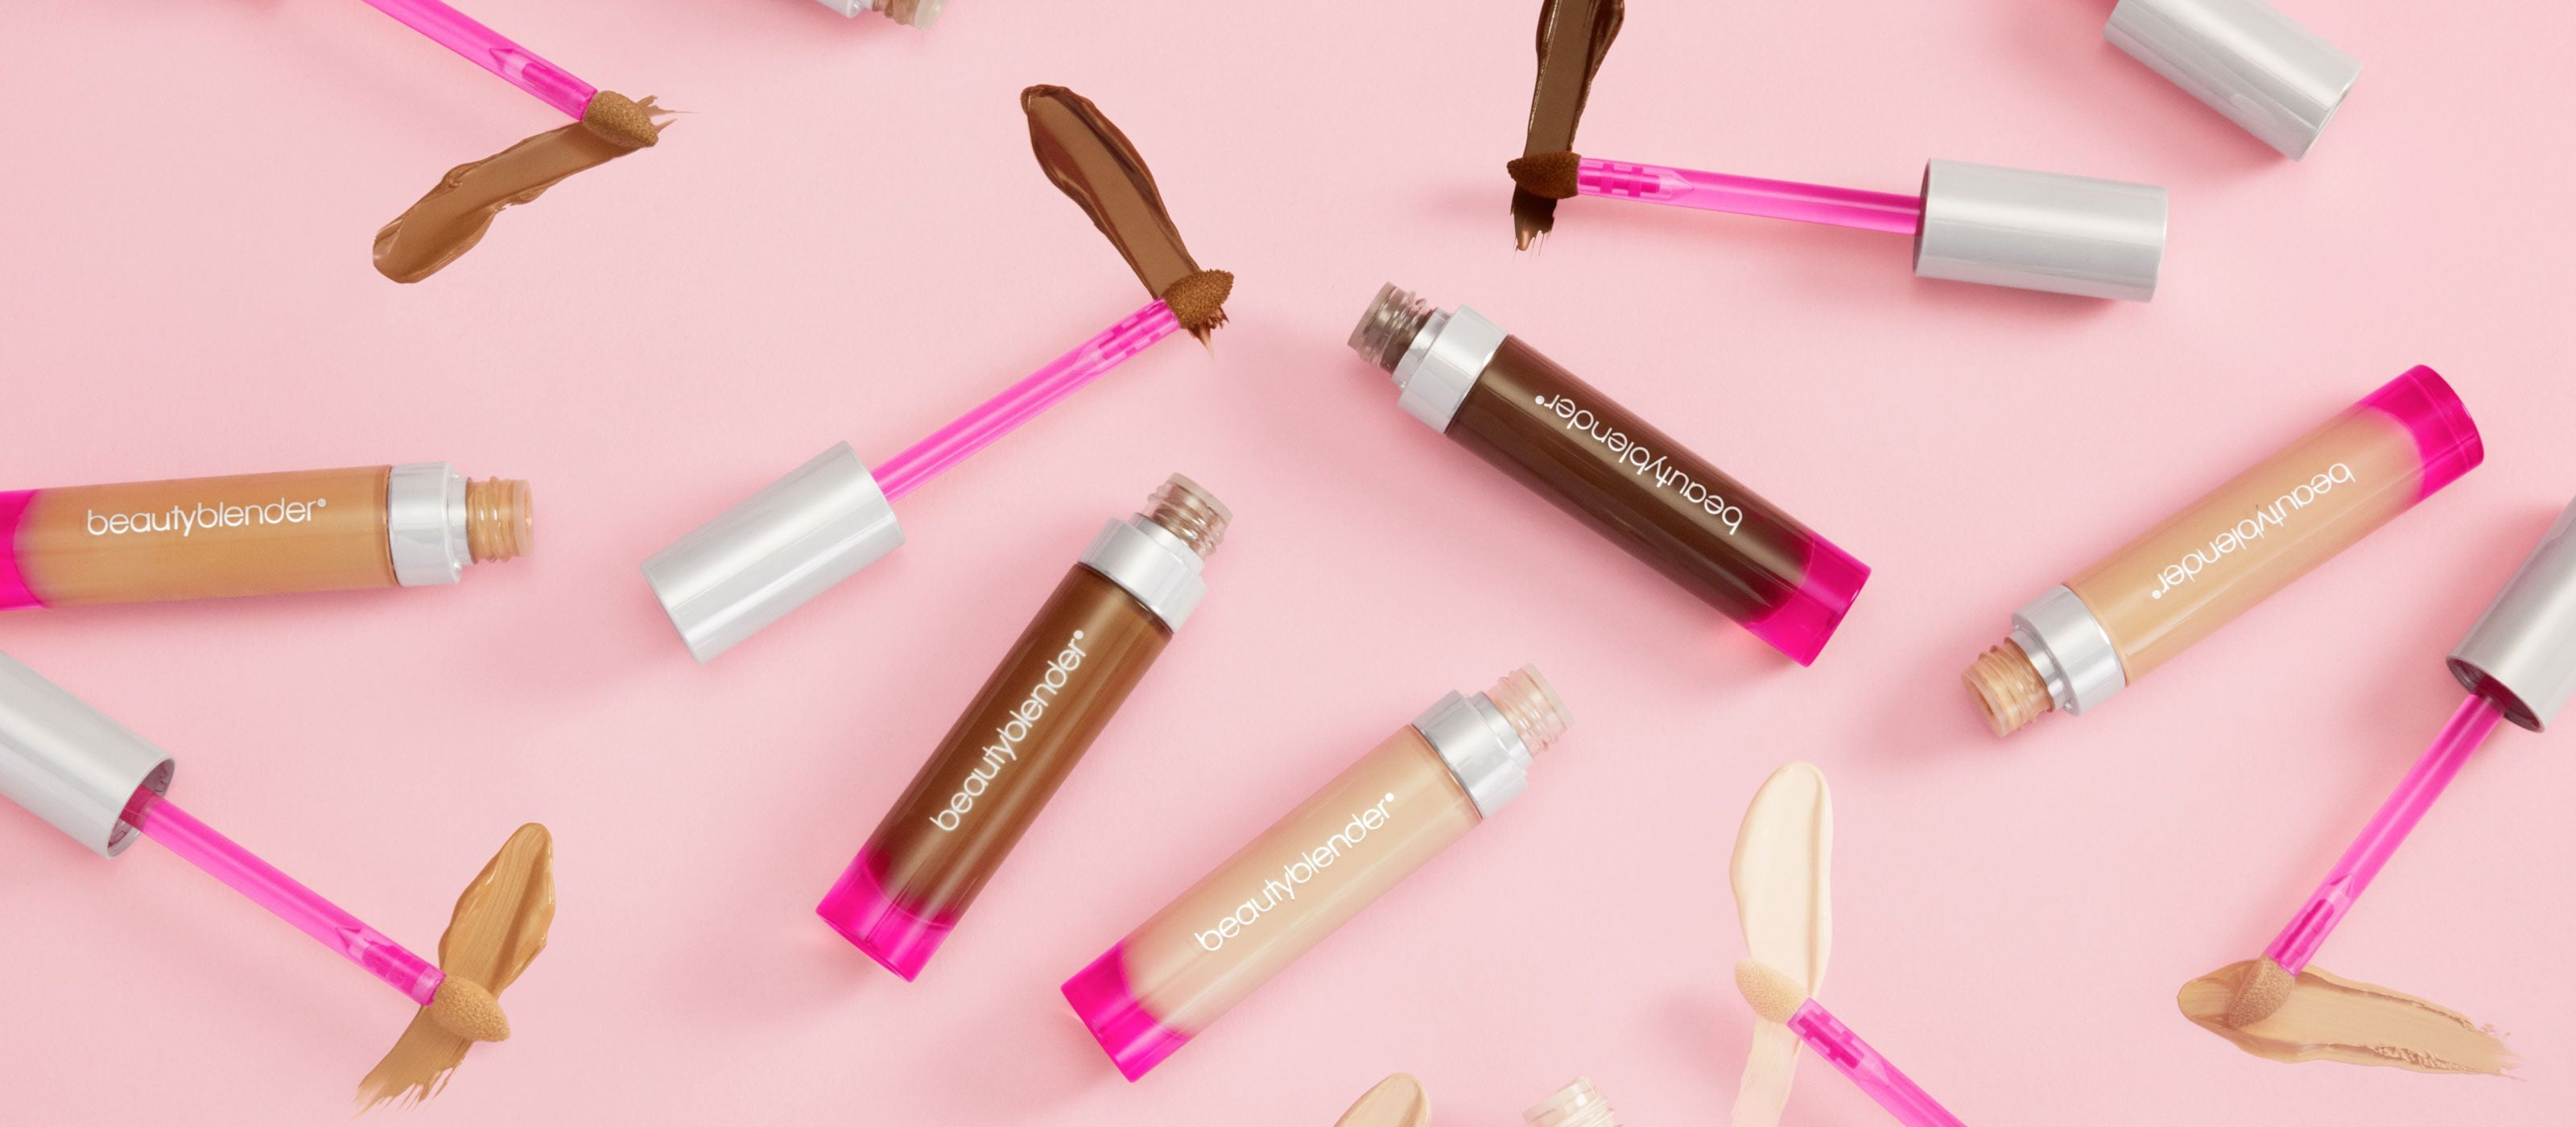
6. Pick the right concealer.
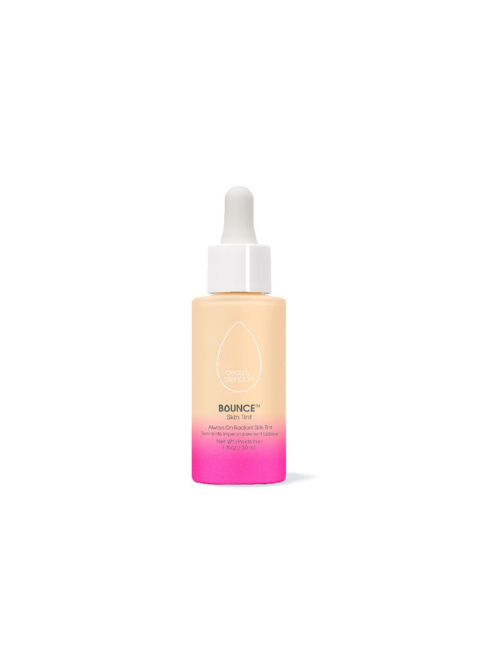
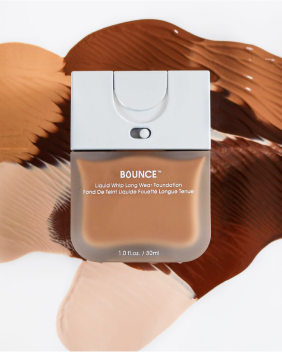
On to the main event! Look for a clean concealer, aka one that’s free of parabens (preservatives) and phthalates (a group of chemicals used to make plastic — no thanks!). Our Bounce Airbrush Liquid Whip Concealer is free of both, and it’s also vegan, gluten-free and cruelty-free.
The concealer formula itself is hydrating and weightless, so it actually nourishes your skin while it keeps you covered. And because it’s been clinically proven to last for 24 hours when you need it to, you won’t find yourself applying it over and over again, which can clog pores and kind of defeat the whole “clean concealer” movement you’re trying to start here. But while it can hold up for 24 hours, we always recommend washing your makeup off before you hit the sheets.
7. Dab, dampen, bounce.
Use the wand of the concealer under your eyes to conceal dark circles, or on any imperfections across your face. Once you’ve got your dots down, dampen your Beautyblender or Micro Mini and bounce to blend.
Why do we bounce? Swiping a Beautyblender over your skin just moves the product around instead of properly laying it on. Bouncing creates a uniform, seamless coverage without streaks and lines. Oh, and it happens to be fun, okay?! We could all use a little more of that ;)


