

Which should you apply first: foundation or concealer? The debate about this issue feels like it’s been going as long as the chicken and the egg (with far fewer tasty, breakfast-y by products).
Lucky for us, this one actually has an answer! Read on for the verdict.
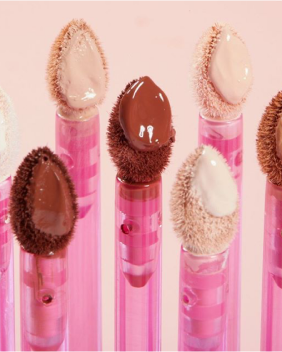
Should You Apply Concealer or Foundation First?
Foundation First!
There’s a reason the word foundation is, well, foundation — It’s the thing you start with, simple as that. You wouldn’t try to touch up paint on a wall before you paint the wall, would you? (If you would, pls do your roommates and/or family a favor and hire a TaskRabbit to handle that.) The same logic applies to concealer.
As you’re putting on foundation - even if it’s simply a light layer all over your face — you’re making progress toward your concealer-related goals.
Applying foundation before concealer has several benefits:
— You’re softening and minimizing spots, even if that’s not your primary goal.
— You’re giving yourself a base to blend with your concealer using your Beautyblender Micro Mini.
— You’re reducing how much concealer you need to use, which means a more natural look overall.
Go Easy On The Eyes
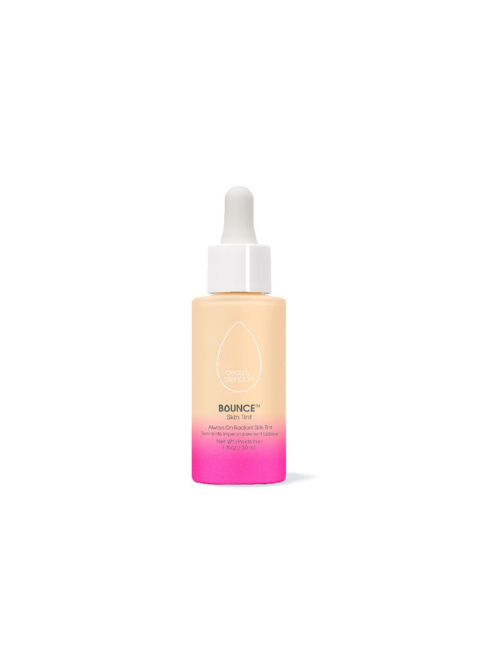
The foundation-first approach works especially well when you’re trying to cover dark circles under the eyes. After you apply foundation, dab on your BOUNCE Airbrush Liquid Whip Concealer and pat it with a damp Beautyblender.
Remember:
— Don’t smear or drag! Get the most the natural finish by bouncing your blender.
— Don’t skip the corners of the eyes. They are often discolored, but that’s easily neutralized with the foundation-then-concealer approach.
— Be sure to blend your concealer up your cheekbone past your eye for an extra highlighting boost.
Follow These 4 Key Steps
No matter what part of the face you’re working on, you can follow these 4 steps for success:
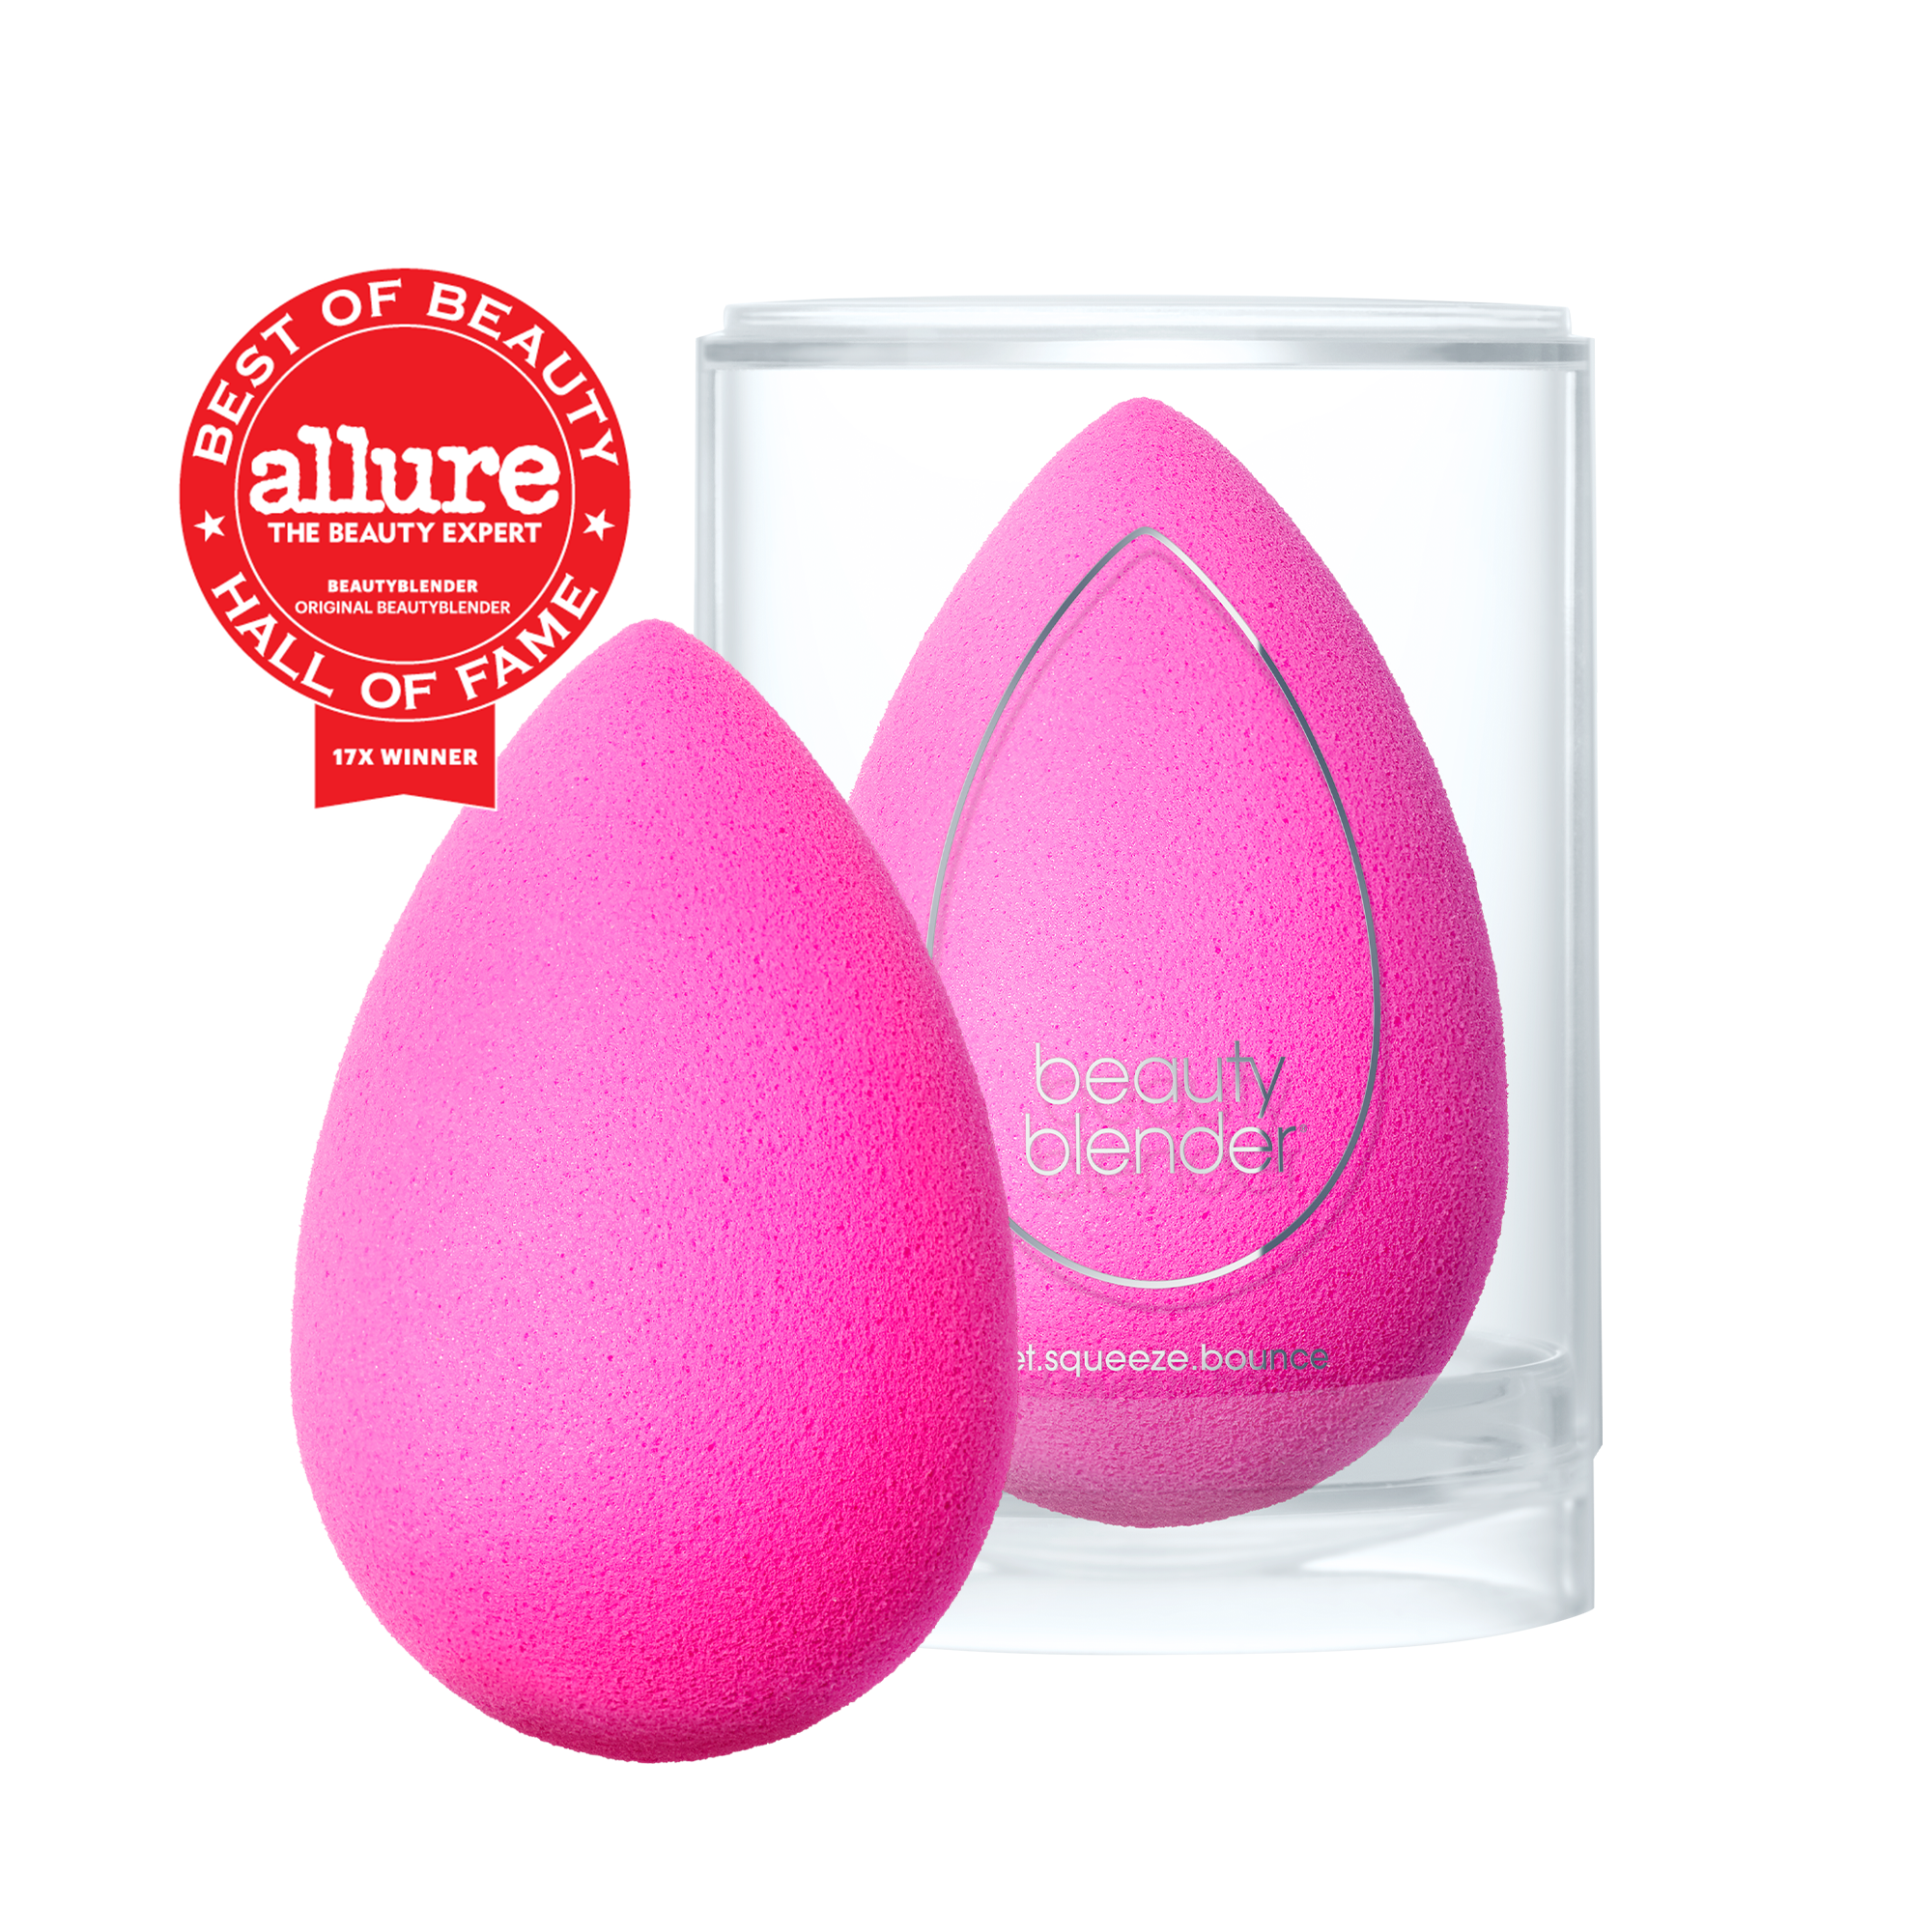
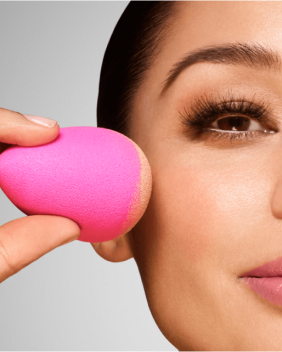
1. Wet Your Beautyblender
The Beautyblender (no matter which shade you choose) works best when you wet it first. The special foam sucks in water instead of makeup, because who really wants to waste products like that? It also helps your foundation glide onto the skin for a natural finish. Once you wet your sponge, you’re ready to go.
2. Lay The foundation
Use your OG blender, lay down a flawless foundation with no streaks or lines. Remember to blend all the way up to your hairline and down to your neck.
3. Spot Conceal
Apply a small amount of your BOUNCE Airbrush Liquid Whip Concealer to your problem areas. Don’t focus on concealing everything right away! You don’t want to make your blemishes more noticeable by caking on product, and you can always build up your concealer gradually to get that full coverage look. Make sure to blend out your concealer or bake it so it works seamlessly with your foundation.
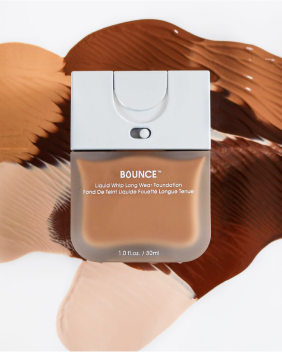
Bonus: If you are using BOUNCE, it’s full of killer ingredients like tetrapeptide, polymers, and peptides that brighten and smooth skin as you conceal. Instant fix, long term satisfaction.
4. Blend & Build
When blending with your Beautyblender, always make sure you’re bouncing the sponge on your skin! Swiping the product with your blender will only move the product on your face and not actually pack it into the skin. Also, make sure you’re blending the areas around where you’ve spot-corrected to really create that seamless look.
Want a deeper dive into the world of foundations and concealers? We’ve got you.
The Ultimate Guide to Applying Foundations & Concealers
How to Find Your Right Foundation Shade
How To Apply Concealer Like A Pro


.%20Luc...)