
How to Use a Makeup Sponge: A Step-By-Step Guide

Looking to perfect your makeup routine? Learning how to use a makeup sponge like the Beautyblender can make all the difference in achieving a flawless, airbrushed look. A blending sponge is your ultimate tool for applying foundation, concealer, and more with precision and ease. But knowing how to wash Beautyblender sponges is just as important to keep your skin healthy and your makeup tools in top condition. Whether you're new to using a makeup sponge or want to improve your technique, this guide covers everything you need to know.
How to use a makeup sponge?
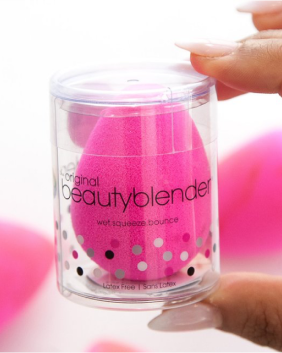
The Beautyblender is a versatile makeup sponge that can be used for practically anything in your makeup bag: foundations, BB cream, concealer, you name it. But to get the most out of your makeup sponge, follow our 3-step process on how to use a makeup sponge: wet, squeeze, and bounce.

Use a wet makeup sponge
Did you know that your Beautyblender works best when it’s damp? Understanding how to wet a beauty blender is the first step to achieving flawless makeup. Simply hold your makeup sponge under running water until it’s fully saturated. You’ll notice it doubles in size—that’s completely normal. The aqua-activated™ foam absorbs water, allowing you to use a wet makeup sponge without wasting your product. When you use a makeup sponge this way, it ensures smooth, even application and leaves more makeup on your skin rather than in the sponge.
Squeeze your blending sponge
Once your Beautyblender makeup sponge is fully saturated, it’s time to squeeze it out. The best way to use a Beauty Blender is to ensure it’s damp but not dripping. Wring out all excess water, leaving the sponge at the perfect size and dampness to start applying your makeup. When learning how to use a makeup sponge effectively, remember that a damp sponge helps the product glide smoothly over your skin. You won’t waste any makeup—it simply bounces off the sponge and onto your skin for a flawless, streak-free finish.
Bounce your makeup sponge
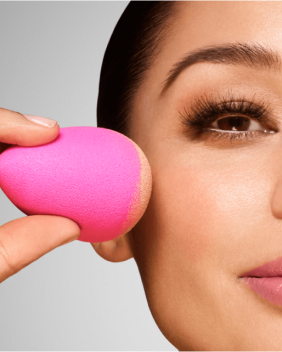
Now for the fun part: the bounce! The best way to use a makeup sponge is to gently bounce it across your skin. Use your blending sponge to apply powder, foundation, BB cream, or concealer for a flawless finish. Pro tip: avoid dragging the makeup sponge across your face, as this can leave streaks.
Swiping a blending sponge only moves the product around, while bouncing properly and lays it on your skin. This technique ensures uniform, seamless coverage without any streaks or lines, helping you achieve a smooth, airbrushed look every time.
How to wash a beauty blender?
Keeping your Beautyblender makeup sponges clean is essential for both longevity and skin health. Wondering how to wash a beauty blender? It’s simple! Regular cleaning prevents the buildup of dirt, grime, and bacteria, ensuring your makeup application remains flawless. To maintain your blending sponge, follow these steps:
Wet and lather
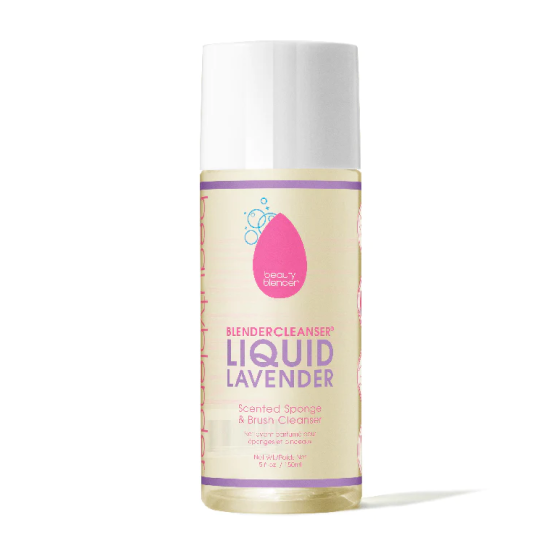
Use a gentle yet effective cleanser, like our Liquid Blendercleanser solution, to thoroughly clean your sponge. Wet your Beautyblender under running water and apply the cleanser directly to the sponge. Work it into a gentle lather by squeezing the sponge repeatedly.
Rinse and repeat
Rinse your sponge under running water, squeezing out the lather until the water runs clear. Knowing how to clean a beauty blender this way ensures it stays in top condition and is ready for use.
For additional tips and a detailed guide on how to clean makeup sponges, check out our blog on How to Clean a Makeup Blender.
To maintain maximum hygiene, wash your sponge after every use and replace it every 3-6 months, just like your toothbrush or mascara. This ensures you always have a fresh, high-performing blending sponge for your makeup routine.
By following these steps, you’ll not only know how to wash makeup sponges effectively but also how to keep your skin healthy while getting the most out of your Beautyblender.
How to use a makeup sponge in every step of your routine?
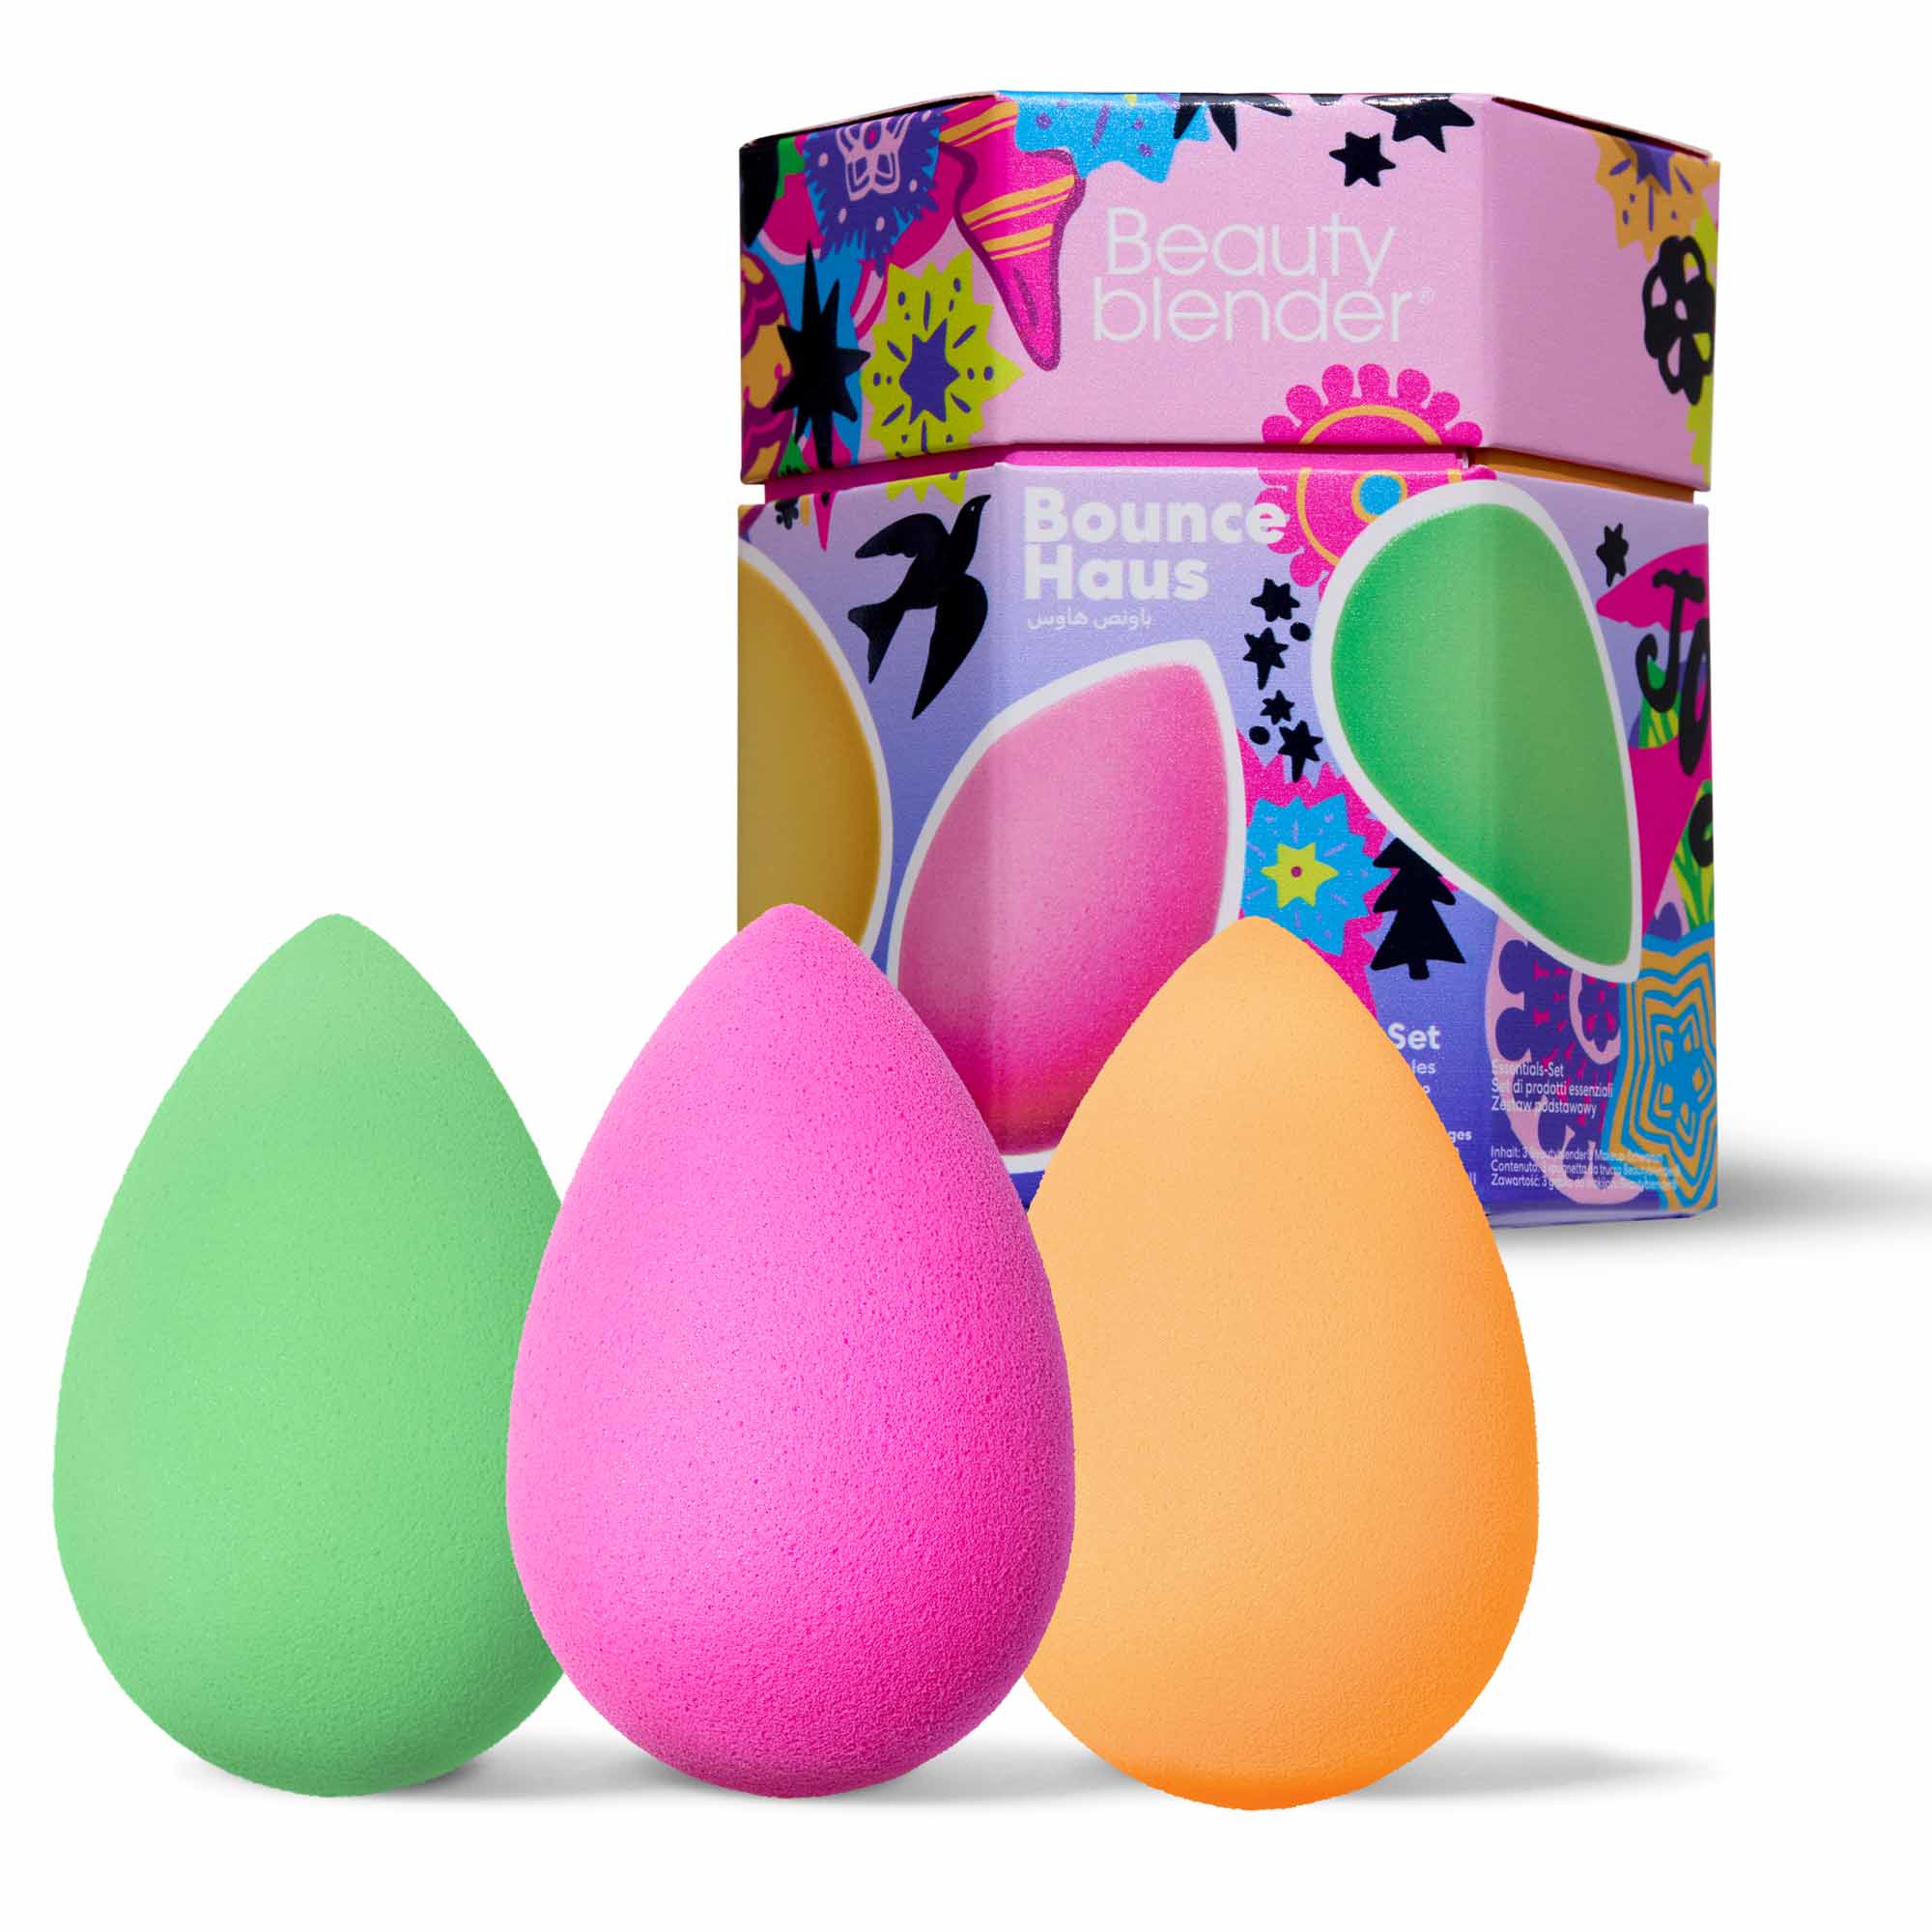
Your Beautyblender isn’t just a tool for foundation and concealer—it’s a versatile makeup sponge that can elevate every step of your beauty routine. Whether you’re creating a natural daytime look or a bold evening glam, using the right Beautyblender size makes all the difference. Here’s how to incorporate your blending sponge into every step:
Foundation and base products
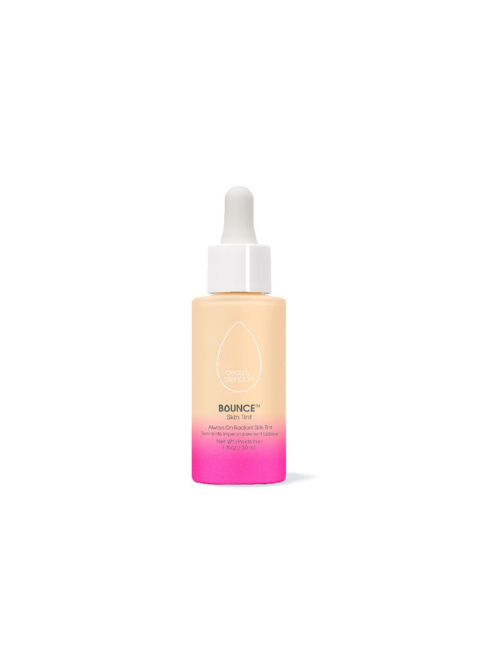
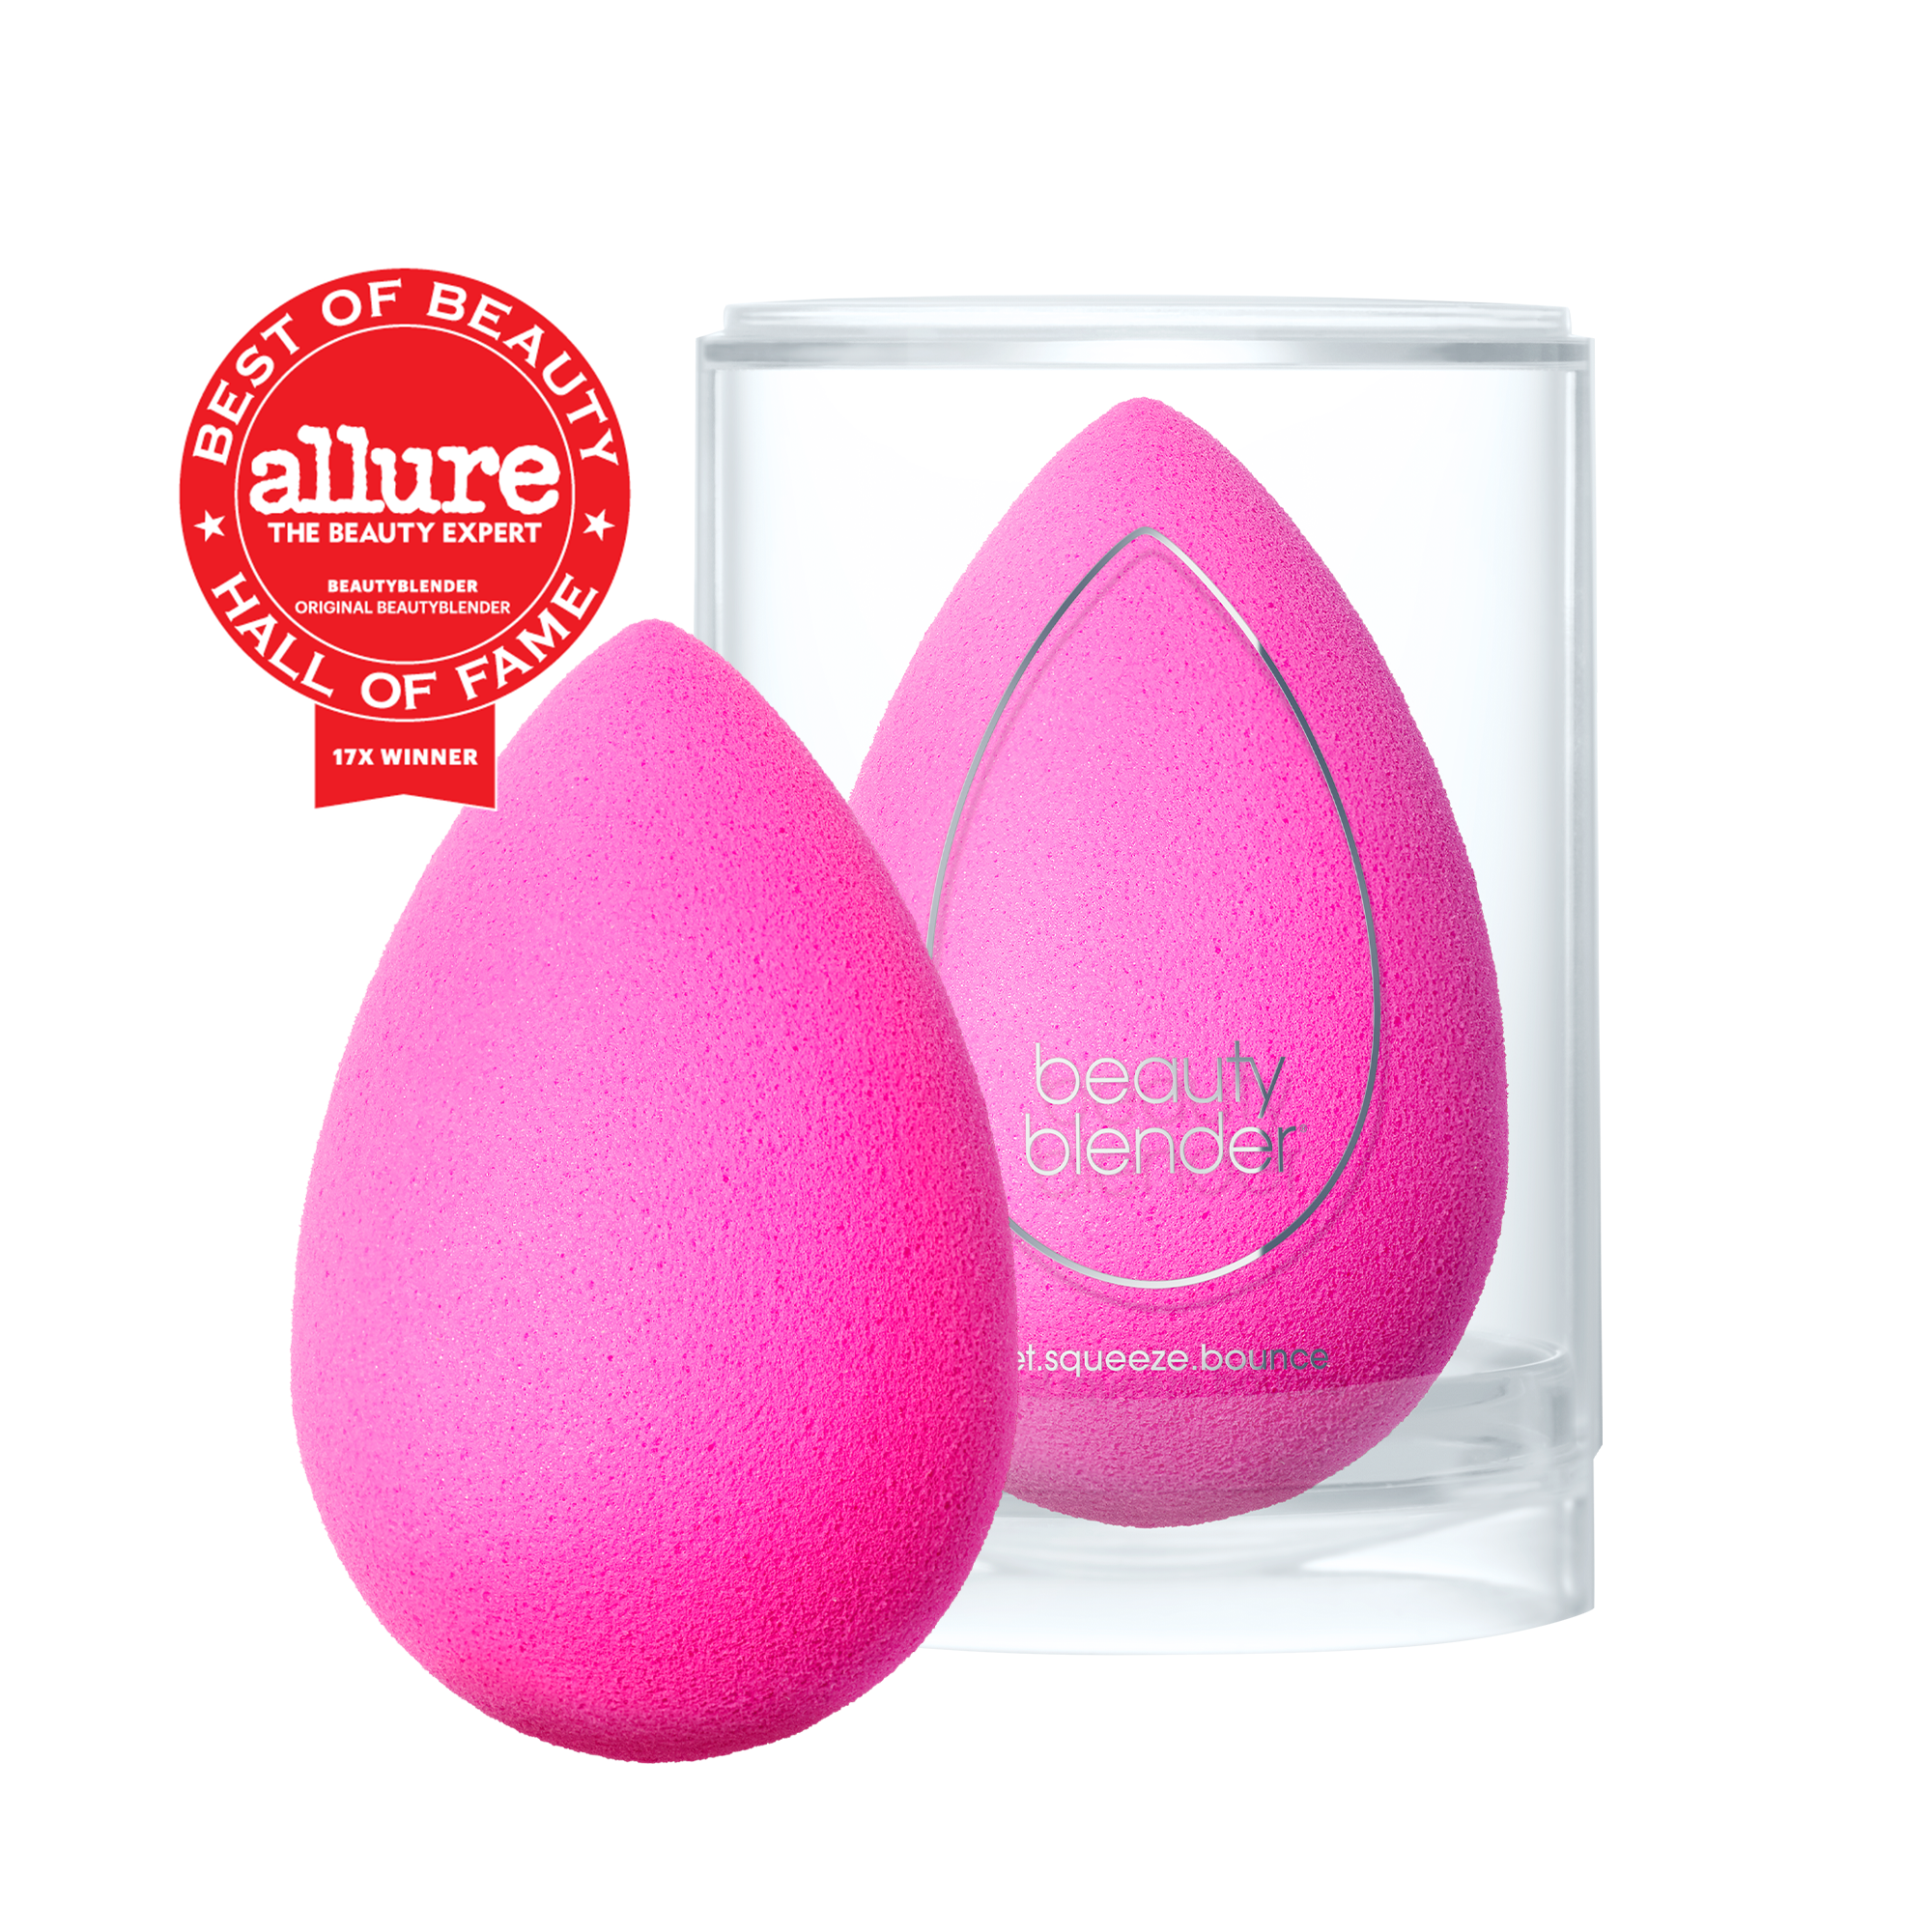
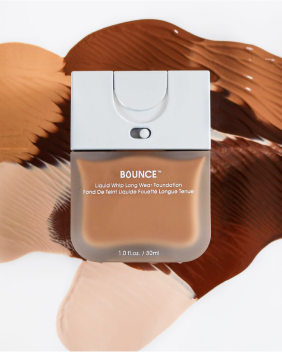
The original Beautyblender is your go-to for achieving a flawless foundation base. Its aqua-activated™ foam ensures seamless application of liquid or powder foundation, BB cream, or tinted moisturizer. Simply wet, squeeze, and bounce to evenly distribute the product without streaks.
Blush and highlighter
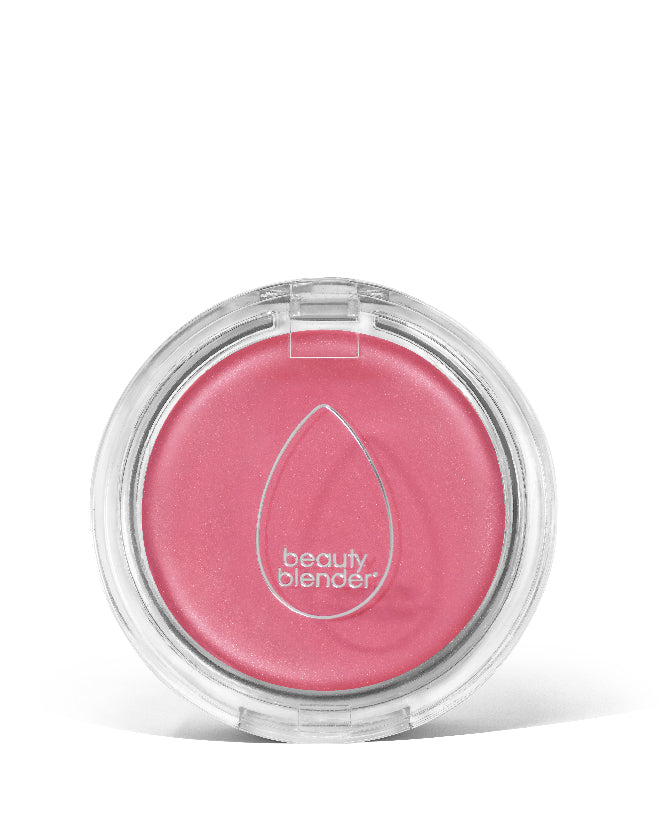
For blush and highlighter, the Blusher Beautyblender is perfectly sized for the apples of your cheeks. It works beautifully with cream or liquid blush and effortlessly blends highlighter onto the high points of your face for a radiant glow.
Eyeshadow and small areas
The Micro Mini Beautyblender is a game-changer for detailed application. Its tiny size is ideal for blending eyeshadow, applying concealer to smaller areas, or even contouring your nose with precision.
Setting powder
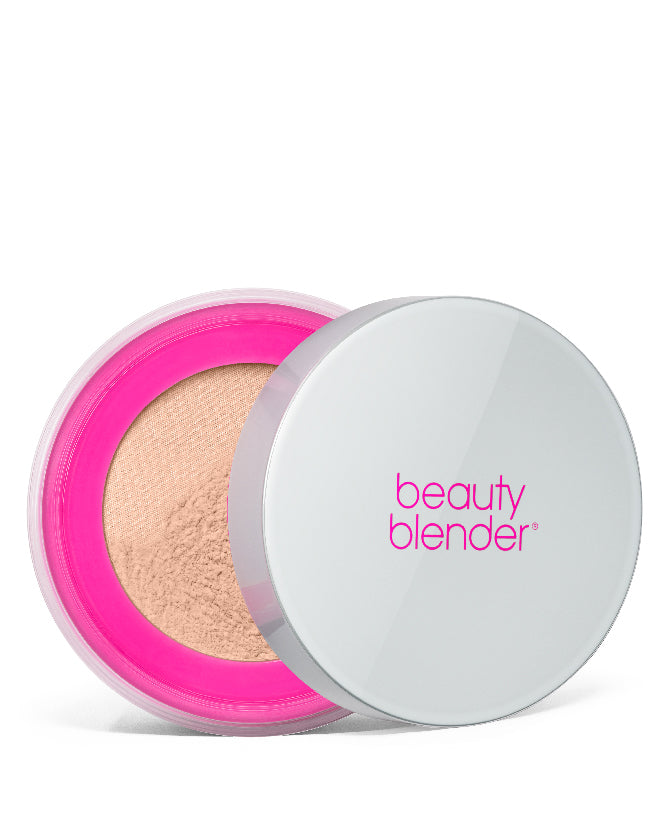
Finish your look by using the damp original Beautyblender to bounce setting powder onto your skin. This step locks in your makeup for all-day wear while preventing creasing and excess shine.
Pro Tip: Maximize Your Routine
Using different sponge sizes ensures each step of your makeup routine is perfectly tailored. From the original Beautyblender to the Blusher and Micro Mini, these tools provide flawless blending for every product and area of your face.
With the right techniques, your Beautyblender makeup sponge can transforms every aspect of your beauty routine, delivering professional results from start to finish. Who knew a makeup sponge could do so much?
Using a makeup sponge like the Beautyblender can completely transform your beauty routine. From applying foundation to setting powder, this versatile tool ensures smooth, streak-free results at every step.
By mastering techniques like wetting your sponge and cleaning it regularly, you can extend its lifespan and maintain healthy, glowing skin. Whether you’re just starting with makeup or refining your routine, following these tips will help you get the most out of your blending sponge while achieving a flawless, natural finish.
FAQ
What is the best way to use a Beautyblender?
The best way to use a Beautyblender is to wet it, squeeze out the excess water, and bounce it on your skin to apply makeup. This technique ensures smooth, even coverage and prevents product wastage.
Should I wet my makeup sponge before using it?
Yes, always wet your makeup sponge before using it. A damp sponge creates a smoother application and ensures your product stays on your skin instead of being absorbed into the sponge.
How often should I clean my makeup sponge?
To maintain hygiene, you should clean your makeup sponge after every use. Regular cleaning helps prevent the buildup of dirt, bacteria, and leftover makeup.
What’s the best way to clean a blending sponge?
The best way to clean a makeup sponge is to use a gentle cleanser, such as the Liquid Blendercleanser. Wet the sponge, apply the cleanser, work it into a lather, and rinse thoroughly.
Can I use a Beautyblender for powder products?
Yes, a Beautyblender works well with powder products! Use a damp sponge to bounce setting powder or blush onto your skin for a smooth, natural finish.
How do I store my makeup sponge after cleaning it?
After washing, let your Beautyblender makeup sponge air dry in a well-ventilated space. Avoid storing it in a closed container while it’s wet to prevent bacteria growth.
Can I use a dry Beautyblender?
A dry Beautyblender can be used for certain powder applications, but it’s best to use it damp for liquid or cream products to achieve smooth, streak-free coverage.

