Makeup Sponge Size Guide: Blender, Blusher, or Micro Mini?
Listen, we love our original Beautyblender because it’s so versatile for a ton of different makeup application. That said, we know some people may want even more precision for certain jobs.
We started with the Original Beautyblender and grew our family of blenders to include the Beauty.blusher and Micro Mini- babe, you’ve got options.
If you’re wondering, “what size blender should I use?” - we got you!
The short answer to that question is that each size blender has its advantages, but it depends on the look you’re going for and the makeup you’re applying.
So, here’s a Beautyblender size guide:
Size Matters
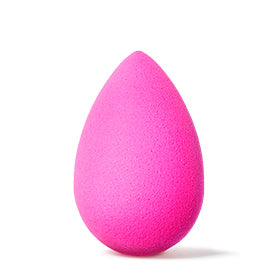
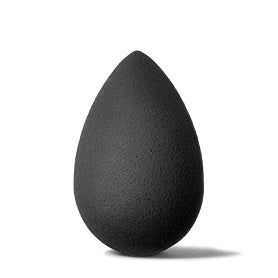
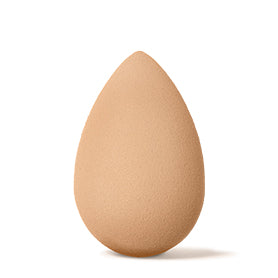
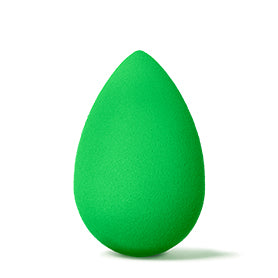
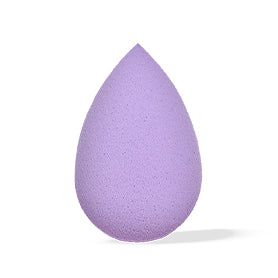
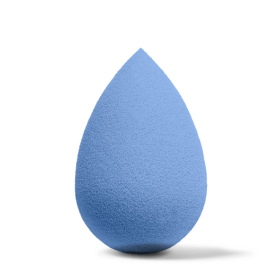
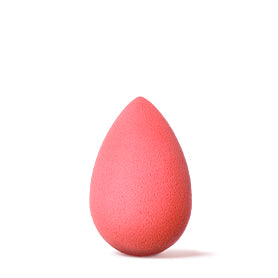
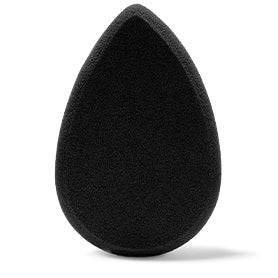
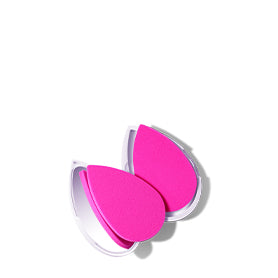
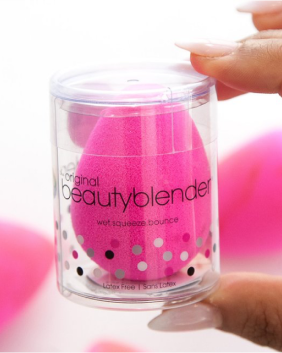
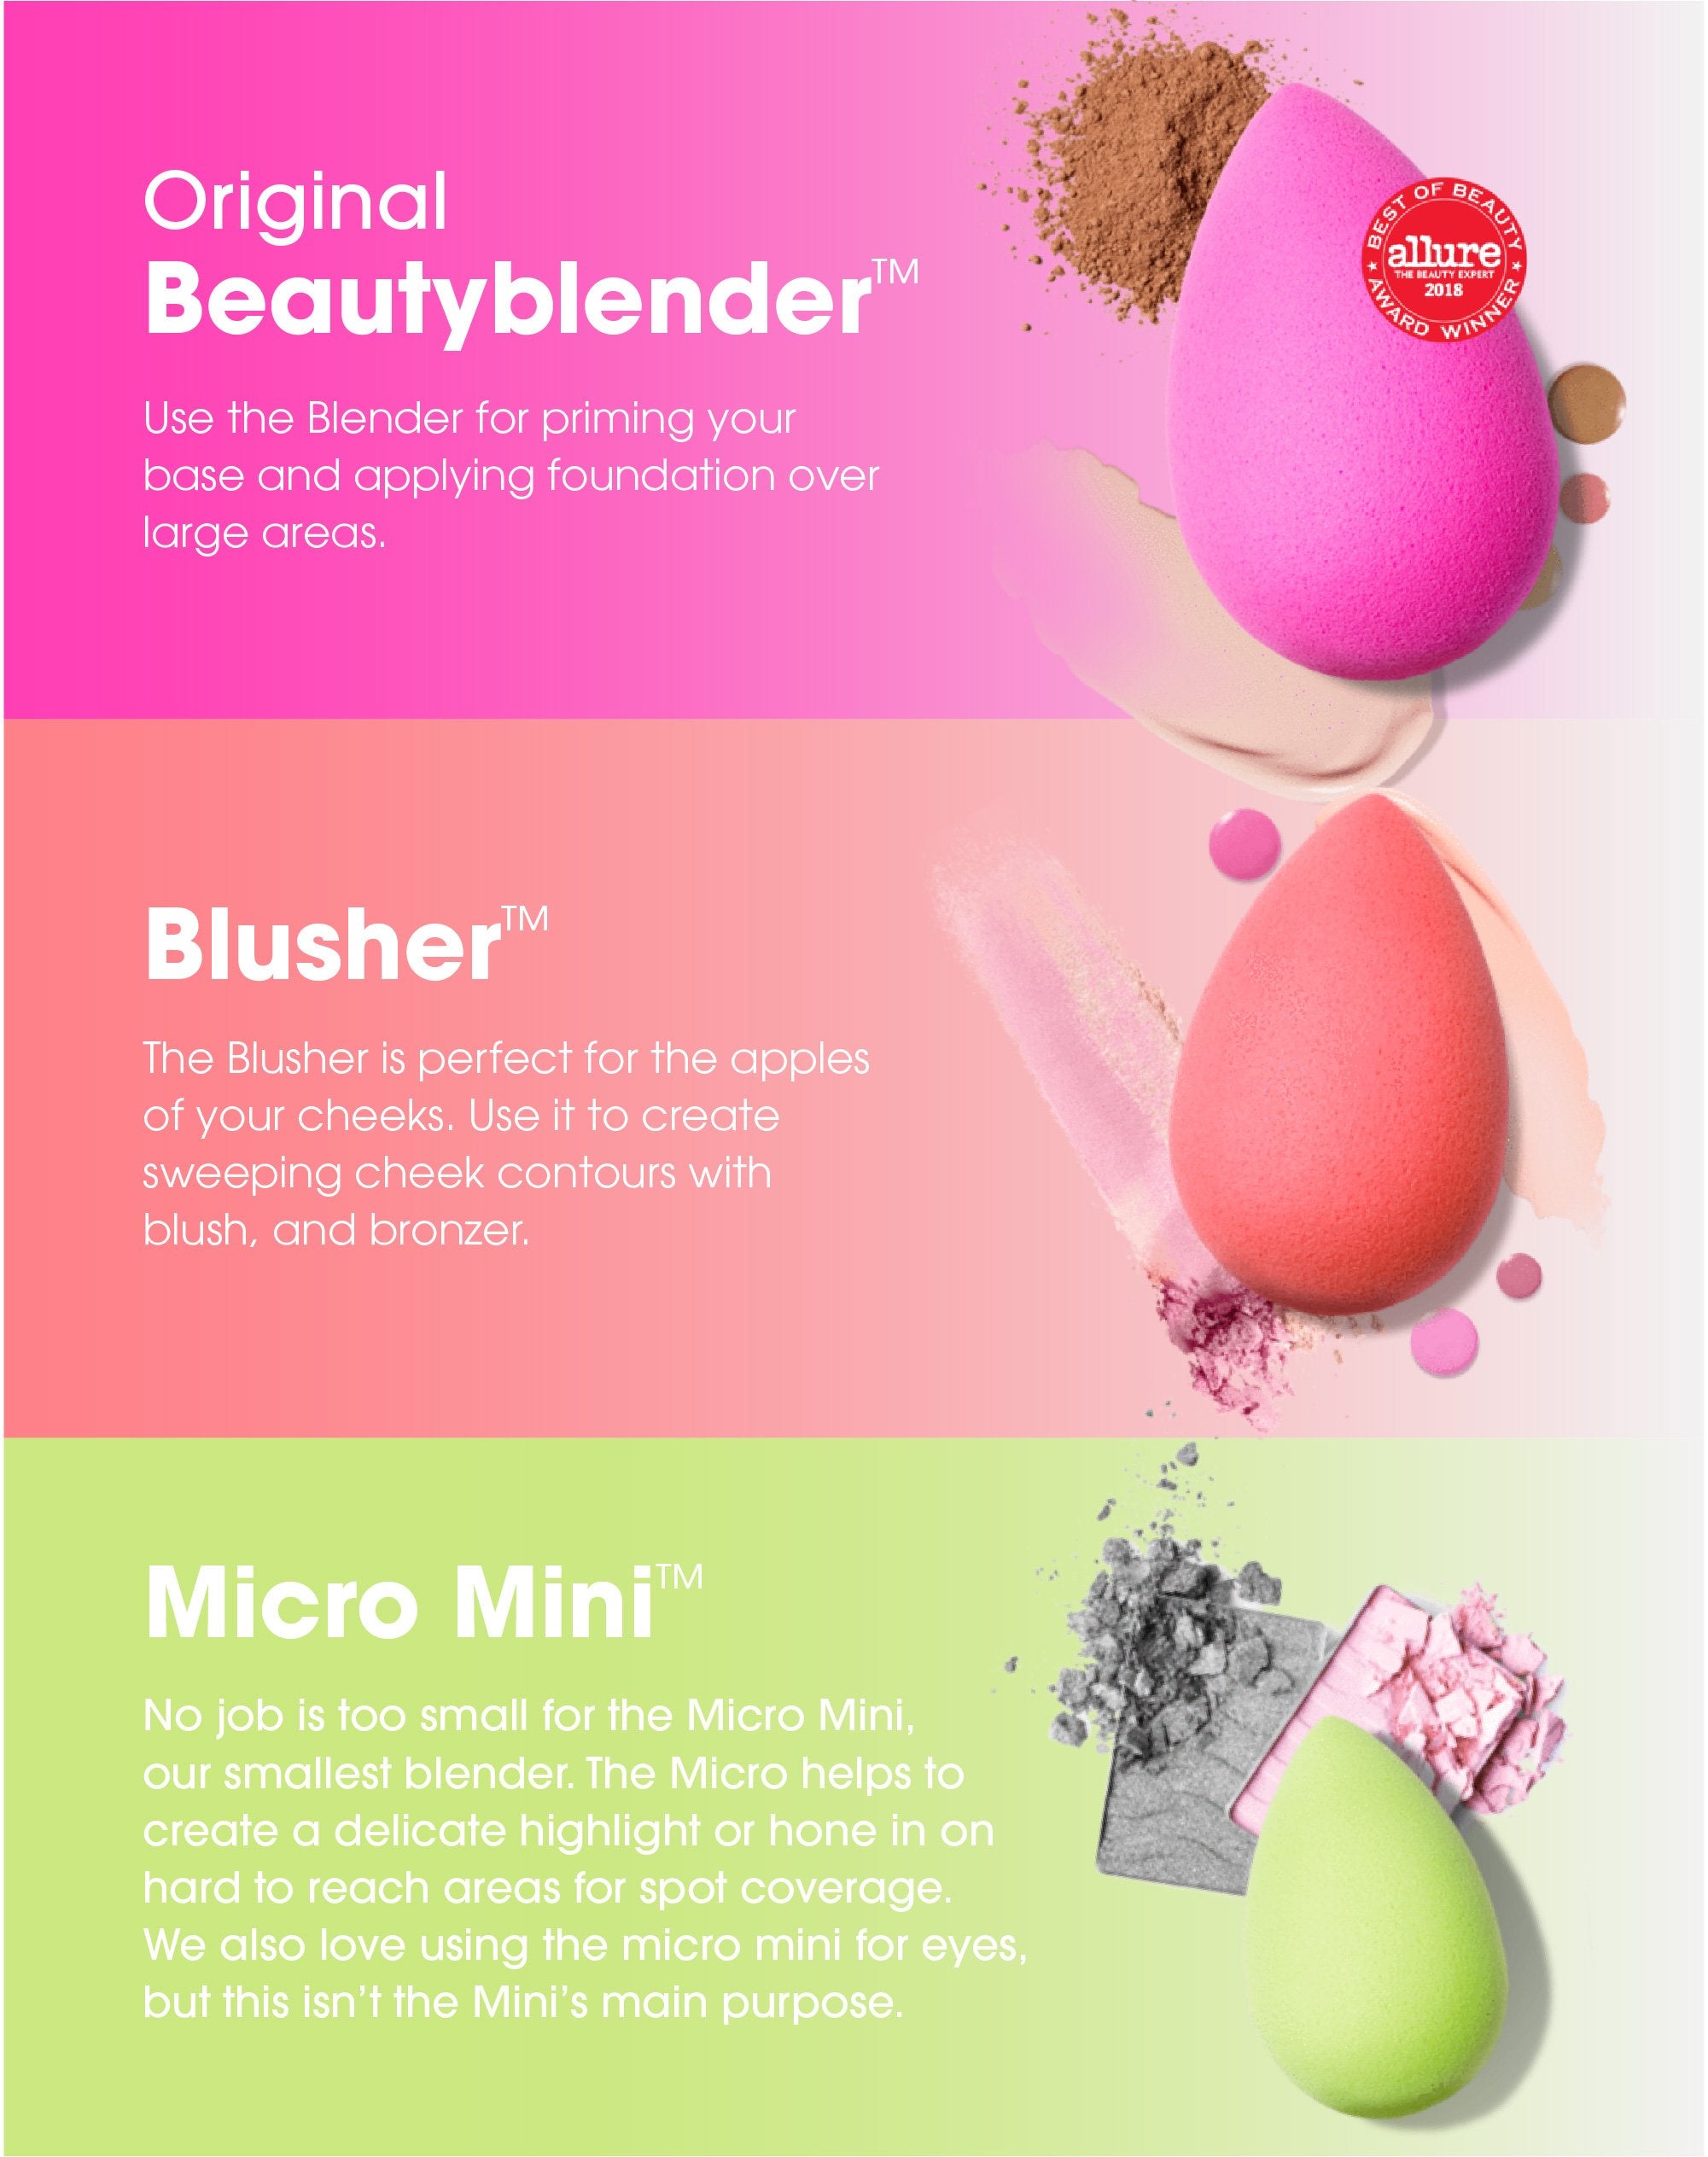
We have three makeup sponge sizes: the Beautyblender is our OG and largest, then the Blusher, and the Micro Mini is the smallest.
A good rule of thumb is that the larger the size of your sponge, the easier time you’ll have covering a large surface area, and vice versa. Smaller blenders are better for reaching smaller, hard to reach areas. Each blender grows almost twice the size as you follow the wet, squeeze, and bounce routine. So, keep that in mind when selecting a sponge.
Think Outside the Bottle
Our makeup sponges have evolved beyond foundation only. They’re compatible with ANY liquid, cream or powder makeup products. So don’t hesitate to use your blender for makeup other than your base. Here are our size guide tips:
- Use the original blender for priming your base and applying foundation over large areas.
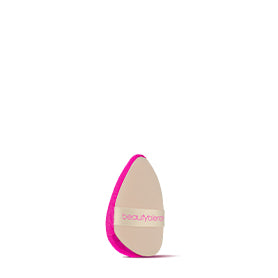
- The Blusher is perfect for the apples of your cheeks. Use it to create sweeping cheek contours with blush and bronzer.
- No job is too small for the Micro Mini, our smallest blender. Its tiny size helps create a delicate highlight or hone in on hard to reach areas for spot concealing like around the nose or under the eyes. We also love using the micro mini for eyeshadow too.
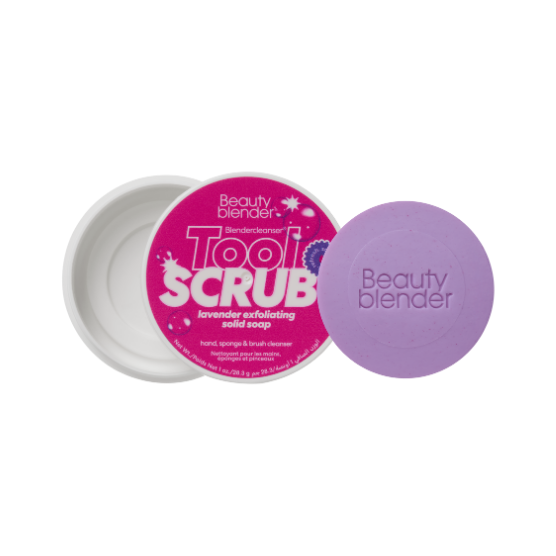
If you’re using your blenders for different products, remember to clean between uses–not only will you prevent bacterial buildup, but you’ll prevent color crossover. Check out our liquid and solid Blendercleanser options to find your perfect formula.
Ace Your Base
After your look is complete, keep it fresh all day with setting spray. Regardless of the blender, always remember to wet, squeeze, bounce! When you wet a Beautyblender, the blender increases drastically in size and repels the product, so the only thing absorbing makeup is your skin.
This process will enable you to ace your base with a flawless application. Check out our article on how to do your full face makeup with a Beautyblender.
Read More: The 3 Biggest Mistakes You Might Be Making With Your Blender

