How to Apply Highlighter Like a Pro
Knowing how to apply highlighter is practically an art form. The glow! The shine! The dewiness! There’s so much to love about highlighter and it has become an essential part of our beauty routines. How did the art of the highlight even come to be?
A quick history lesson on highlighting
Highlighting (as well as contouring) dates back to early 20th century Hollywood. Once the film industry revolutionized and began building production studios indoors, it was up to makeup artists to help mimic natural outdoor lighting on their actors while filming inside. The artistic endeavor we know as highlighting and contouring was born, and to this day we’re still trying to capture the light everywhere we go.
So what does it take to get the perfect dewy highlight? Read on for step-by-step tips on how to apply highlighter like a pro.
How to Apply Highlighter
Step 1: Prep your face
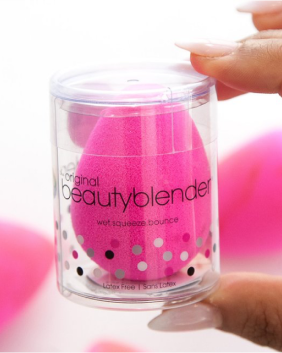
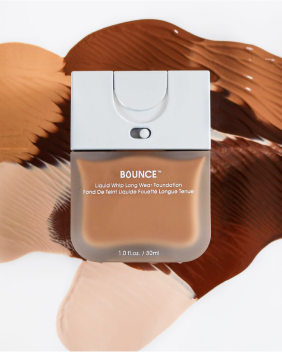
Start with your favorite primer to get your skin prepped for makeup. If you can find one with SPF, you’re golden. Pro tip: you should be wearing SPF on your face every day, even if it’s cloudy. You can still be affected by UV rays even in overcast skies. Our Selfie Shield™ Primer has SPF 38 and goes on clear, so it works for all skin types and colors. After SPF, it’s time to wet, squeeze, and bounce your foundation.
Word to the wise: you don’t have to wear a full face of makeup with highlighter. The beauty of highligher is it’s one of those magical products you can rock on a minimal makeup day to add a simple but natural glowy finish. But if you want an even canvas to build off of, go ahead and ace your base with primer, foundation, and concealer.
Step 2: Dab it on
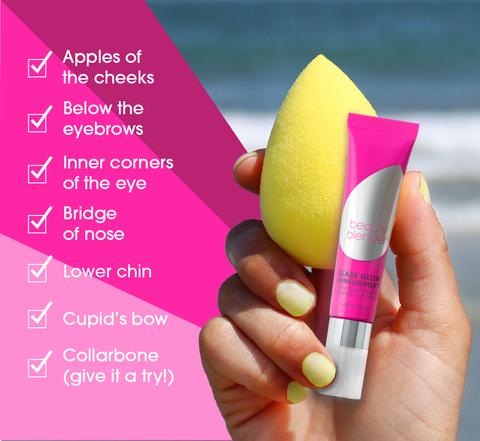
Knowing how to apply highlighter isn’t as hard as you think. It really comes down to placement. Here are all the spots on your face that naturally pick up light and where you’ll want to apply the product:
- Apples of the cheeks- Below the eyebrows
- Inner corners of the eye
- Bridge of nose
- Lower chin
- Cupid’s bow
- Collarbone (give it a try!)

If you don’t know how to apply highlighter or it’s your first time, rest assured it’s a simple process. Use either your finger, a Beautyblender®, or an eyeshadow brush (for powder highlighter) to dab and swipe product. The most beloved spot to wear highlighter is on the apples of the cheeks. This is where your face naturally catches the most light, so it’s a good starting point. Think about it like this: on the apples of your cheeks, create a parenthesis to frame your eyes with two “C” shapes facing inward.
Once you’ve mastered the cheek highlight, move on to the rest of your face. We love a touch of highlighter on the inner corners of the eyes and just below the brow bone to help give your eyes even more attention.
Next, work your way down from the bridge of the nose, to your cupid’s bow and below your chin. And don’t be afraid to highlight your collarbone! It may seem a little strange at first, but it’s a great way to add a little sheen–especially in the warmer months when you’re rocking your tanks, crops, and strapless tops.
BB Recommendation: Meet the Glass Glow Shinelighter
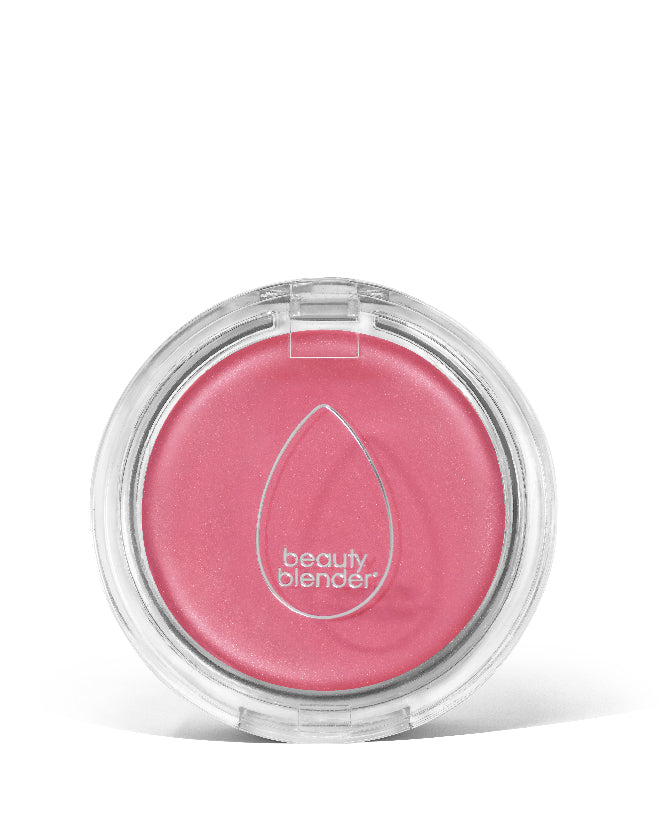
Here at Beautyblender®, we love a classic, everyday glow. That’s why we developed our very own highlighter for a natural, luminous glisten. Meet our Glass Glow Crystal Clear Shinelighter™. It’s a smooth, colorless balm that works universally on the skin–you can use it just about anywhere!
The lightweight formula is built to create a dewy, glassy glow without all the extra glitter and sparkle. It’s so versatile it can also be used on your lips and eyelids to make them pop. It’s never sticky or heavy and glides over the skin with ease. Glass Glow is so easy to use you’ll be a pro at applying highlighter in no time.
Step 3: Set it off
When it comes to knowing how to apply highlighter, it really comes down to how much glow you’re going for. Keep it natural or go a little glow-crazy–play around until you find your ideal radiance. Once you’ve nailed your glow, set your look with your favorite setting spray for day to night shine. Our Re-Dew Set & Refresh Spray is a do-it-all hydrating mist to help keep your makeup in place all day so you’ll be glowing from AM to PM!
Read more: Baking Your Makeup With A Beautyblender

