
Start by pre-heating with primer–jk, we’re not going to be punny about the serious subject that is baking makeup. But really, start the process by applying primer and foundation.
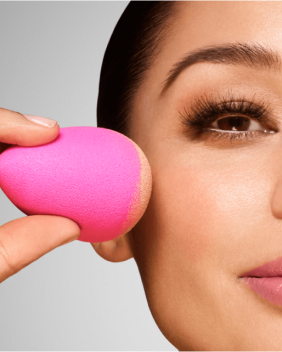
Next, make sure you have the necessary utensils for baking. This process requires eye cream, concealer, translucent powder, a small fluffy brush, and most importantly, a Beautyblender. Before we walk through the steps, let’s talk about why baking makeup is all the rage.
Why Baking?
Baking started in the drag community as the go-to term for setting makeup. Basically, you let translucent powder sit on your face for 5-10 minutes allowing the heat from your face to set both your foundation and concealer.
The end result is a flawless finish sans creasing–more on this later. We also want to note that baking is not an everyday necessity. Unless you’re being stalked by the paparazzi like the Hadid sisters or going on a date with Brad Pitt, baking might be an overkill.
Before You Bake
Like we said earlier, start with a primer. This vital first step puts a thin layer over your skin, providing a smooth surface for your foundation. Without primer, your foundation will catch onto and ultimately highlight any textural imperfections.
The next pre-baking step is eye cream. Delicate dab eye cream around and under your eye to fill any fine lines. Wait 5-10 minutes while that soaks in before you apply foundation. Side note: always apply foundation before concealer–foundation might be enough coverage on its own (for blemishes, not baking).
Lastly, we can not say this enough, ladies and gents, like content, eye cream is queen. Your eyes are not surrounded by oil glands, making the skin around your eyes prone to (whisper: wrinkles). Unless you’re planning to soft smile for the rest of your life like Kimmy, apply eye cream.
5 Steps To Baking Your Makeup
Now, let’s walk through the steps of baking makeup:
 1. Concealer
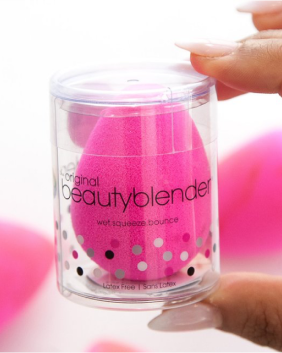
Apply a thick concealer under your eyes with a Micro.Mini Beautyblender. Concealer is known to crease, but if you set it correctly and prep with eye cream, you should get a smooth application. Apply the concealer in an upward motion to starting at your cheekbones and stopping at your temples. The key to this step is using a damp beautyblender; wet, squeeze, bounce.
2. More Concealer
If your first layer is enough concealer for you, skip this step. However, the extra layer of concealer is used to fill any fine lines present from the first round of concealer.
3. Bake
Use a Beautyblender Or Power Pocket Puff to apply a generous layer of translucent powder over your concealer. Wait five to 10 minutes before moving on to step 4.
4. Dust
Sweep away any excess powder with Big Boss Powder Brush & Cooling Roller or your puff. Make sure there’s no leftover residue while you’re dusting.
Next, finish the rest of your make up. Once you’re done, don’t forget to finish your look with setting spray (try Re-Dew Set & Refresh Spray). You’re now red carpet ready. Baked makeup looks great in photos, won’t smudge, come off, or succumb to sweat. Test it out and let us know what you think!
Read More: Why You Should Use Makeup Setting Spray

