
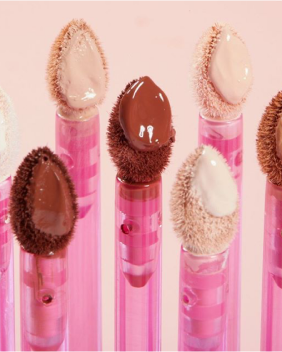
How to Clean a Beauty Blender in 5 Easy Steps

A fresh start in the new year begins with clean beauty habits, and learning how to clean a beauty blender is one of the easiest ways to refresh your routine. However, many people neglect this crucial step - studies show that 39% of women clean their makeup tools less than once a month, while 22% never clean them at all. This buildup of old makeup, oil, and bacteria can lead to clogged pores, breakouts, and uneven makeup application. If achieving a flawless foundation is your goal, keeping your beauty blender clean should be a priority.
The reality is that a dirty beauty blender isn’t just unsightly - it’s a breeding ground for bacteria and dead skin cells. How to wash a beauty blender properly doesn’t have to be complicated or time-consuming. With the right technique and a few minutes of effort, you can extend the life of your blending sponge and protect your skin’s health. In this article, we’ll break down the easiest and most effective ways to clean your beauty blender, how often you should do it, and the best cleansers to use - so you can start the new year with fresh, glowing skin and perfectly blended makeup.
Why is it important to clean your beauty blender?
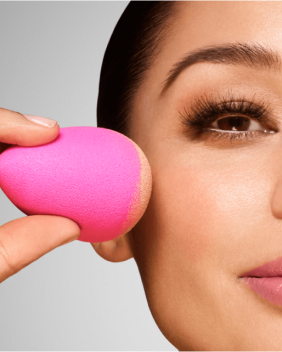
If you want flawless makeup application and healthy skin, learning how to clean your beauty blender should be a top priority. Over time, your beauty blender absorbs foundation, concealer, oil, and bacteria, creating a breeding ground for germs. Using a dirty beauty sponge can lead to clogged pores, breakouts, and even skin irritation. Not only does this affect your complexion, but it also makes blending harder, resulting in streaky or uneven makeup.
Wondering how to clean your beauty blender the right way? Regular cleaning removes makeup residue and bacteria, keeping your sponge fresh and extending its lifespan. Experts recommend washing your beauty blender at least once a week to maintain hygiene and ensure smooth application.
Whether you're searching for how to clean my beauty blender after every use or how to wash your beauty blender quickly between makeup sessions, following a proper cleaning routine will help you achieve a flawless finish while protecting your skin.
How to clean a beauty blender (step-by-step guide)
If you use a beauty blender daily, keeping it clean is just as important as choosing the right foundation. Knowing how to wash a beauty blender correctly prevents bacteria buildup, maintains the sponge’s texture, and ensures smooth, streak-free makeup application. The key to effective cleaning is using the best quality cleanser designed specifically for beauty blenders or makeup brushes, which breaks down stubborn residue without damaging the delicate foam.
A dirty beauty blender can hold layers of product, oil, and dead skin, creating the perfect environment for bacteria to thrive. If you’re searching for the best way to clean a beauty blender, following a proper routine will help keep your sponge fresh and extend its lifespan. Below is a step-by-step guide to ensure your beauty blender stays clean and performs at its best.
Step 1: Wet your beauty blender properly
Before applying any cleanser, fully saturate your beauty blender with lukewarm water. The blending sponge is designed to expand when wet, making it more absorbent and easier to clean. Ensure the entire blender is soaked before moving on to the next step.
Step 2: Apply a high-quality cleanser
Rather than using harsh soaps that can degrade the material, always opt for a specialized beauty blender cleanser. These cleansers are formulated to break down makeup, oil, and bacteria while preserving the sponge’s structure. Squeeze a generous amount of cleanser onto your beauty blender and gently work it into the surface.
Step 3: Massage and squeeze gently
Using your fingers, carefully massage the cleanser into the sponge. Gently squeeze and press to break up stubborn foundation, concealer, and powder trapped within the pores of the blender. If your beauty blender has deeper stains, let the cleanser sit for a few minutes to loosen up residue before rinsing.
Step 4: Rinse thoroughly
One of the most important steps in how to clean a beauty blender sponge is ensuring that all cleanser and makeup residue is completely washed out. Hold your sponge under running lukewarm water, squeezing gently until the water runs clear. If residue remains, repeat the cleansing process until your beauty blender looks fresh and free from buildup.
Step 5: Dry it completely
After rinsing, gently squeeze out excess water without twisting or pulling the sponge. Then, place your beauty blender in a well-ventilated space to dry. Avoid keeping it in an enclosed container or makeup bag while damp, as this can lead to mold and bacteria growth. For best results, set it on a clean towel or in a dedicated drying stand where air can circulate around it.
How often should you clean your beauty blender?
If you use a beauty blender regularly, keeping it clean should be a priority. Knowing how to clean beauty blenders properly and how often to do it can make a huge difference in your skin’s health and your makeup application.
Since beauty blenders absorb liquid products like foundation and concealer, they can quickly trap bacteria, oil, and dead skin cells. Using a dirty blender can lead to breakouts, irritation, and streaky makeup. That’s why establishing a regular cleaning routine is essential.
So, how often should you wash your beauty blender? Here’s a simple breakdown:
After Every Use (Best for Acne-Prone Skin) – If you have sensitive or acne-prone skin, washing your beauty blender after every use is ideal. This prevents bacteria buildup and ensures a fresh application every time.
Once a Week (Minimum Recommendation) – For most people, washing a beauty blender effectively means giving it a deep cleanse at least once a week. This prevents product buildup, keeps the sponge soft, and helps it blend seamlessly.
Deep Clean Every Two Weeks – If you spot-clean frequently, a deep cleanse every two weeks will ensure hidden grime and bacteria are completely removed. A high-quality cleanser will break down stubborn residue without damaging the sponge.
Replace Every 3 to 6 Months – Even with regular cleaning, beauty blenders wear down over time. If your makeup sponge has rips, persistent stains, or a lingering odor, it’s time to replace it.
Why Regular Cleaning Matters
If you’ve been wondering how to clean beauty blenders effectively while keeping them in top shape, the key is consistency. The longer you go without washing your beauty blender, the harder it becomes to remove deep-set makeup and bacteria. A dirty makeup sponge not only affects your skin but also makes blending harder, leading to uneven makeup application.
By following a proper routine and using a quality cleanser, you can keep your beauty blender fresh, extend its lifespan, and achieve flawless makeup results every time. Set a reminder and make cleaning your beauty blender a habit, your skin will thank you.
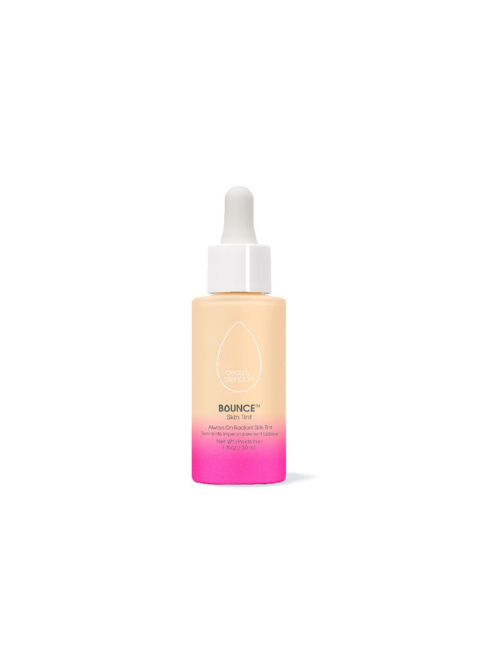
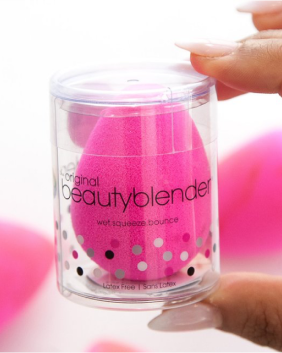
What’s the best cleanser for a beauty blender?
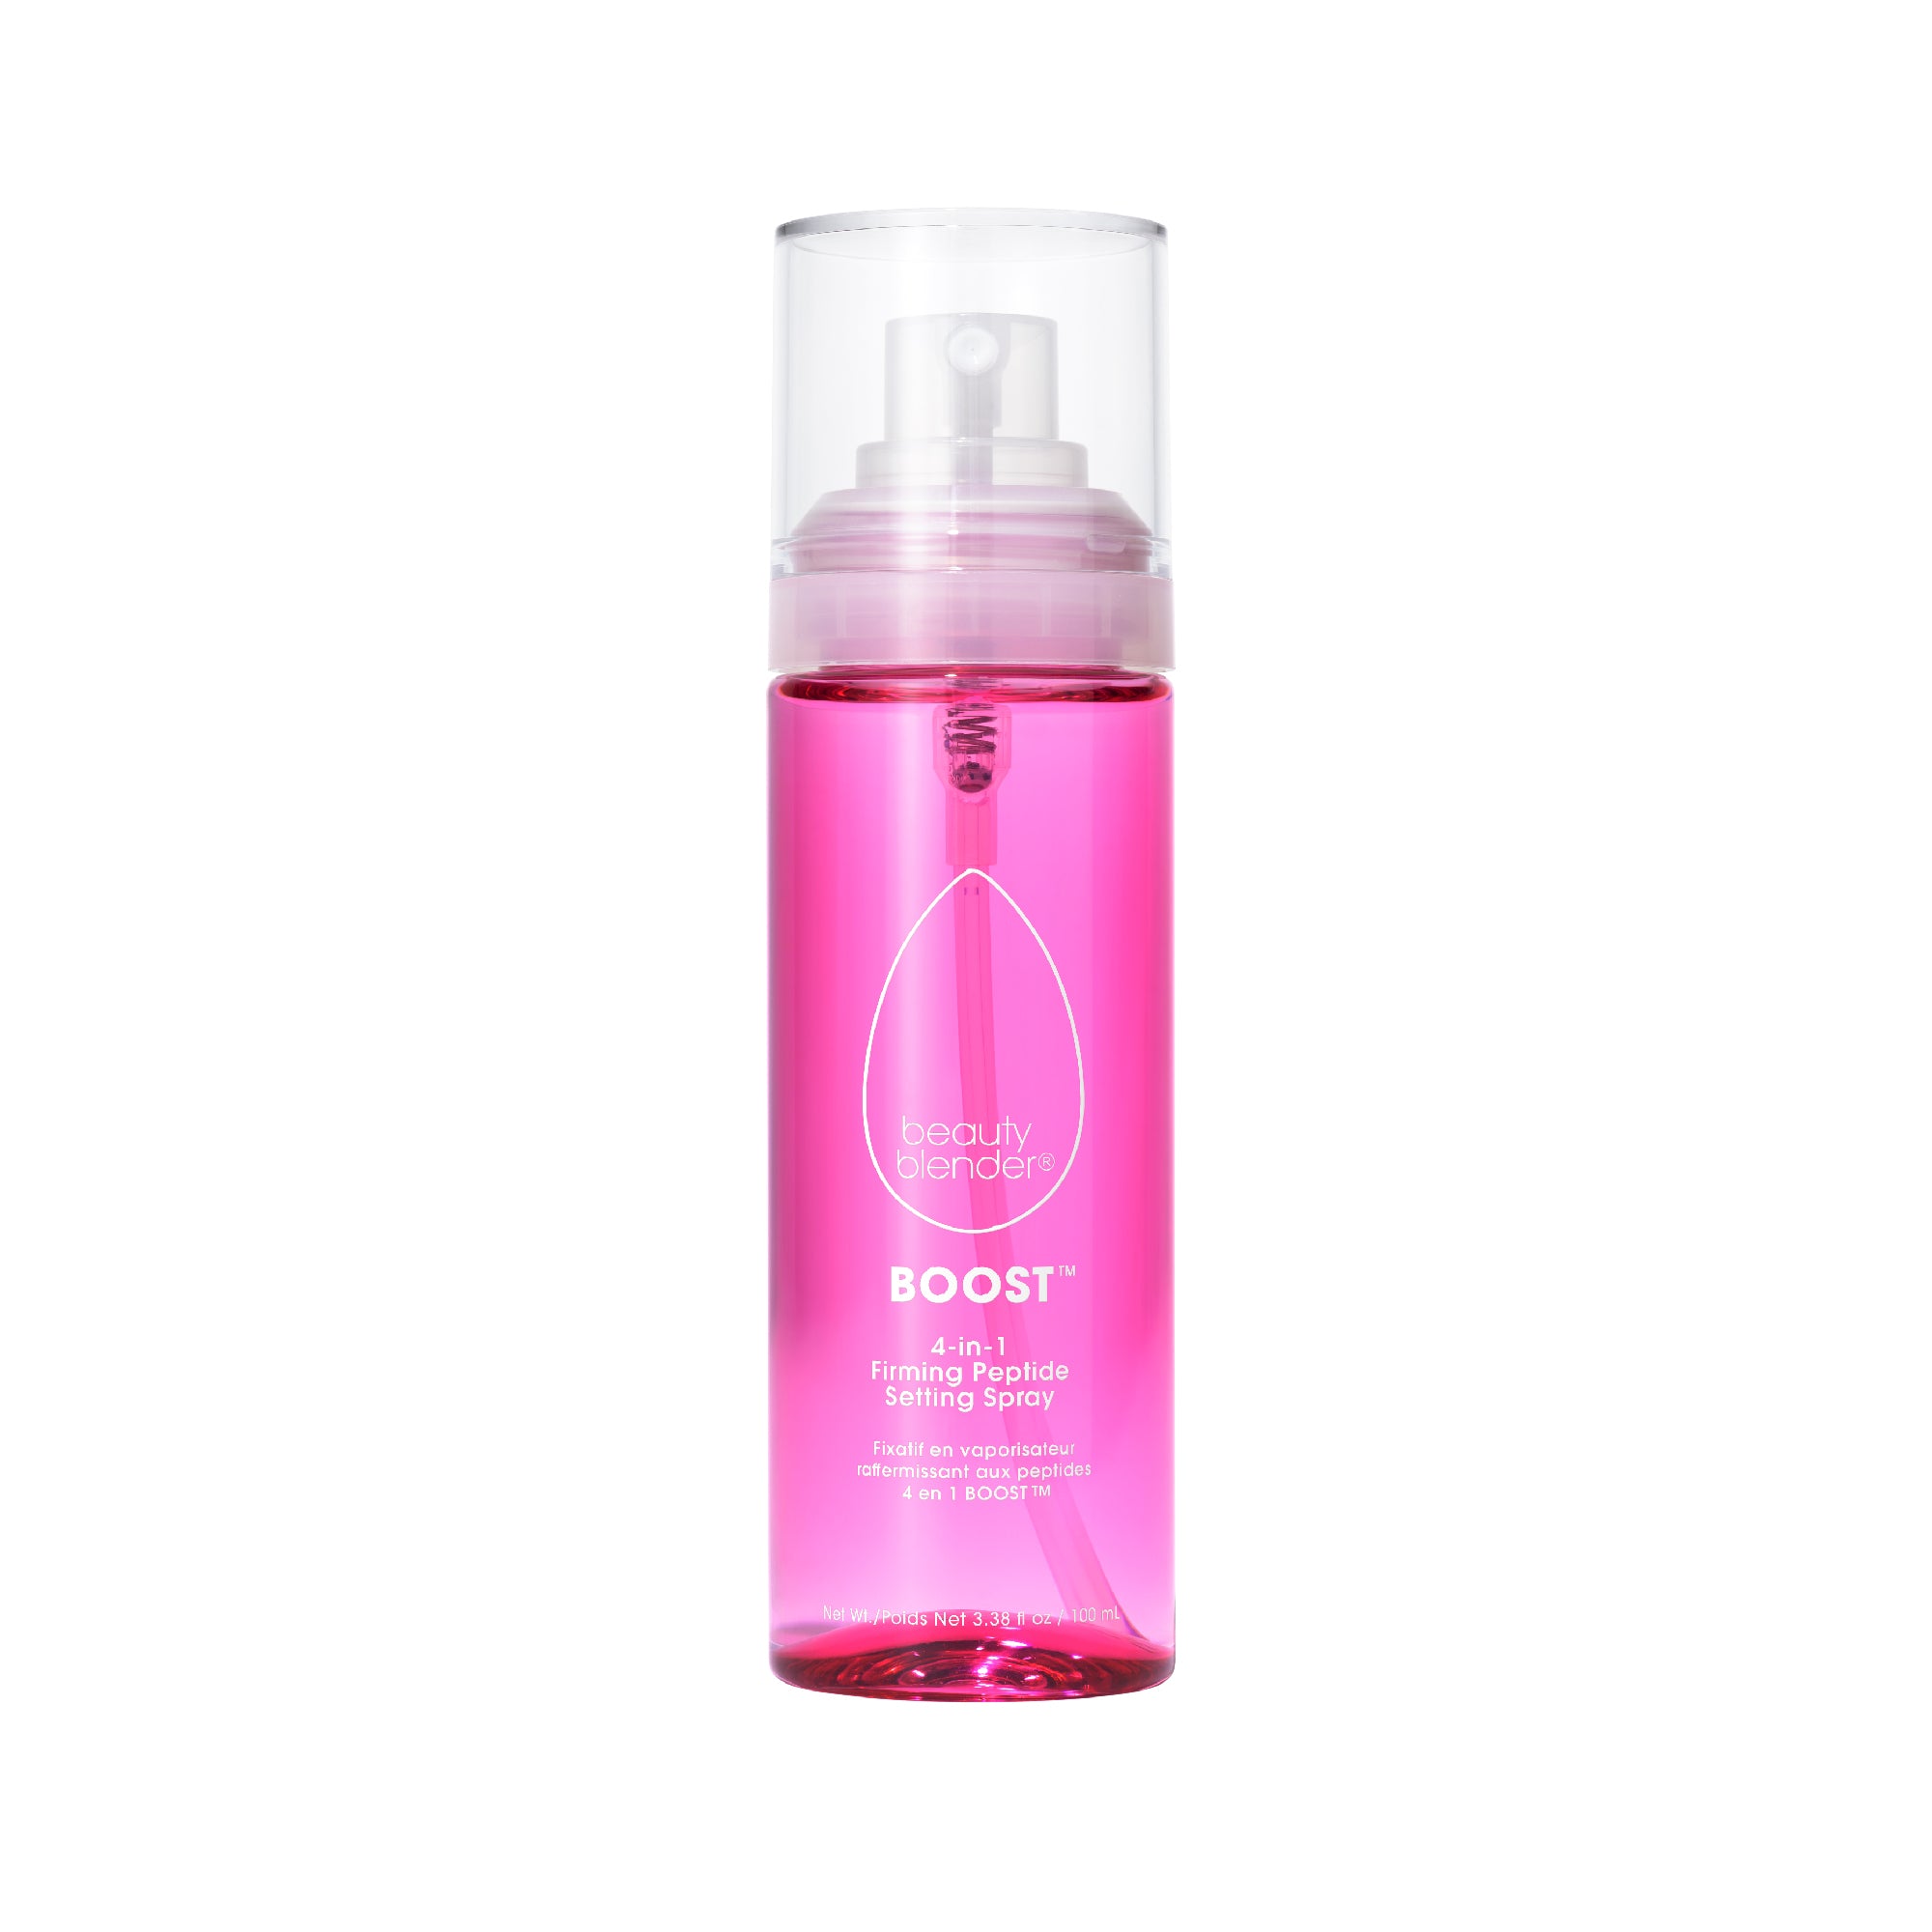
Now that you know how to clean your beauty blender, the next step is choosing the right cleanser to keep it in top condition. Using a high-quality cleanser is essential for breaking down makeup residue, oil, and bacteria without damaging the delicate beauty blender foam. The good news? There’s no wrong choice! Beautyblender offers a variety of cleansers, all designed to eliminate grime, protect against 99.7% of germs, and condition your sponge for long-lasting use.
Top Beautyblender Cleansers for a Deep Clean
Whether you need a quick refresh or a deep cleanse, these Beautyblender cleansers are specially formulated to keep your sponge in pristine condition:
Liquid Blendercleanser – A powerful yet gentle liquid formula that removes makeup and buildup while conditioning the beauty blender foam.
Blendercleanser® Liquid Charcoal Unscented – Infused with activated charcoal to absorb impurities and break down stubborn stains.
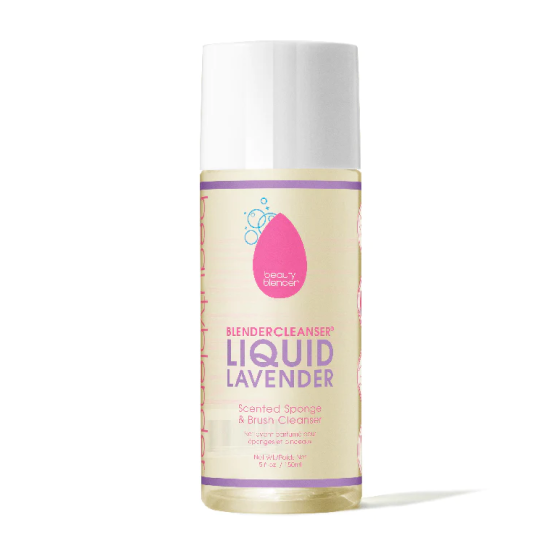
Lavender-Scented Sponge & Brush Cleanser – A calming lavender-infused formula that cleanses while leaving a refreshing scent.
Charcoal-Scented Sponge & Brush Cleanser – Ideal for those who love the detoxifying power of charcoal with a light, fresh scent.
Blendercleanser® Solid Unscented – A solid, travel-friendly option that provides a deep clean without added fragrance.
Blendercleanser® Sparkle – A fun and effective way to cleanse your beauty blender with a touch of shimmer.
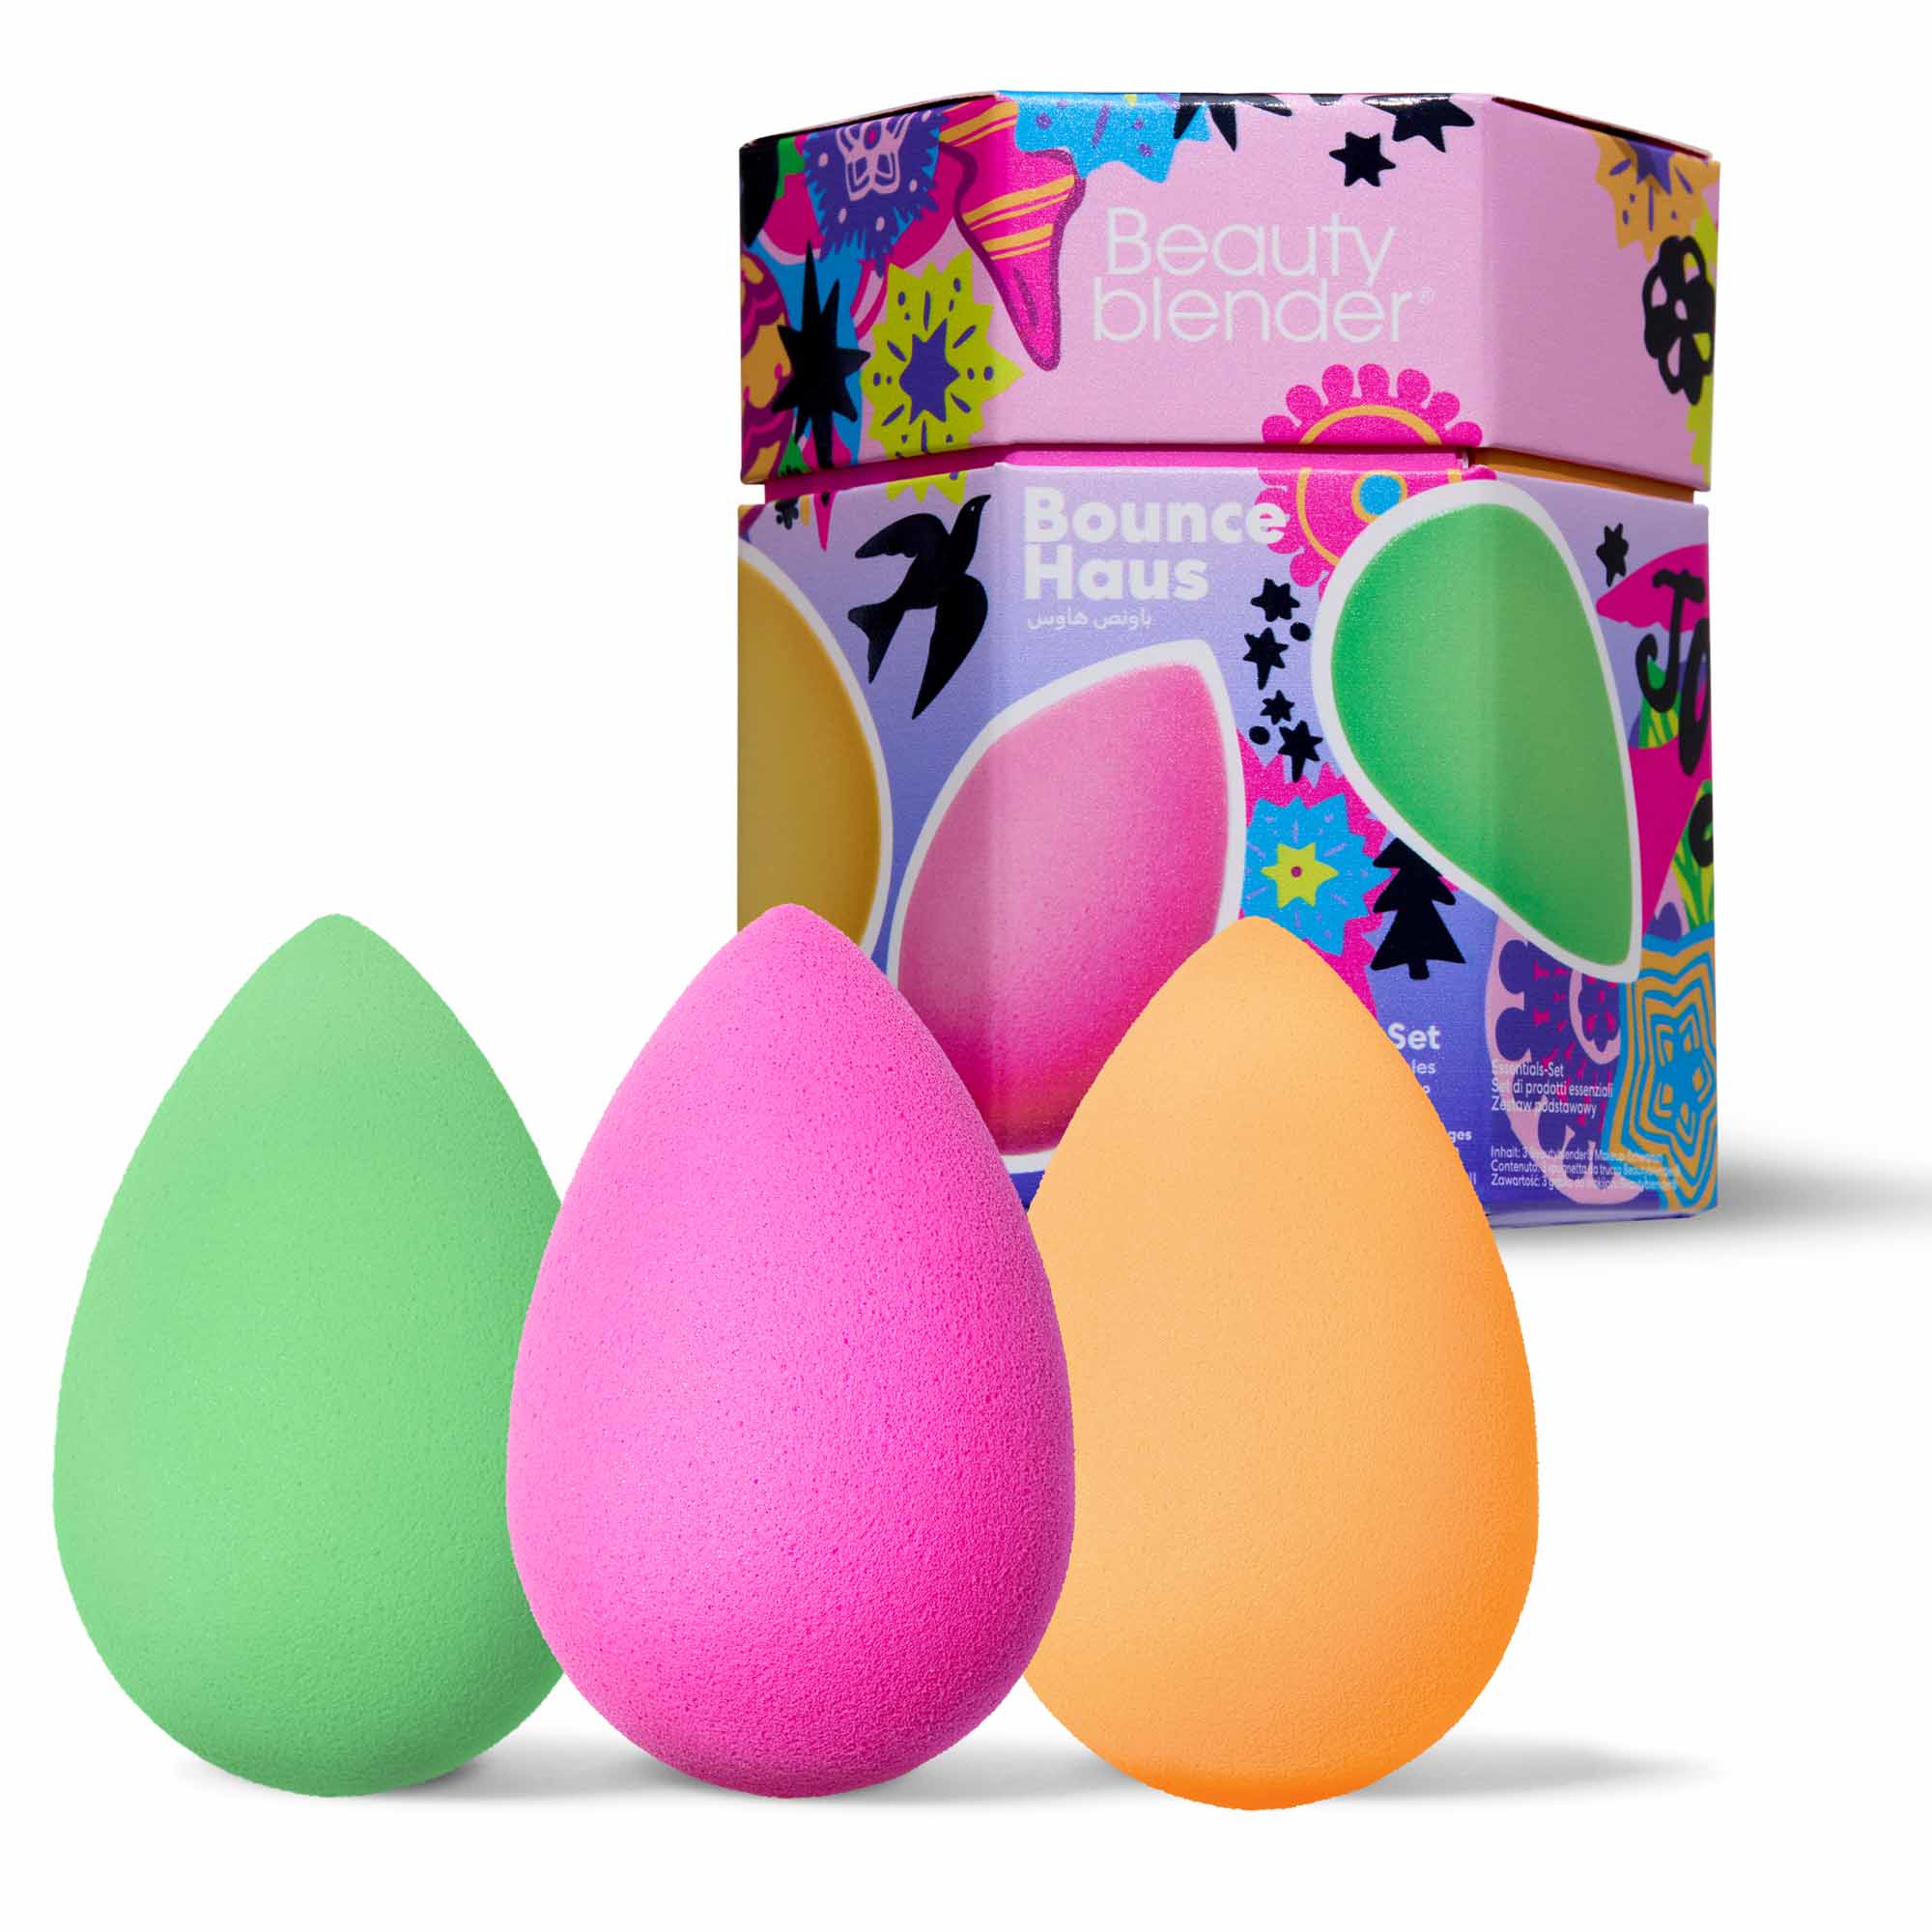
Best Beautyblender Kits for Cleaning and Storage
If you want an all-in-one solution for blending and cleaning, these Beautyblender kits are perfect for keeping your sponge fresh and flawless:
Besties Bio Pure Starter Set – A sustainable kit featuring a Bio-Pure Beautyblender and eco-friendly cleanser for a clean that’s kind to the planet.

Besties Blend & Cleanse Starter Set: Charcoal Edition – Includes a charcoal-infused Blendercleanser and silicone scrub mat for a deep, purifying clean.

Blend Baby Blend – A must-have duo featuring two mini beauty blenders and a Blendercleanser to keep them fresh on the go.

Which cleanser is right for you
Tips to keep your beauty blender clean longer
Once you’ve learned how to wash a beauty blender, keeping it clean for as long as possible should be your next goal. Regular cleaning is essential, but small habits can help maintain your beauty blender’s freshness, extend its lifespan, and reduce bacteria buildup between washes. Here are the best expert-approved tips to keep your beauty blender in pristine condition.
Wash your beauty blender regularly
The best way to clean a beauty blender is by washing it after every use or at least once a week. Frequent cleaning prevents makeup, oil, and bacteria from accumulating, keeping your sponge fresh and your skin clear. If you use heavy foundation or have acne-prone skin, washing it after each application is even more crucial.
Use a high-quality cleanser
While many people attempt DIY methods, the safest and most effective way how to clean your beauty blender is with a specialized cleanser. Beautyblender cleansers are designed to break down stubborn makeup residue while maintaining the sponge’s texture, preventing it from breaking down prematurely.
Avoid storing a damp beauty blender
One of the biggest mistakes people make after learning how to wash Beautyblender is storing it while it’s still damp. A wet beauty blender trapped in a makeup bag or drawer can lead to mold and bacteria growth. Always let your beauty blender air-dry completely in a well-ventilated area before putting it away.
Use a dedicated drying spot
The best way to clean a beauty blender doesn’t end with washing - it’s also about how you dry it, instead of placing it on a countertop where it can pick up dust or bacteria, store it in a ventilated holder or a clean, breathable space. Avoid sealing it in a case or container while it’s still damp.
Spot-clean between deep cleans
If you don’t have time to deep clean after every use, use a quick-drying spray cleanser for a fast refresh. This helps remove surface products and prevents buildup between full washes. However, a deep cleanse is still necessary at least once a week.
Replace your beauty blender regularly
Even with the best care, no makeup sponge lasts forever. Over time, the foam breaks down, making it less effective at blending. If your beauty sponge develops rips, stains that won’t wash out, or an unpleasant odor even after cleaning, it’s time to replace it. A good rule of thumb is to swap it out every 3 to 6 months for the best results. To learn more about when and why you should replace your beauty blender, check out this detailed guide.
Keeping your beauty blender clean is one of the simplest ways to improve your makeup application and maintain healthy skin. Now that you know how to clean a beauty blender properly, making it a part of your routine will ensure your sponge stays fresh, bacteria-free, and ready for flawless blending. By using a high-quality cleanser, drying it correctly, and replacing it when needed, you can extend the life of your beauty blender and achieve streak-free, airbrushed results every time.
Whether you were wondering how to wash a beauty blender after each use or searching for the best way to clean a beauty blender, this guide provides everything you need to know. Start implementing these simple cleaning tips today.
How to clean your beauty blender: everything you need to know
How do I get stains out of my beauty blender?
To remove stubborn stains from your beauty blender, use a high-quality cleanser specifically designed for makeup sponges. Wet your blender with warm water, apply a charcoal-infused or deep-cleaning cleanser, and gently massage the product in. Let it soak for a few minutes before squeezing out the excess residue. If stains persist, try using a cleansing pad to break up tough buildup or repeat the process for a deeper clean. Regular cleaning prevents stains from setting, keeping your beauty blender fresh and flawless.What happens if you don't clean your beauty blender?
A dirty beauty blender can become a breeding ground for bacteria, leading to breakouts, clogged pores, and skin irritation. Over time, built-up makeup residue and oil can affect the sponge’s texture, making it less effective at blending. Additionally, a damp, unwashed blender can develop mold and bad odors, making it unsafe for use. Cleaning your beauty blender regularly helps maintain hygiene, extends its lifespan, and ensures flawless makeup application.
Do you have to wash a beauty blender after every use?
While washing your beauty blender after every use is ideal—especially for acne-prone or sensitive skin—it’s not always realistic. At a minimum, you should deep clean your beauty blender at least once a week to remove makeup residue, bacteria, and oil buildup. For a quick refresh between washes, use a spray cleanser or spot-cleaning solution to keep it fresh. The cleaner your beauty blender, the better your makeup will apply.
Can I microwave my beauty blender to clean it?
While some claim microwaving a beauty blender kills bacteria, it can damage the sponge’s material. The safest and most effective way to clean a beauty blender is by using a gentle, yet effective, cleanser and warm water. A deep soak in a charcoal-infused or antibacterial cleanser will remove stubborn buildup without ruining your sponge.
What is the fastest way to clean a beauty blender?
If you’re short on time, the quickest way to clean a beauty blender is by using a liquid cleanser and a scrubbing mat. Wet your blender, apply the cleanser, massage it on the scrubbing surface, rinse thoroughly, and squeeze out excess water. You can also use a quick-drying spray cleanser to refresh your blender between washes.
Can I use dish soap to clean my beauty blender?
While some people use dish soap as a DIY cleaning method, it’s not recommended. Dish soap can be too harsh and strip the sponge of its softness, causing it to break down faster. Instead, use a beauty blender-specific cleanser, which is gentle yet effective at removing makeup residue and bacteria.
Why does my beauty blender still look dirty after washing?
If your beauty blender still looks dirty after washing, it might need a deep clean or a longer soak. Try using a charcoal-infused cleanser and let the sponge sit in warm water with the cleanser for a few minutes before massaging out the residue. Stubborn stains can also indicate it’s time to replace your beauty blender if it’s been used for several months.


