
You don’t need a glam squad to achieve a flawless foundation blend. The steps below (and a little patience) will have you #nofilter ready ASAP. Don’t be afraid to repeat these steps a few times to make sure you get it right for your skin type, color, and preference–practice makes perfect!
Step 1 & 2: Prime & Conceal
Not so fast with the foundation. First, we have to establish a good base for your foundation–we’re “All About That Bass” like Meghan Trainor (sub base for bass–ok, you get it). Without a solid base, foundation clings to imperfections in your skin instead of gliding over the base layer. The first step to flawless foundation is a great primer. Primer acts like Spanx–it helps everything that goes on top look better. Essentially, primers help makeup adhere to your skin, making it last longer. Some primers have extra benefits, like SPF or shimmer, making them a double-duty product.
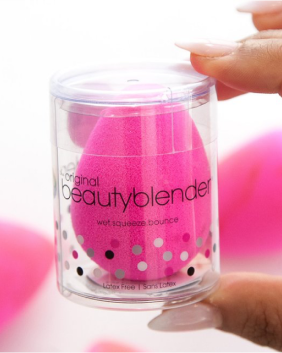
Primer should be applied with a beautyblender (remember to wet, squeeze, then bounce). Apply primer anywhere you plan to apply makeup on your face and neck. You can also layer extra in a trouble zone (here’s looking at that slick t-zone).
After you’re primed, blend a small amount of concealer with the tip of your beautyblender or micro.mini to cover any blemishes, acne, dark circles, or other areas where you desire a little extra coverage. Make sure your concealer is a shade lighter than your foundation for a brightening effect.
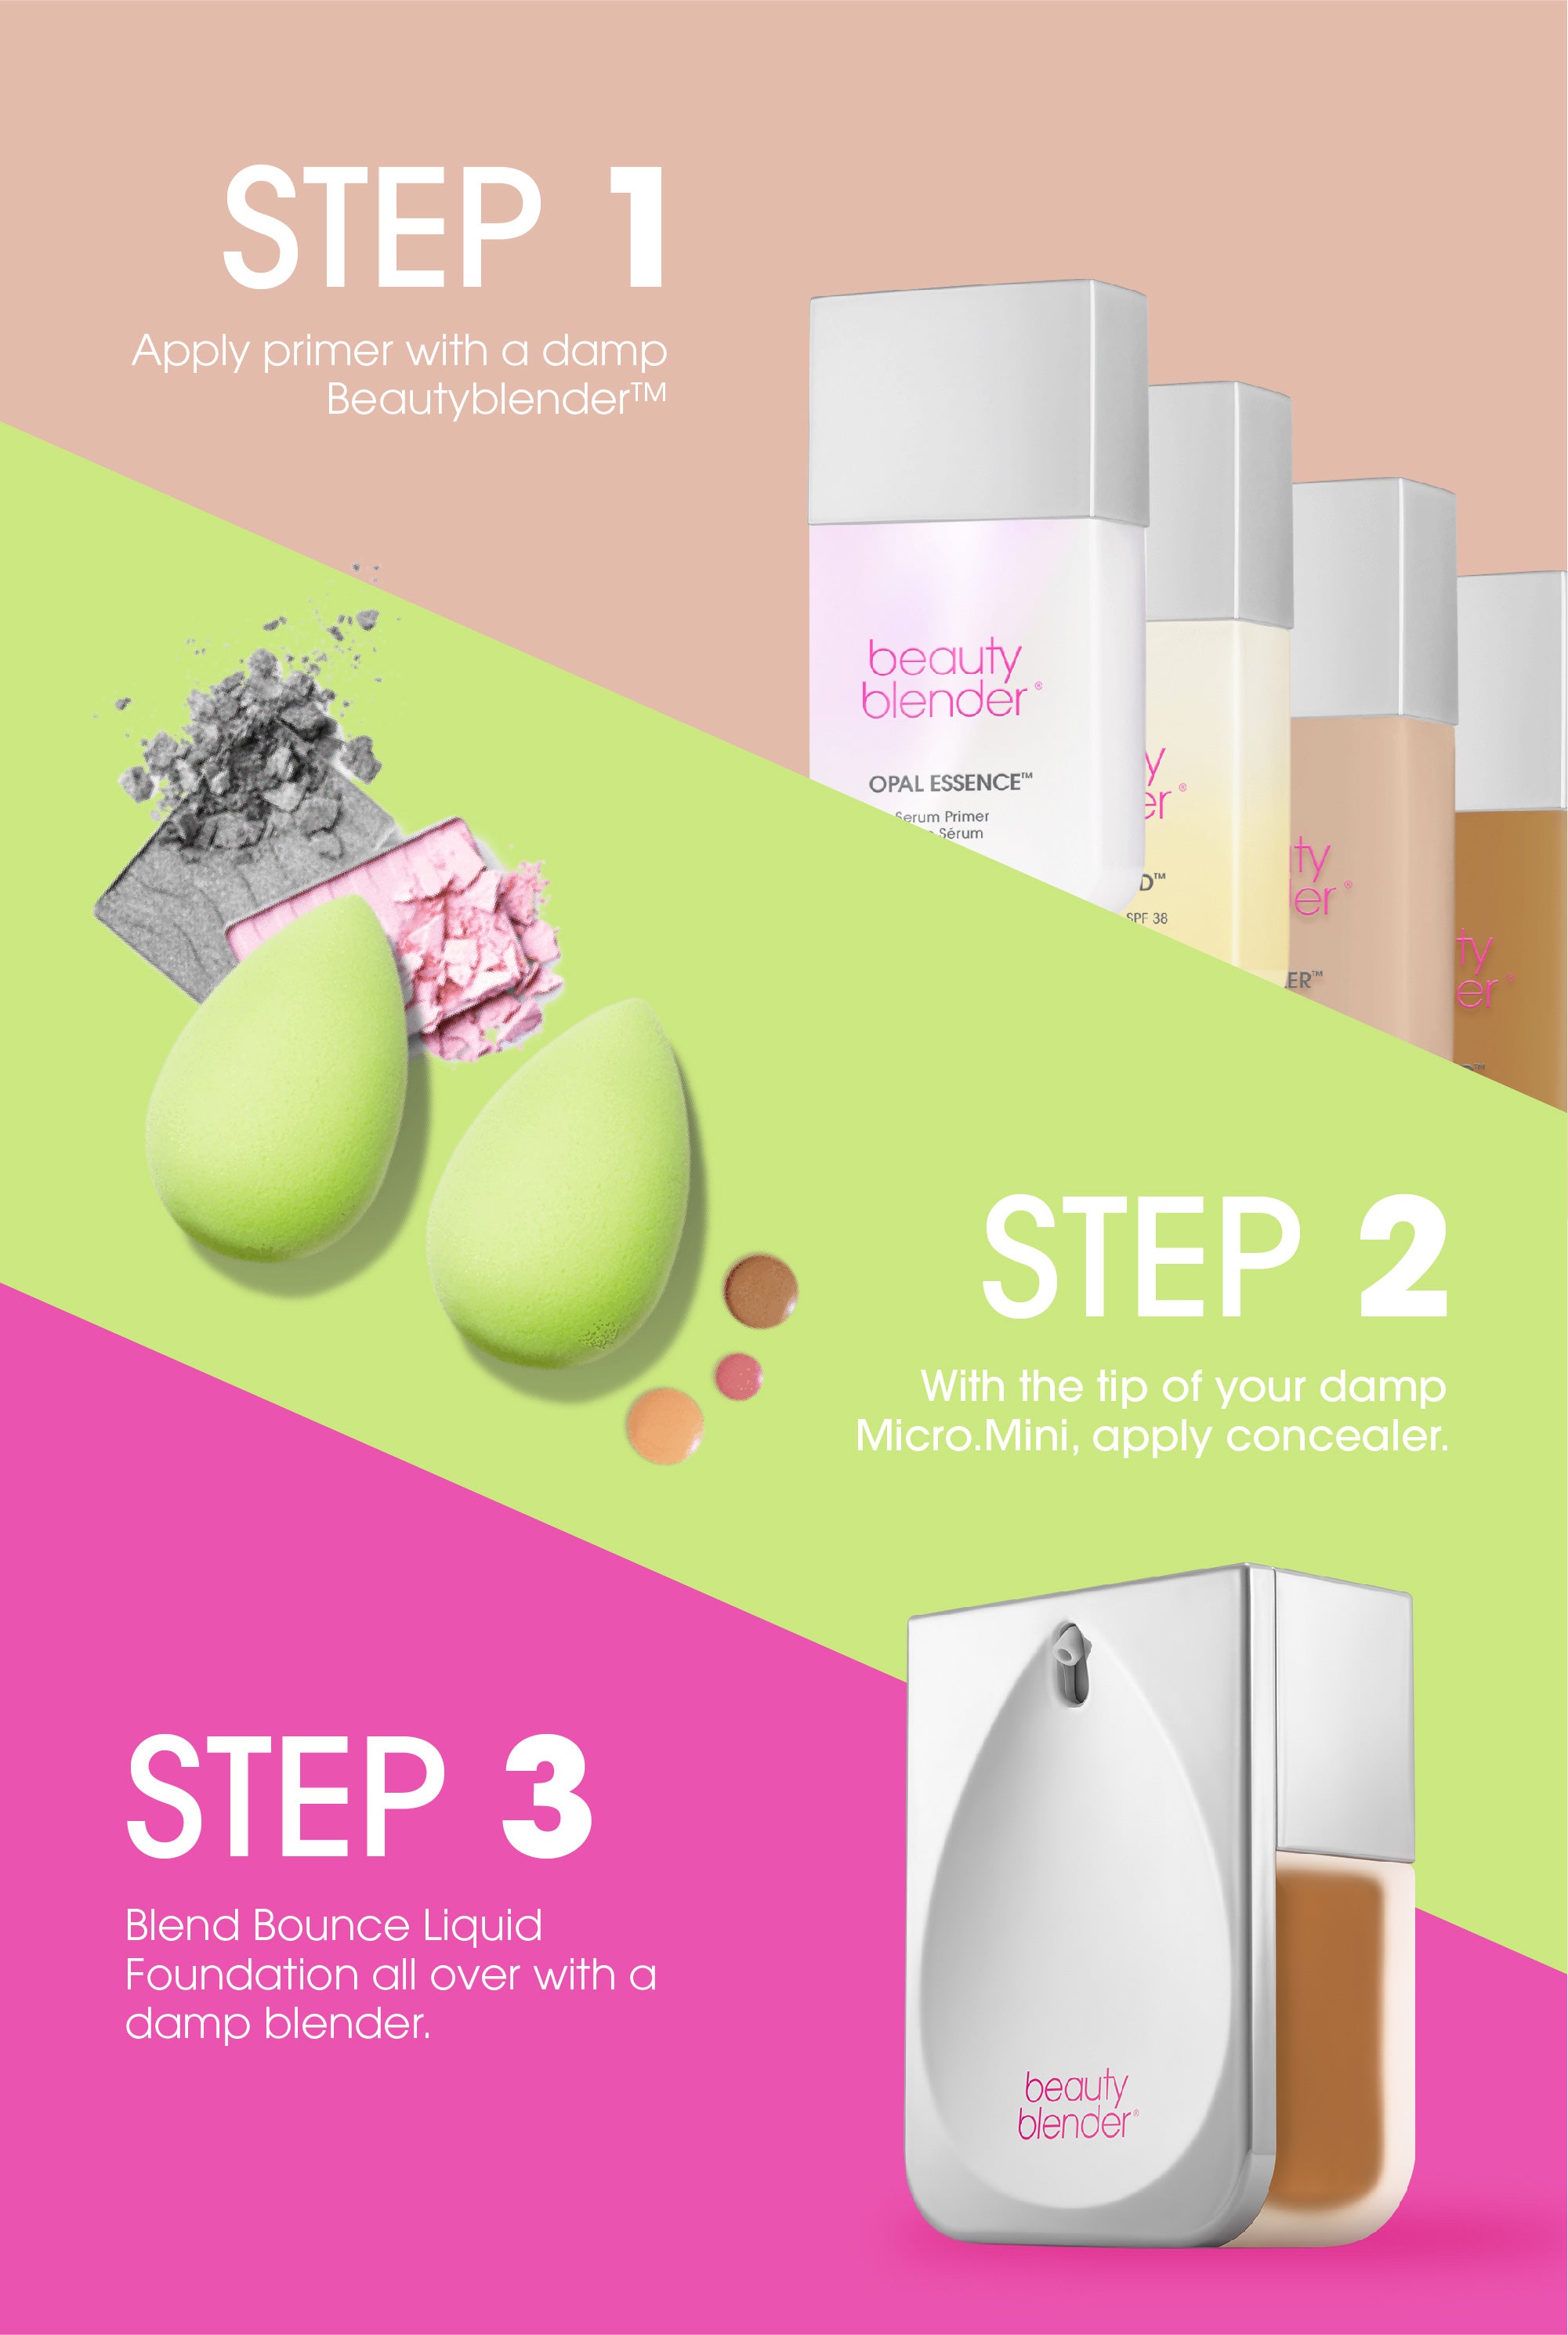
Step 3 & 4: Blend & Set
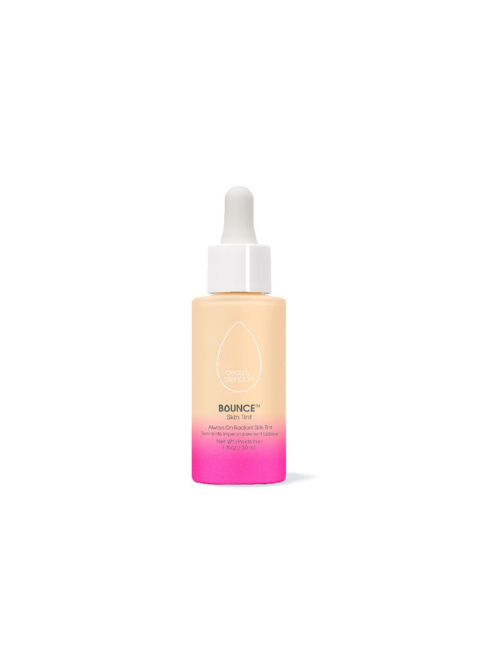
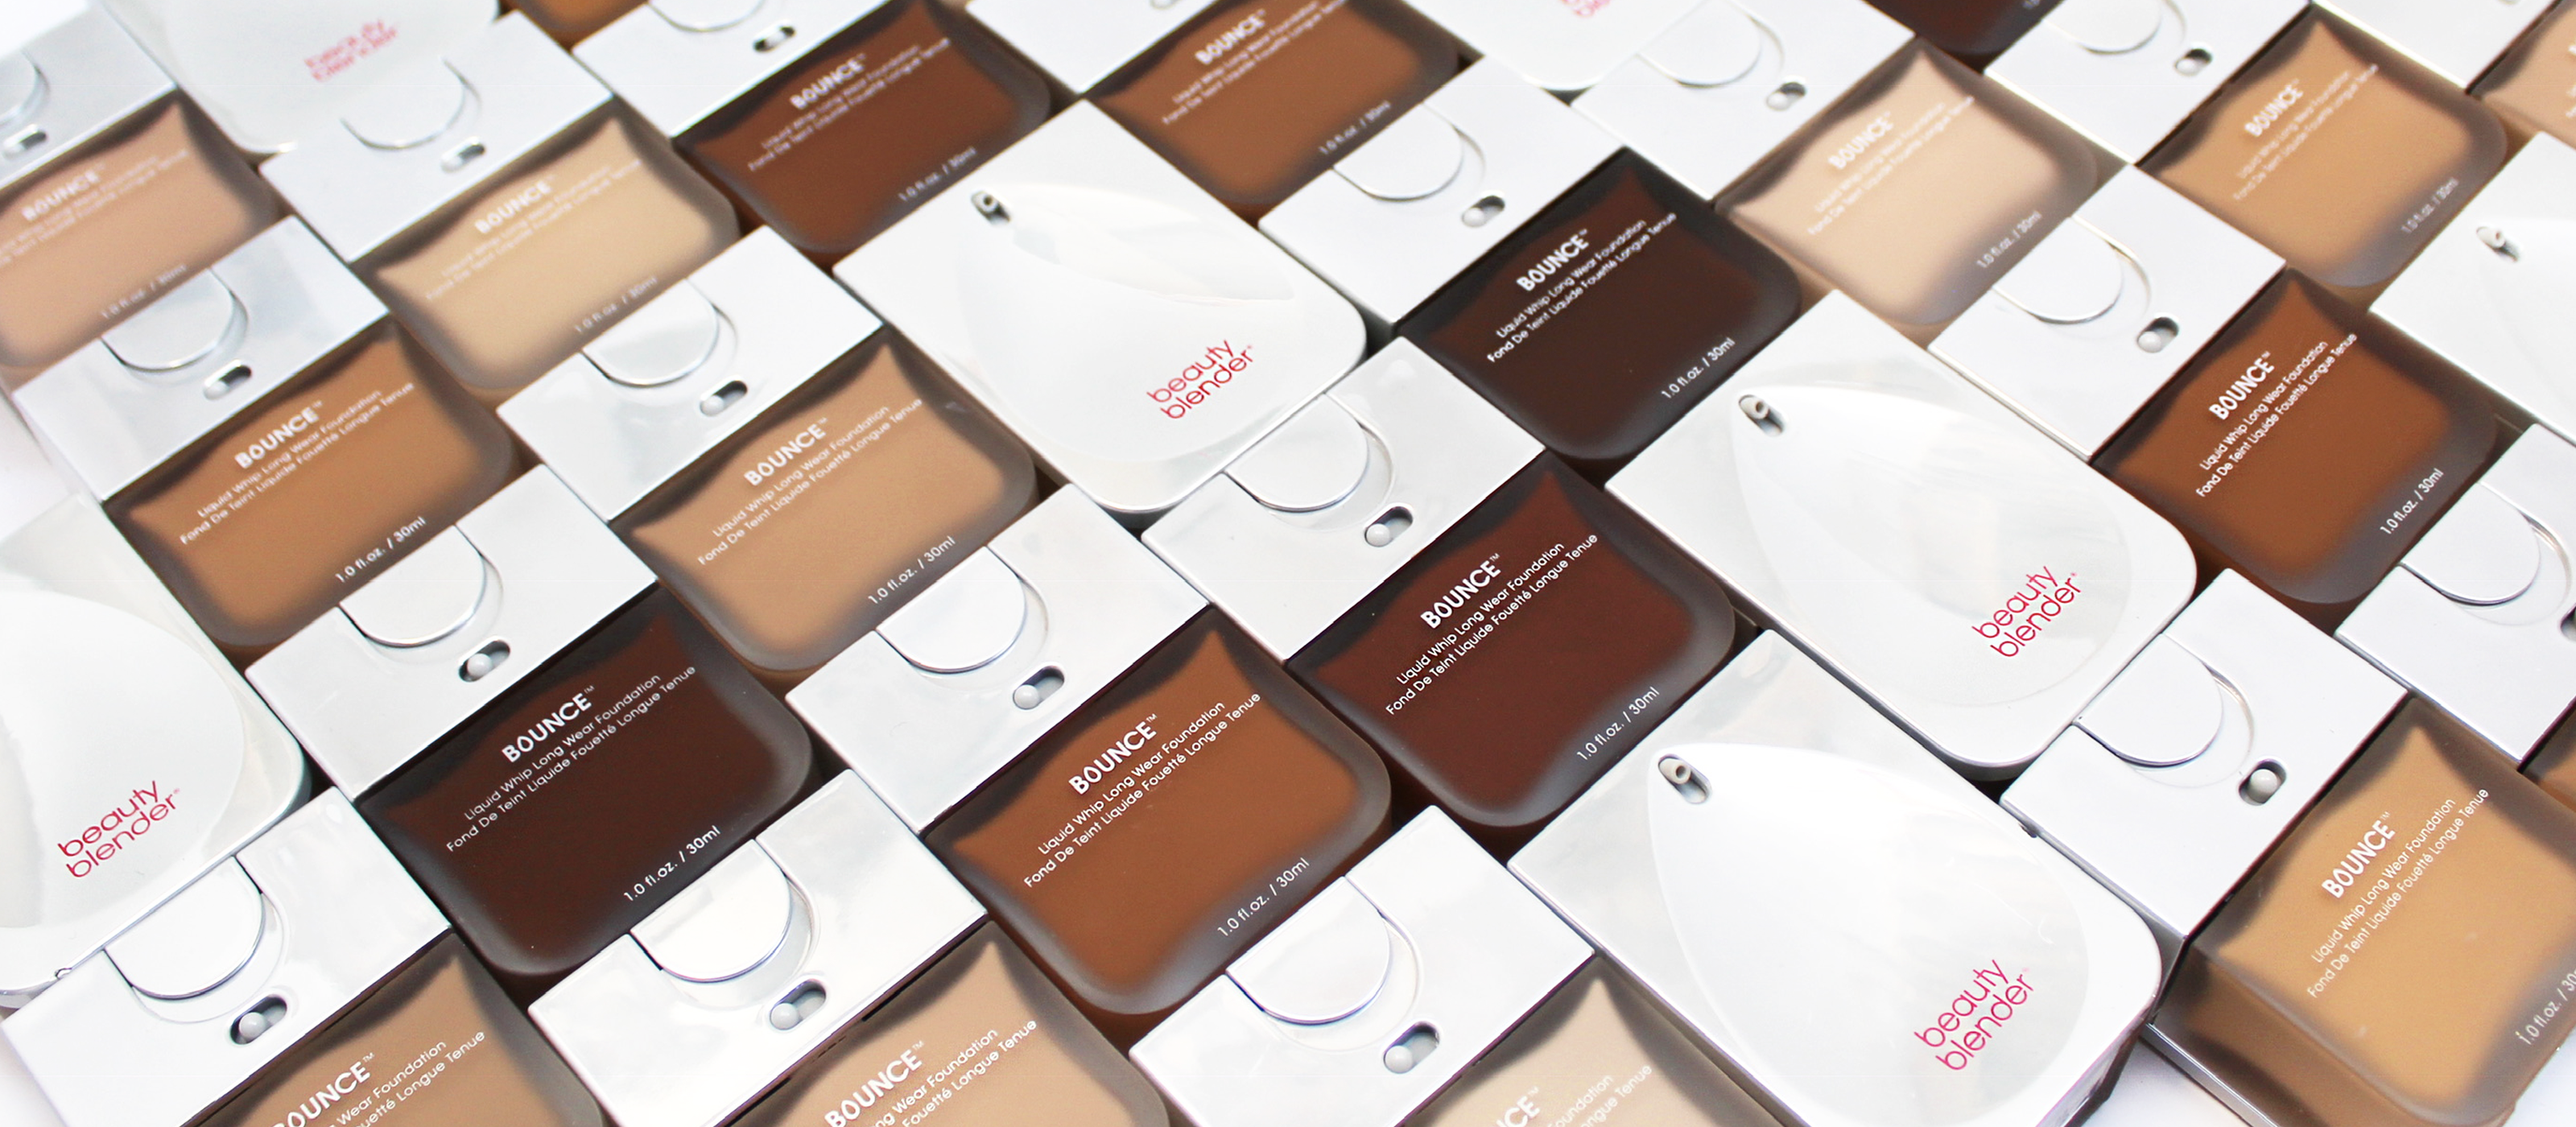
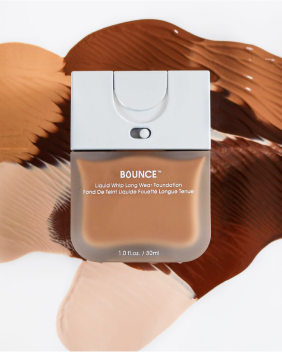
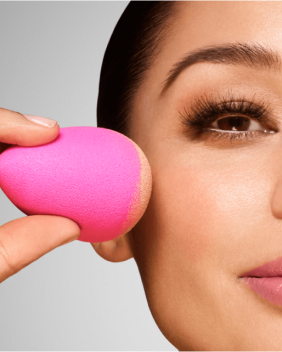
Use your damp beautyblender to dab liquid foundation (try BOUNCE Liquid Whip Long Wear foundation) over your entire face and neck. Remember to pick a shade closest to your natural skin tone. Don’t test on your hand as it might be a different shade than your face. Read our article on how to find the right foundation shade to make sure you’re not mismatched.
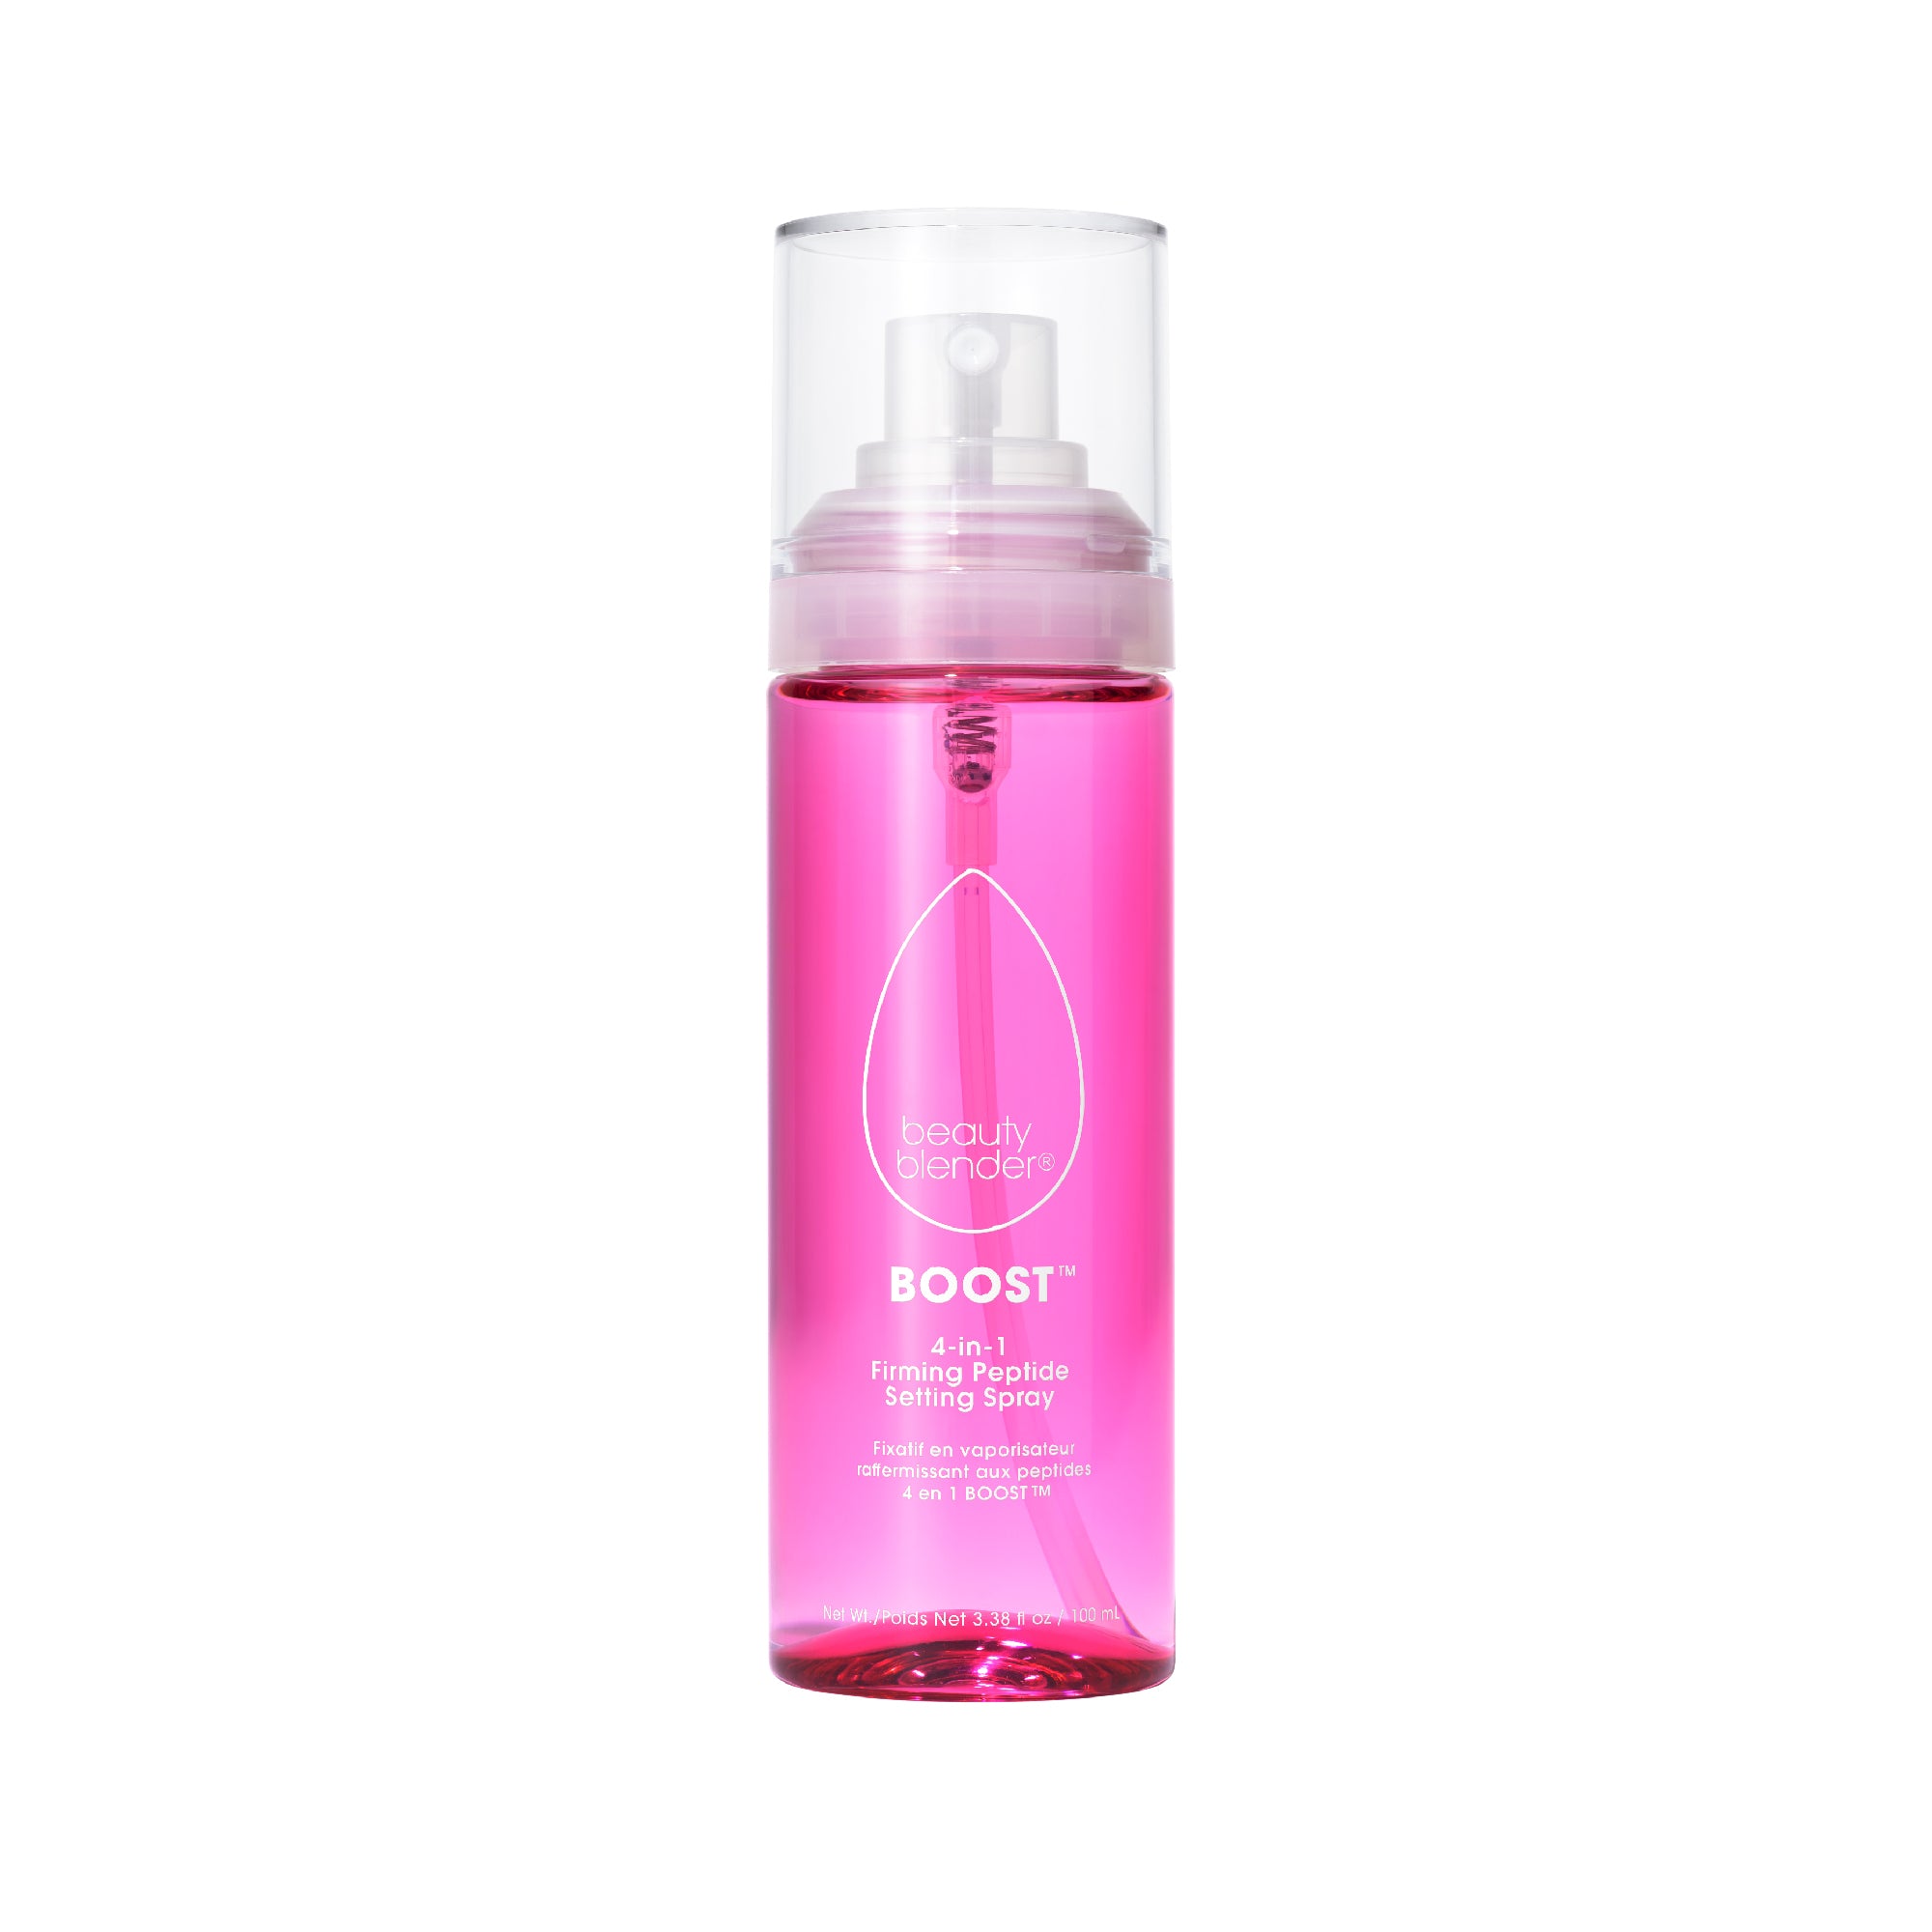
If you’d rather go for a glowy finish, top it off with a hydrating mist, try Re-Dew Set & Refresh Spray. Take it with you if you need a refresh throughout the day. And, just like that, you’re Kendall Jenner. Tell Kris we said hi!

Step 5 & 6: Add in the Finishing Touches
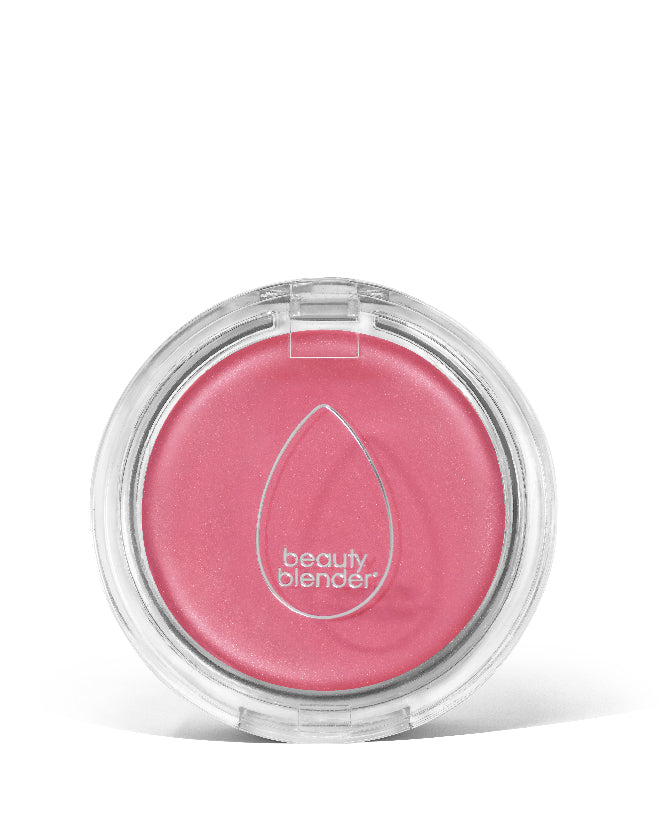
Adding a little contour or highlight to your base can help define your bone structure.
Contour can be applied to cheekbones, hairline from your temples to top of your forehead, sides of your nose, and sides of your jaw. Then, apply highlight to the arches of your brows, middle of your nose, cupid’s bow, and cheekbones to temples. Use a damp Beautyblender to blend.


%20will%20have%20you%20%23nofilter%20ready%20ASAP.%20Don%E2%80%99t%20be%20afraid%20to%20repeat%20these%20steps%20a%20few%20times%20to%20...)