
How To Contour Your Face

Learning how to contour your face can feel intimidating at first, but once you understand the basics - like where to put contour, how to apply it, and how to blend it properly - you'll see it's actually a simple way to enhance your natural features.
Whether you're aiming for subtle definition or a more sculpted, glam look, contouring adds shape and dimension that elevates your makeup routine. In this article, we’ll break down everything you need to know, from choosing the right makeup products for your skin type to applying and blending like a pro.
Let’s take the guesswork out of contouring and help you create a look that’s polished, lifted, and uniquely you.
How to contour your face: a step-by-step guide for beginners
Want to master the art of sculpted cheekbones, a snatched jawline, and a naturally lifted look? This step-by-step guide breaks down exactly how to contour your face - from product selection to perfect blending. Whether you're brand new to contouring or just looking to refine your routine, these simple steps will help you build definition and glow without the guesswork.

Let’s dive into the full face-sculpting routine.
Step 1: start with a smooth base
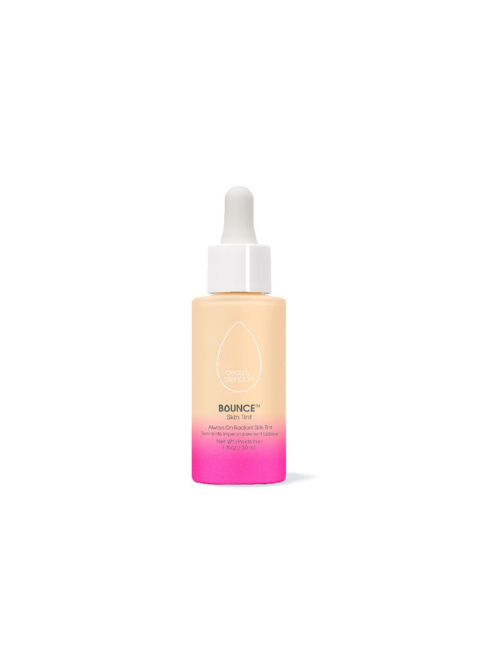
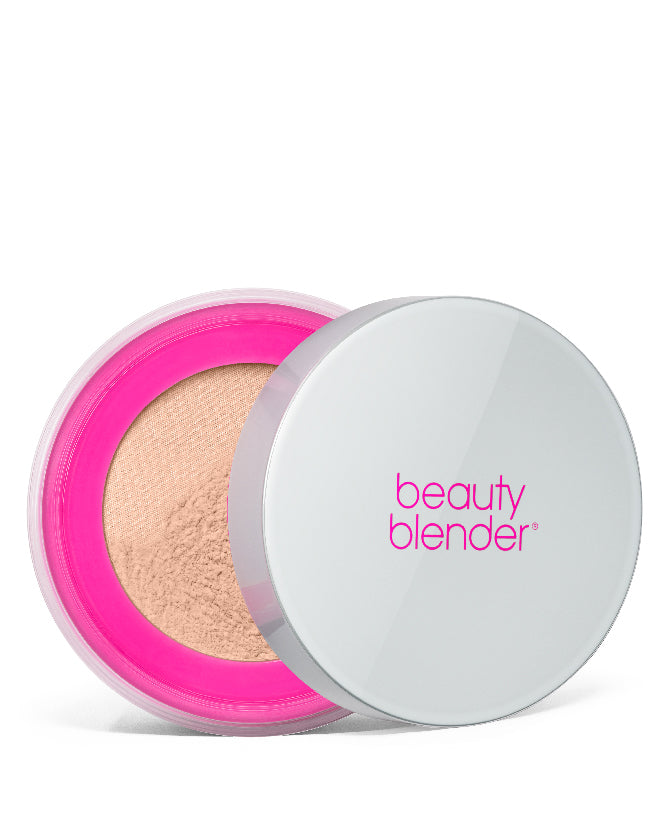
Before you even reach for your contour product, it’s essential to lay down a smooth, even base. Start by applying your primer to blur pores and help makeup adhere better throughout the day. Follow with your favorite foundation and concealer to create an even skin tone this is the canvas where your contour will really shine.
If you’re wondering how to contour your face without it looking streaky or uneven, this base step is crucial. A well-prepped face allows your contour and highlight to blend seamlessly, making everything look more natural and polished. Think of it as your foundation for structure literally and figuratively. Whether you’re learning how to do contouring on your face for the first time or trying to improve your blending skills, don’t skip this prep - it makes all the difference.
Step 2: apply contour
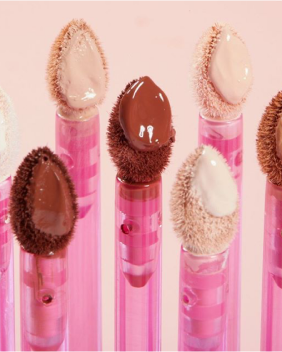
Now that your base is set, it’s time to sculpt. Start by choosing a contour product this could be a stick, cream, or powder - that’s 1–2 shades darker than your natural skin tone. The goal is to subtly mimic natural shadows on the face to create definition, not drastic lines.
If you're unsure where to put contour, focus on the areas that naturally recede or could use a little extra shape. Here’s a quick breakdown of how to apply contour effectively:
- Hairline and Temples – Apply along the top of your forehead and around your temples to add warmth and visually reduce height if desired.
- Under the Cheekbones – This is the most common area. To find the right placement, suck in your cheeks and follow the hollow from the top of your ear to the corner of your mouth.
- Jawline – Apply just along the edge of your jaw, blending down slightly onto the neck to create a more defined, lifted look.
- Sides of the Nose (optional) – If you want to create a slimmer or more structured nose, apply a thin line of contour down each side, connecting under the tip.
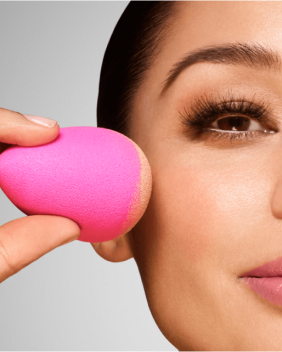
Once the product is placed, it’s time to blend and blend well. Whether you’re using a brush or a damp makeup sponge, blending is what takes your contour from harsh lines to natural definition. Use tapping or stippling motions rather than sweeping, which can shift your foundation underneath.
If you’ve ever asked yourself how to blend contour without it looking muddy or streaky, the answer is patience and technique. Blend until there are no visible lines - only soft shadows that enhance your features. This step is essential in achieving a natural finish and is often what separates a beginner look from a polished, professional one.
Remember: it’s easier to build than to erase. Start with a light hand - you can always layer more product if needed.

Step 3: highlight strategically
Once you’ve defined your features with contour, it’s time to balance those shadows with light. Highlighting is the counterpart to contouring - it lifts, brightens, and brings attention to the high points of your face, creating that radiant, dimensional look. If you’re still learning what is contour makeup and how it works, remember this: contour creates shadows, highlight brings light. Together, they sculpt your face in a natural yet striking way.
Choose a cream highlighter that works well with your skin and complements your overall makeup look. Cream formulas are especially great for dry to normal skin, delivering a smooth, dewy finish that looks fresh and radiant. Even if you have oily or combination skin, cream highlighters can still work beautifully when applied sparingly and set with a light powder. The key is to blend the highlighter seamlessly into your base and contour for a natural, lit-from-within glow that enhances the high points of your face.
Apply your highlighter to the following areas:
- Tops of the cheekbones – This draws the eye upward and gives your face a lifted appearance.
- Bridge of the nose – Just a light sweep adds dimension and creates a subtle slimming effect.
- Cupid’s bow – A touch above the lips enhances their shape and fullness.
- Center of the forehead and chin – These areas catch natural light and help balance the glow across the face.
Not sure you're placing it in all the right spots? Check out our guide on where to apply highlighter on your face for five simple tricks that make all the difference.
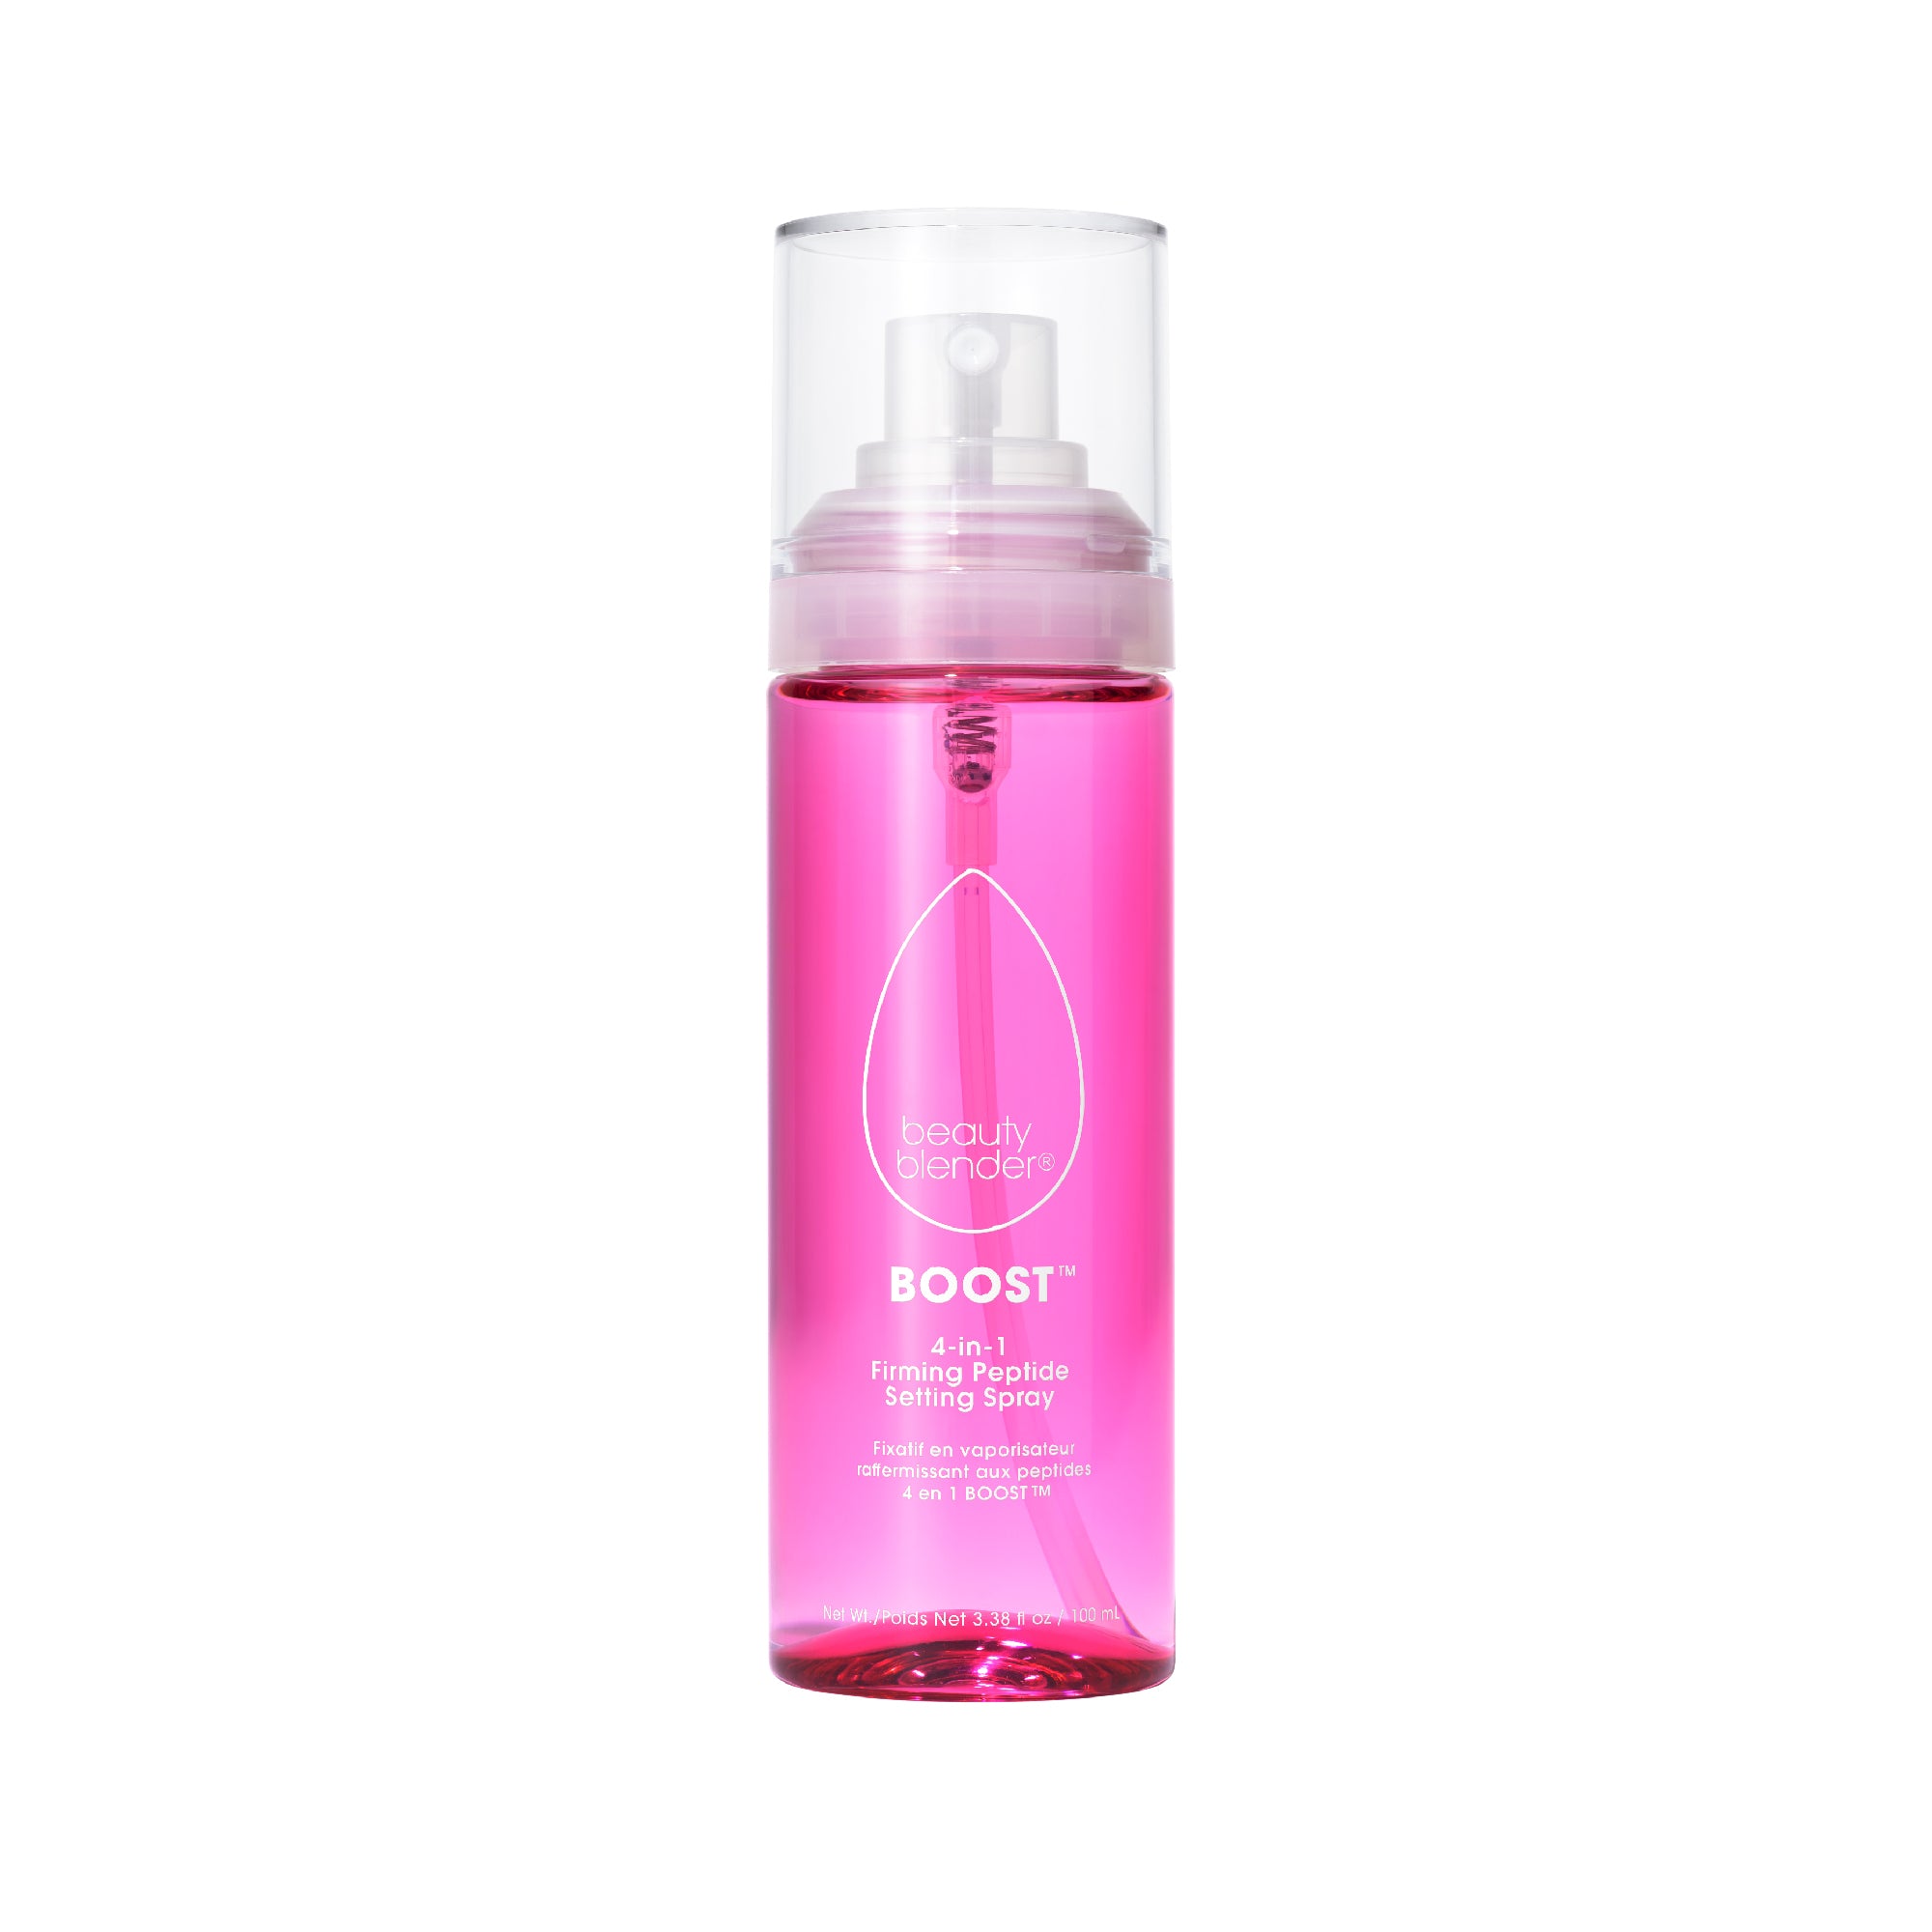
Be mindful of placement and blend well. The goal is soft luminosity - not a stripe of shimmer. If you’re new to contouring your face, it can help to think of highlighting as the finishing touch that pulls the entire sculpted look together. For best results, apply highlighter after blending your contour, so the two work in harmony to shape and illuminate your features.

Step 4: Add Warmth with Bronzer
Now that your contour and highlight are in place, it’s time to bring a little life and warmth back into the skin. While contour defines and sculpts, bronzer adds a natural glow that helps the face look healthy, sun-kissed, and more dimensional. This step is especially important if your contour shade is quite cool or dramatic - it softens those shadows and blends everything together seamlessly.
If you're still figuring out how to do contouring on your face, think of bronzer as the bridge between your sculpted features and your natural complexion. It's the “warmth” that ties the whole look together.
Using a fluffy brush, lightly dust bronzer over the same general areas where you applied contour:
- Cheekbones – Sweep bronzer just above or slightly over your contour to warm up the face.
- Temples and hairline – This creates a natural sunlit effect, like you’ve spent a day outdoors.
- Jawline – Helps keep everything cohesive and adds extra depth.
- Across the nose – A light dusting gives that fresh, just-back-from-vacation glow.
Unlike contour, which is more precise and shadow-focused, bronzer should be applied with a light hand in soft, circular motions. This allows you to blend without disturbing the layers underneath and avoids a patchy or overly heavy finish.
Adding bronzer is one of the easiest ways to elevate your look, especially when you’re learning how to contour face in a way that looks effortless and radiant. Whether you want subtle warmth or full-on beachy vibes, bronzer makes your skin look alive and finishes the sculpted effect beautifully.

Step 5: finish with blush
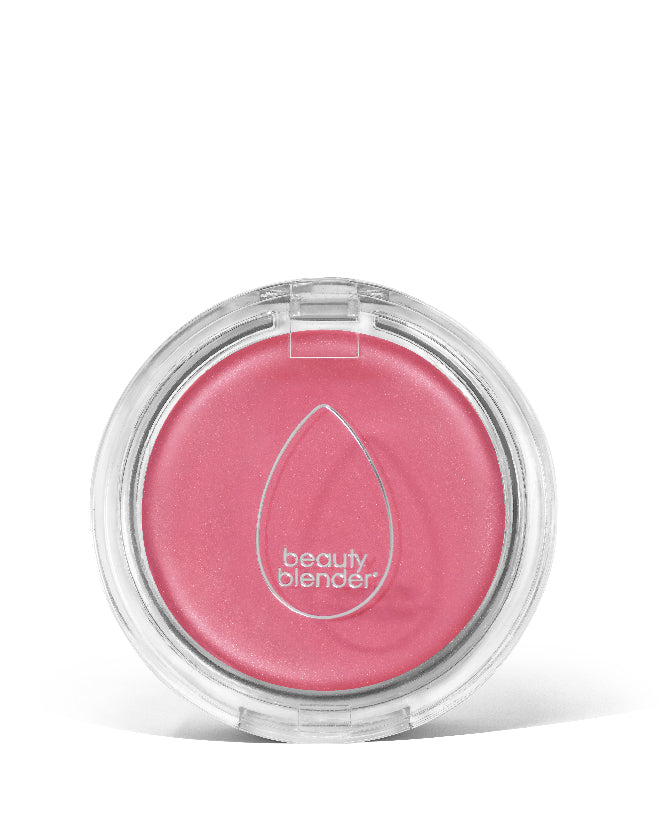
After sculpting with contour and warming with bronzer, blush is the final touch that pulls everything together. It’s the secret to a fresh, healthy-looking complexion - and it adds just the right amount of color to balance out the neutral tones of your contour. If you’re learning how to contour your face, don’t skip blush - it brings that subtle glow of life back to your skin.
Apply blush to the apples of your cheeks, where you naturally flush, and blend it upward toward your temples. This upward motion not only lifts the face but also enhances the overall structure you've created with your contour and highlight. Whether you’re using a cream, liquid, or powder blush, make sure to blend well into the surrounding bronzer and highlighter for a seamless, radiant finish.
You can even dab a little blush across the bridge of your nose for a soft, sun-kissed effect. This trick helps tie in all the elements of your sculpted look and gives your face a natural warmth - perfect for everyday wear or a soft glam moment.
In the context of contouring your face, blush might seem optional, but it plays a key role in making the look feel complete and harmonious. It's that final touch that keeps your makeup from looking too flat or overly contoured.

Ready to sculpt like a pro?
Contouring doesn’t have to be complicated. With a little practice and a good understanding of placement and blending, you can shape and define your features in a way that feels natural and flattering.

Whether you prefer a subtle everyday look or something more sculpted for special occasions, the key is finding a technique that works for your face shape and comfort level. Take your time, blend well, and most importantly have fun with it. Makeup is all about expressing yourself.


