
How To Clean Makeup Sponges–Myths Debunked!
Ever wondered how to clean makeup sponges the right way? If you've been using your makeup sponge daily without regular cleaning, you're not alone. Many makeup lovers unknowingly let bacteria, dirt, and leftover product build up in their sponges, leading to breakouts, uneven application, and even skin irritation.
Keeping your sponge fresh isn’t just about hygiene—it’s also about flawless makeup application! Whether you're blending foundation, concealer, or cream blush, a clean sponge ensures a streak-free, airbrushed finish. In this article, we’ll debunk common myths about sponge cleaning and share the best way to wash a makeup sponge, so you can maintain a germ-free, long-lasting Beautyblender and keep your skin looking radiant.
Why cleaning your makeup sponge is essential?
If you’re not regularly washing your makeup sponge, you could be applying more than just foundation to your face—bacteria, dirt, and old product buildup can all linger in an unclean sponge. Over time, this can lead to breakouts, uneven makeup application, and even skin irritation.
Learning how to clean a beauty blender properly is crucial for maintaining hygiene and flawless blending. Since sponges absorb liquid and cream products, they trap more residue than brushes. That’s why it’s just as important to know how to clean makeup brushes and sponges regularly to prevent bacteria from transferring onto your skin.
Why you should clean up makeup sponges regularly?
Prevents bacteria growth – A damp sponge is the perfect environment for germs, which can cause acne and irritation.
Improves makeup application – A clean sponge blends foundation, concealer, and cream products smoothly without patchy buildup.
Extends the life of your sponge – Washing your sponge correctly prevents damage and ensures it lasts longer.
Keeps makeup shades true to color – Leftover products can mix with new makeup, altering its shade and finish.
Knowing how to clean up makeup sponges isn’t just about hygiene—it’s a key step in getting better makeup results and keeping your skin healthy. In the next section, we’ll cover how often you should be washing your makeup sponge to maintain its performance.
How often do you need to wash your makeup sponge?
If you want flawless makeup application and healthy skin, regular cleaning of your makeup sponge is non-negotiable. Since sponges absorb liquid and cream products, they hold onto foundation, concealer, oil, and bacteria, which can lead to breakouts and uneven blending if not washed properly.
How often should you clean your makeup sponge?
After every use – The best practice is to wash your makeup sponge after each use to prevent product buildup and bacteria.
At least 3–4 times a week – If daily cleaning isn’t realistic, aim for a deep cleanse multiple times a week to keep your sponge fresh.
Deep clean once a week – Use a specialized sponge cleanser to remove stubborn residue and ensure a bacteria-free applicator.
If you’ve ever wondered how to clean makeup sponges effectively, consistency is key. A dirty sponge not only affects your makeup’s finish but can also irritate your skin over time. Learning how to wash a makeup sponge properly ensures a smooth, even application every time.
In the next section, we’ll debunk some common myths about how to clean makeup sponge so you can avoid common mistakes and keep your sponge in top condition.
Myths about cleaning makeup sponges (debunked!)
There’s a lot of misinformation floating around when it comes to how to clean beauty sponges. From DIY hacks to bad advice on social media, many people unknowingly damage their sponges or, worse, fail to remove all bacteria properly. Cleaning your sponge the wrong way can lead to a shortened sponge lifespan, uneven makeup application, and potential skin issues like breakouts and irritation.
We’re here to debunk the biggest myths about how to clean a sponge makeup applicator so you can get the most out of your beauty sponge while keeping it bacteria-free.
Myth #1: You only need to clean your sponge once a week
Truth: You should be washing your makeup sponge after every use!
Sponges absorb cream and liquid products, meaning they hold onto foundation, concealer, and oils deep inside. If left unwashed, they become a breeding ground for bacteria that can transfer to your skin, leading to acne and irritation. Even though cleaning your sponge daily might feel like a hassle, it’s the best way to maintain hygiene and ensure a flawless makeup application.
Myth #2: Hot water kills bacteria and cleans better
Truth: Extreme heat damages the sponge’s material instead of making it cleaner.
Many believe that using boiling water or microwaving their sponge will sanitize it. However, exposing your makeup sponge to high temperatures can break down its soft, porous texture, causing it to lose elasticity, tear easily, or even melt.
The best way to wash your sponge is with warm water and a gentle cleanser to effectively break down makeup and bacteria without damaging the material.
When learning how to clean my makeup sponge, think Goldilocks—water should be warm, not too hot or too cold!
Myth #3: Any soap or cleanser will work
Truth: Harsh soaps, dish detergent, and alcohol-based cleansers can damage your sponge.
A common mistake when figuring out how to clean beauty sponges is using dish soap, face wash, or alcohol-based cleansers. While these might remove some makeup, they can dry out and break down the sponge material, causing it to tear faster.
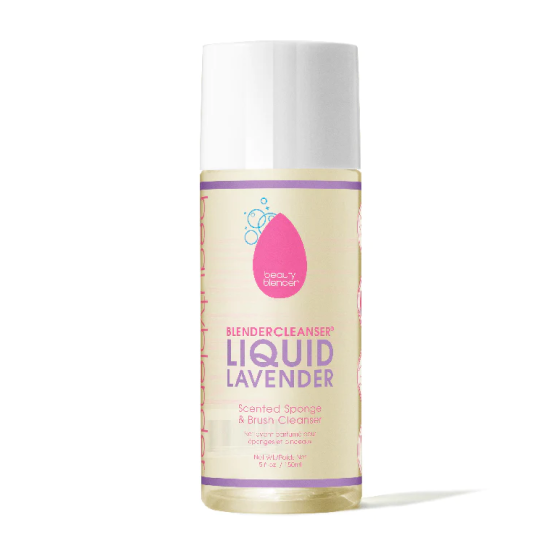
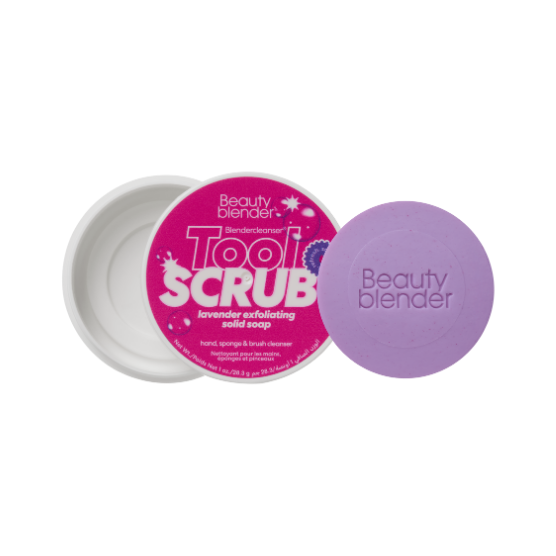
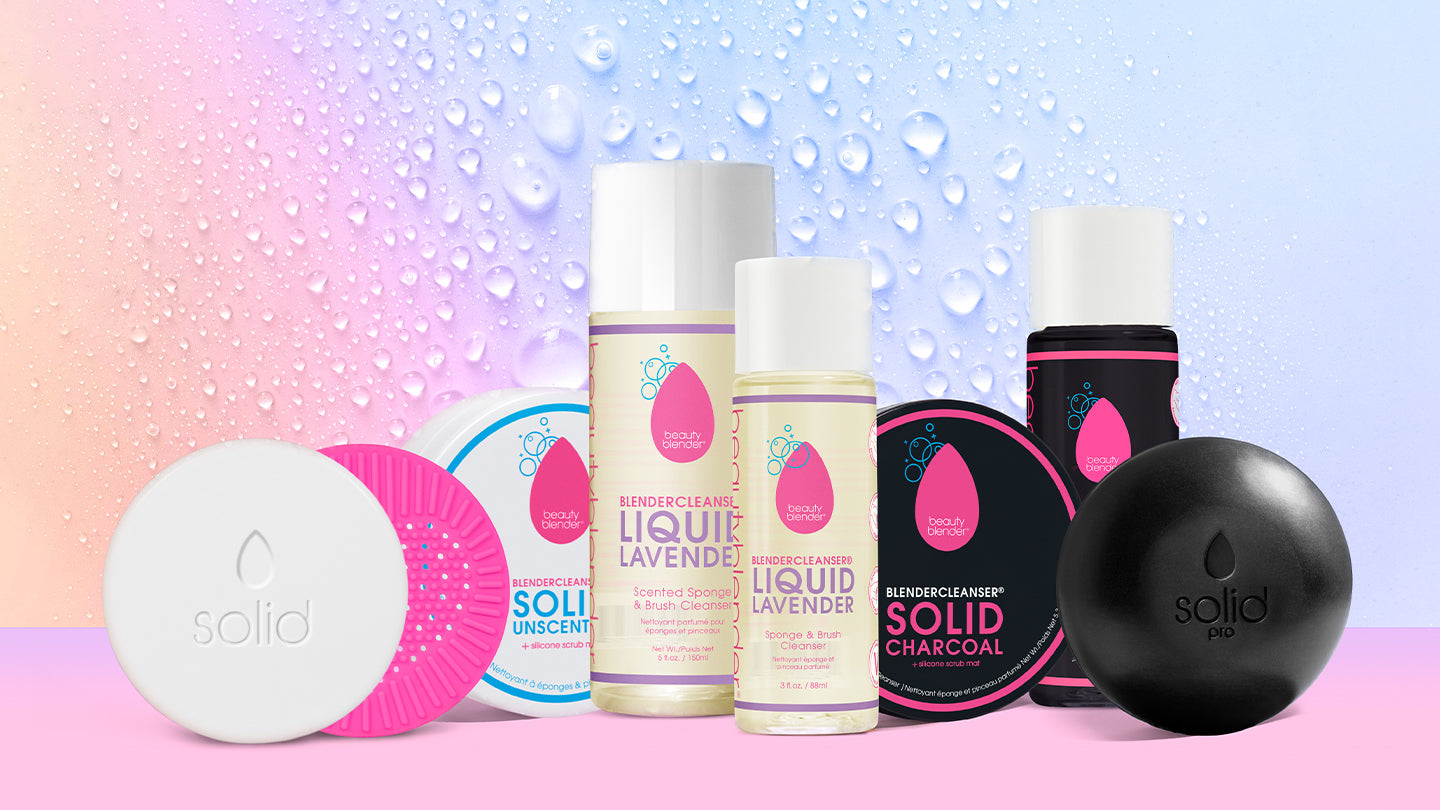
Instead, use a specialized sponge cleanser like BlenderCleanser, which is designed to remove product buildup without compromising the sponge’s texture. Avoid bar soaps or anything with harsh sulfates, as they can leave behind residue that affects your sponge’s ability to blend smoothly.
Myth #4: Microwaving your sponge is the best way to sanitize it
Truth: Microwaving can cause your sponge to break down, deform, or even catch fire.
Some viral social media hacks suggest putting a wet sponge in the microwave for a few minutes to kill bacteria. While this might sound effective, it’s one of the worst things you can do for your sponge!
Microwaving creates uneven heat distribution, which can cause the sponge to expand, melt, or burn. Instead, hand-washing with a gentle cleanser is the safest and most effective way to remove bacteria.
Reminder: If your sponge has an odd smell or discoloration even after washing, it might be time to replace it entirely.
Myth #5: You can store a damp sponge in a makeup bag
Truth: Storing a wet sponge in a closed space creates a breeding ground for mold and bacteria.
After washing your sponge, it’s important to let it air dry in an open, well-ventilated space. If you throw it into a sealed makeup bag while still damp, moisture gets trapped inside, encouraging bacteria and even mold growth.
The best way to store your sponge after cleaning is to place it in an open-air container or a dedicated sponge case with ventilation. This prevents bacteria buildup while allowing it to dry naturally.
Myth #6: You should squeeze and scrub your sponge aggressively
Truth: Over-scrubbing or twisting the sponge can cause it to tear prematurely.
When learning how to clean a sponge makeup applicator, it’s important to handle it gently. Many people scrub too hard, wring out water aggressively, or rub the sponge against rough surfaces, which leads to tearing and damage.
Instead, use a light squeezing motion when cleaning and drying your sponge. If you need extra deep cleaning, try using a textured silicone cleansing pad, which removes residue effectively without damaging the sponge fibers.
Best technique: Wet, swirl, rinse—no aggressive wringing or scrubbing!
Myth #7: If the water runs clear, the sponge is clean
Truth: The product can still be trapped inside even if the water looks clear.
Even when the water runs clear, your sponge may still have makeup buildup deep inside. Some formulas can cling to the sponge’s pores even after washing.
To make sure your beauty sponge is completely clean, lather, squeeze, and rinse multiple times. If you notice staining or lingering residue, let your sponge soak in a cleanser solution for a few extra minutes before rinsing.
Final check: Press the sponge—if any tinted water or residue comes out, keep rinsing!
Now that we’ve debunked these myths, you know the right way to clean and care for your makeup sponge. Proper cleaning ensures longer-lasting sponges, flawless makeup application, and healthier skin.
The best way to clean your makeup sponge (step-by-step guide)
Wondering how to clean makeup sponges properly? It’s simpler than you think! Using the wet, swirl, rinse method is the best way to clean makeup sponges effectively while maintaining their soft, bouncy texture. Follow this step-by-step guide to ensure your sponge is always fresh and ready to give you that flawless application.
Wet: How to start cleaning your makeup sponge
The first step to washing your makeup sponge is to fully saturate it with water:
Grab a bowl or head to your sink.
Fill it with warm water—avoid water that’s too hot or cold.
Submerge your sponge and allow it to fully absorb the water.
Why this step matters: Warm water softens the sponge, loosening dirt and product buildup. If you’re looking for the best way to clean a makeup sponge, this ensures the cleaning process is effective without causing damage.

Swirl: The key to deep cleaning makeup sponges
Once your sponge is wet, it’s time to clean it thoroughly:
Add a few drops of BlenderCleanser onto the sponge.
Submerge the sponge in the bowl of water.
Gently swirl the sponge in your palm or on a textured cleaning pad to create a lather and work the cleanser into the sponge.
Why this step matters: Swirling ensures that makeup, oil, and residue trapped inside the sponge are fully removed. For anyone wondering how to clean up makeup sponges thoroughly, this is the most effective technique for breaking down tough product buildup.

Remember, BeautyBlenders makeup sponges are silicone-free, giving them a porous texture (like your fingers), which enables its flawless makeup application. Product buildup won’t sit on the surface of the sponge (like it does with silicone sponges), so lathering and squeezing is an essential technique in cleaning your blender.
Cleaning your makeup sponges with any alcohol formulas, face wash, or by boiling or exposing to extreme heat, is a no, as this will break down the unique material. Our BlenderCleanser is a no-brainer solution, as it’s specially formulated to clean your blender without compromising the integrity of its material.
FYI: Beautyblender is made with non-toxic dyes, so it's totes normal for your water to turn pink during your first one or two washes as the dye may run a little bit. Don't worry–this is supposed to happen and will stop once you've washed it a few times
Rinse: How to finish cleaning your makeup sponge
The final step to thoroughly clean your makeup sponge is rinsing it with care. This step ensures that all cleanser residue and product buildup are completely removed while preparing your sponge for its next use. Follow these tips for the perfect rinse:
Rinse with warm water – Hold your sponge under running warm water to flush out any leftover cleanser or makeup.
Gently squeeze the sponge – Avoid twisting or scrubbing, as this can damage the sponge’s delicate material.
Bounce the sponge on a clean towel – Use a soft towel to lightly remove excess water without applying too much pressure.
Air dry in a ventilated space – Let your sponge sit out in the open to air dry. Do not store it in a zipped makeup bag or airtight container while it’s still damp, as this can trap moisture and encourage bacteria growth.
Quick Tip: It’s okay if your sponge is slightly damp after rinsing—it will dry naturally overnight. For those busy days, you can spot-treat your sponge with a dry cleanser, which works like a dry shampoo for sponges. This is especially useful when switching between products for precise color application.

Why rinse is essential?
Rinsing doesn’t just remove makeup residue—it also prevents bacteria buildup that can cause breakouts. Regular cleaning, ideally after every use, keeps your sponge fresh and your skin healthy.
Now that you know how to wash a makeup sponge, you’re ready to elevate your beauty routine with cleaner tools and healthier skin. Regularly cleaning your sponge not only ensures a streak-free, airbrushed finish but also prevents bacteria buildup that can lead to breakouts and uneven application.
Learning how to clean a sponge makeup tool might seem like a small step, but it has a big impact on your makeup results and skin health. Whether it’s through the wet, swirl, rinse method or spot-cleaning with a dry cleanser, keeping your sponge fresh is essential for getting the most out of your favorite products.
So, take a moment to prioritize your beauty tools—because knowing how to clean a beauty sponge isn’t just about hygiene, it’s about giving your makeup the smooth, flawless finish it deserves. Start your next routine with a clean sponge, and watch your makeup glow like never before!


