
Concealer Shades: How to Highlight and Contour Your Face
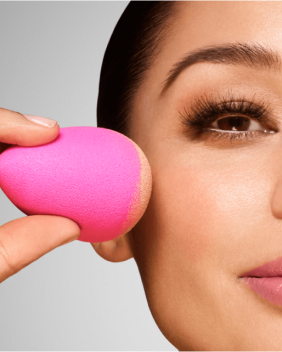
Think you need a ton of different formulas to contour and highlight your face? Think again, Bounce concealer’s versatile formula allows you to add dimension and accentuate, depending on the shade you choose. Concealer shades are not one size fits all, especially when it comes to learning how to contour your face like a pro.
Here’s everything you need to know about how to contour your face so you don’t end up looking a hot mess.
The Toolkit
To contour your face like a boss, you’ll need 3 different concealer shades:
1. CONCEALING: A concealer shade that matches your skin
This is your standard concealer, aka the one you use to cover dark circles, acne, redness, scarring or irregularities. This concealer should disappear into your skin as much as possible, and it’s the first one you’ll want to purchase.
2. HIGHLIGHTING: A concealer 1–2 shades lighter than your natural skin tone
This is the concealer you’ll use to brighten dark spots and draw the eye in. It’s the one you’ll apply to the high points of your face, like the tops of the cheekbones and cupid’s bow of your Beautyblender wand. If you like a really bright eyed look, you’ll want to use this under eyes too.
3. CONTOURING: A concealer 2–3 shades darker than your natural skin tone
This is the concealer shade you’ll use to contour your face, which means you want something that will give you a shadowy effect. Try starting two shades darker than your base but in your same undertone family.
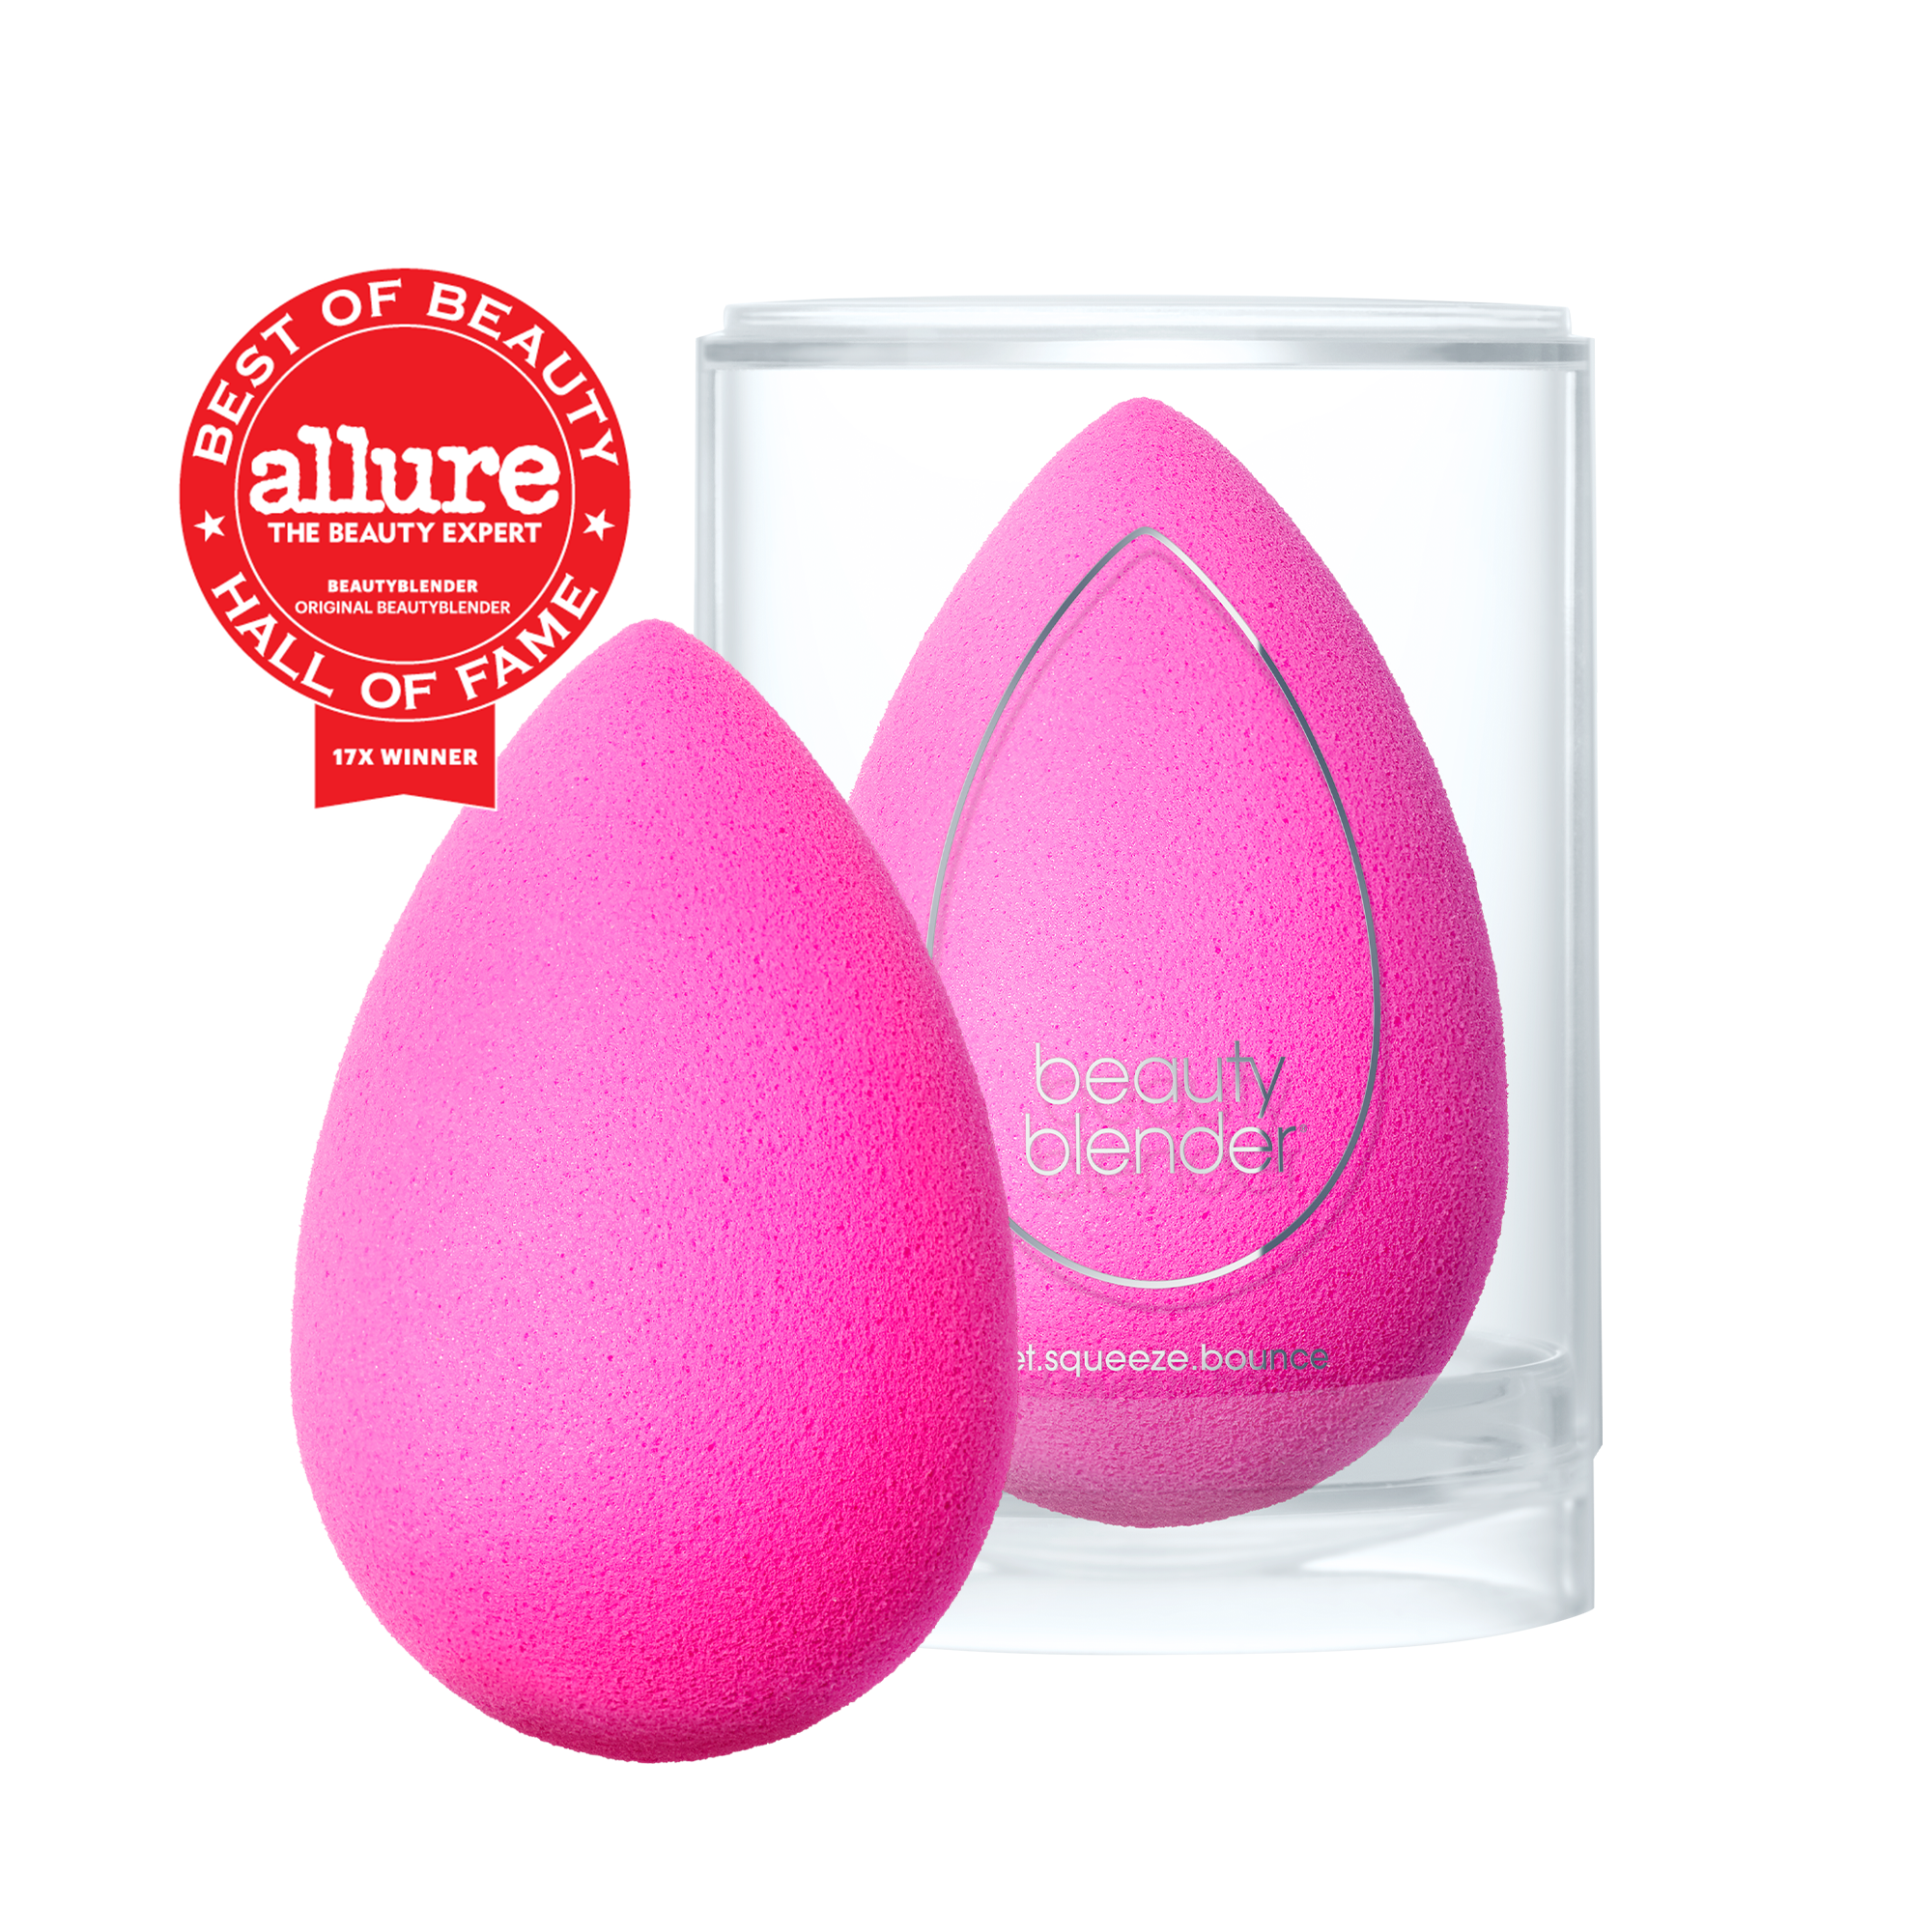
Once you’ve got those, grab your OG Beautyblender or Micro.mini and you’ll be fully armed for battle.
The Triple Threat: Bounce Concealer
When you’re asking your concealer to pull *triple* duty, you CANNOT play with quality. Plus, you need enough concealer shades to choose from so you aren’t missing the mark on any of your 3 key players.
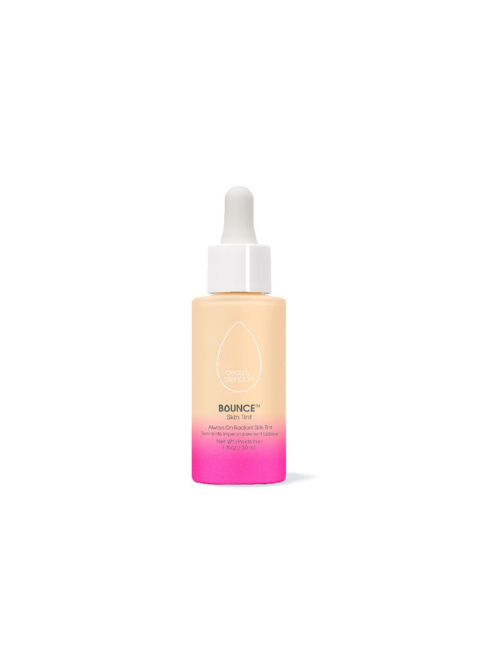
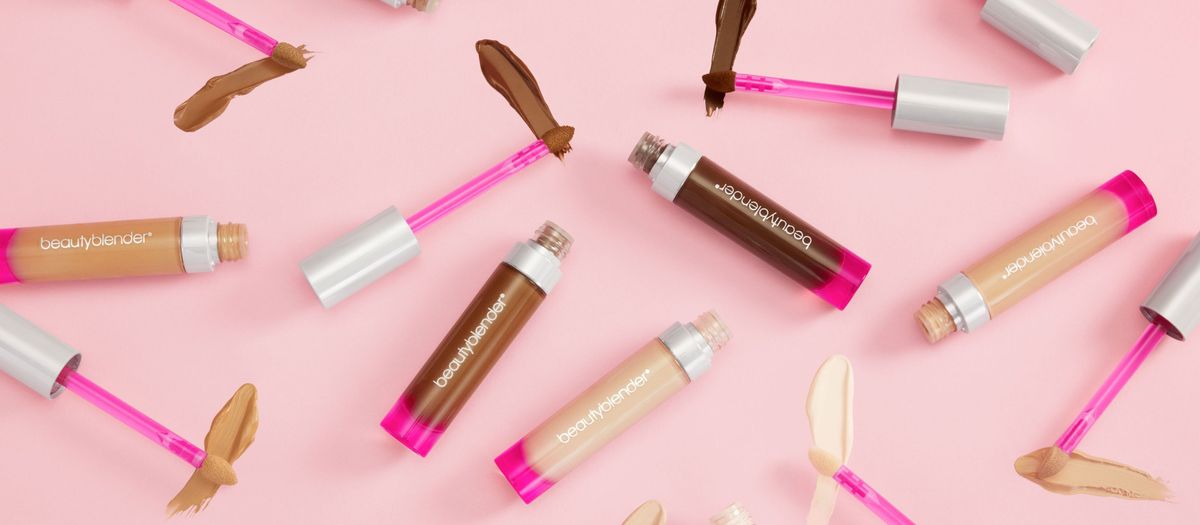
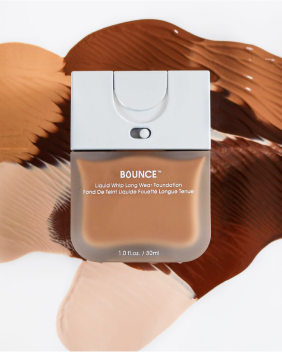
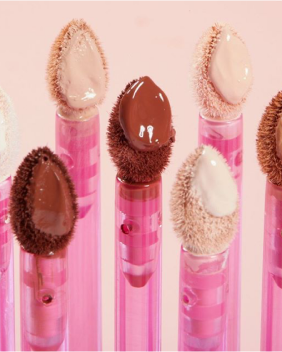
The answer: BOUNCE Airbrush Liquid Whip Concealer
Bounce comes in 40 shades, and it’s super hydrating and blendable, so it can play every part:
Roccibella using Bounce concealer to prep her eyeshadow palette
The Plan of Attack
The great news about learning to contour your face is that the 4-step plan mirrors the order of importance of your concealers. Bonus: Because we’re working from neutral/light to dark, you shouldn’t have to do any major BB cleanup in between shades.
1. Cover
After you moisturize and prime your skin, use your exact skin-match shade to cover up any imperfections just as you normally would. Wet, bounce and blend until they disappear.
2. Highlight
Use your lighter shade to illuminate anywhere your face could use a little “lift.”
When it comes to highlighting concealer shades, they should work in any spot that naturally picks up light, which could include:
And remember to tread lightly; it’s always easier to apply more than to start over! Once you’ve got your highlighting concealer on, take a bounce pass with your BB to blend.
3. Contour
Apply your darker contouring shade to any areas of your face you’d like to appear more defined or chiseled.
For most people, that’s:
Sonjdra Deluxe, making Bounce concealer work *double time* for contouring in shades 315 and 4.00N
Feel the need for a full download on contouring your nose? We got you.
4. Blend!
You know the rest: Blend, baby, blend!
Once the lines between your concealer shades disappear, you have successfully learned to contour your face.
Swipe on some setting powder and a spritz of Re-Dew Set & Refresh Spray and you’re ready to roll.
And if you’re worried you’ll forget the procedure when it’s time to shine, bookmark this vid:

